Repurpose Old Pot Lids Into Charming Kitchen Decor That Doubles As Storage
We may receive a commission on purchases made from links.
There are lots of decorative ways to display towels, some of which are more functional than others. Combine functionality with sustainability by repurposing old pot lids in an eye-catching kitchen towel hanger you can customize to fit the color scheme of your cooking area or the decor style of your entire home. In addition to lending your kitchen some charm, upcycling pot lids in this way diverts them from landfills. This handmade piece works well for hanging other items, too. It's a natural choice for cloth aprons, reusable tote bags, and pot holders with fabric loops on them.
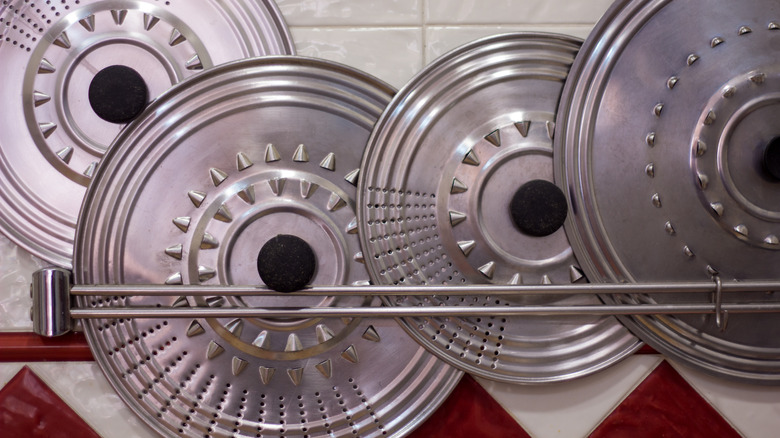
Metal lids with knobs are a good fit for this project if you'd like your rack to be able to hold lots of different kinds of objects. A long, thin handle may work just fine if your mounted hangers will only display tea towels. After all, this style of handle resembles a miniature towel bar. Your list of supplies to gather should also include a drill, screws, a screwdriver, strong wood glue, and a sturdy board. Pieces of an old door or bench could work for the board, or pick up a wood pallet plaque from a craft store. No matter which board you choose, make sure it can comfortably accommodate at least three lids.
You will also need a few supplies for decorating the board. What you choose depends on the style you're hoping to achieve. For a rustic look, consider using a few colors of chalk paint and a gritty substance such as pickling salt to add texture. Also, grab a scraper to create a weathered effect and a sealer to help the paint stay put.
Building and customizing your pot-lid towel hanger

If you are aiming for a rustic towel hanger, sand the board as needed and apply a coat of chalk paint. While the paint's still wet, sprinkle it with pickling salt. Once it's dry, cover the board with a different color of paint. Repeat the salting process, and then add another layer of paint in a third color. Scrape away some of the paint to make the board look like a worn and weathered antique. Finally, apply a sealer such as Aleene's Clear-Matte Spray Finish before proceeding.
If your kitchen leans more fairy-tale cottage than rustic farmhouse, use enchanting kitchen paint colors such as mossy greens and peachy pinks, and consider toning down the weathering technique or skipping it altogether. You could give the board a floral treatment by painting it with deep green vines or using decoupage to fill it with flowers. For the decoupage method, collect floral illustrations from books, magazines, or napkins. Cover the board with white paint, and when it's no longer damp, attach a collage of pictures with Mod Podge Matte Finish Sealer, Glue, and Finish or a similar product, smoothing out wrinkles as you go along. Finish by sealing the surface with a few additional layers of Mod Podge.
Next up is attaching the lids to the board. Drill a screw hole near the center of each lid. You may need to remove the lids' knobs first to make this step easier. Then, evenly space the lids across the board and screw them into the wood, adding wood glue for extra holding power. Finally, reattach the knobs and mount your creation on a wall.