Farewell To Outdoor Trash Can Eyesores: This Budget DIY Hides Them In Style
We may receive a commission on purchases made from links.
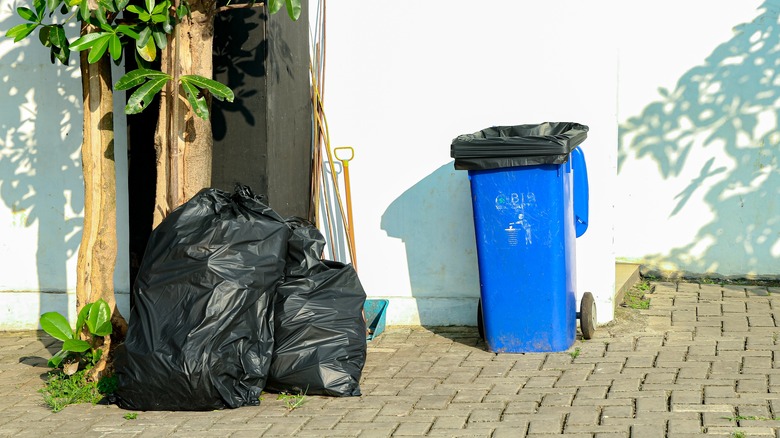
The aesthetic of your outdoor living space can be as important as the furnishings and decor inside your home; it sets the mood when you're entertaining guests in your yard or just relaxing alone on the porch. Regardless of how your outdoor space is arranged, trash and recycling bins are an intrusive sight. Hiding them doesn't have to be complicated or expensive, though; there are creative privacy screen ideas that will beautify your outdoor space on any budget and a small DIY fence just to hide your bins is a very similar undertaking.
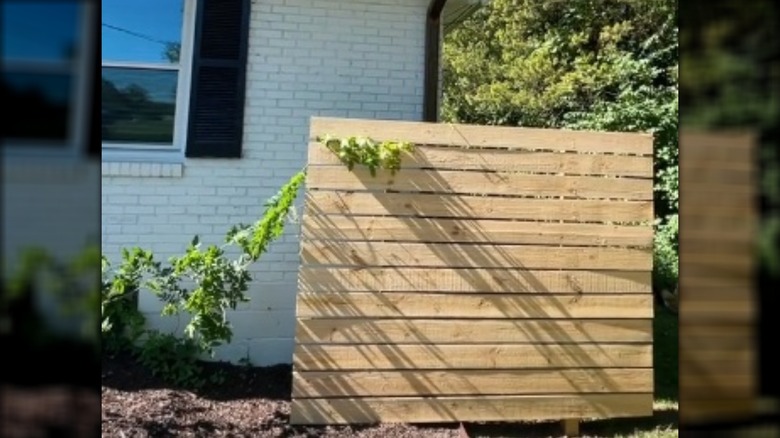
Some homeowners opt to build a small hut or buy a pre-fabricated shed, but this small wooden surround can be built in a day for a modest expense. The average labor costs for installing a fence can run into the hundreds of dollars, accounting for half the expense of the entire job. Doing the work yourself means you're only paying the price of materials and supplies and gives you the ability to customize your trash can wall completely to your liking.
How to build a DIY trash can fence
You can gather everything you need with a single trip to a hardware superstore like Home Depot; start in the lumber aisle. Grab two 4 by 4 inch posts that are as long as you want your fence to be tall. You'll also want 8-12 boards in your desired length, width, and thickness for the horizontal slats; pressure treated southern yellow pine lumber is available from Home Depot in 2 x 4 inch and several other dimensions. You'll need deck screws or some nails, a post hole digger, a bubble level, and cement mix like Quikrete concrete mix. A 1/2-inch dowel will help with spacing the boards evenly, and you'll want to swing by the paint aisle and pick up your choice of stain or paint.
Start by digging two holes 24 inches deep and setting the posts upright in the holes. Mix the cement and fill the holes; brace the posts from the sides if necessary to keep them upright while the cement cures. The time for this depends on the product you use; for example Quikrete recommends waiting 5 to 7 days for its product to set. Once the posts are firmly set in the ground, start at the bottom and fasten each board onto the upright posts. Use the level to keep the boards parallel and the dowel to set the space between them; an assistant can be helpful here. Now it's time to stain or paint your fence; for a different look you could staple gun an artificial ivy wall to your fence or hang some wooden latticework and plant real ivy at the bottom. The end result will still be a budget-friendly fence to hide your cans, and you might get some compliments from your neighbors to boot.