This Easy Hobby Lobby DIY Creates Beautiful Decor That Doubles As An Organizer
We may receive a commission on purchases made from links.
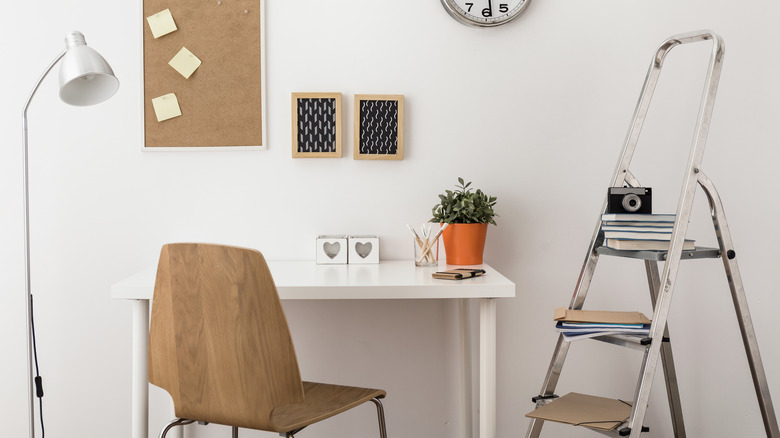
There's nothing more satisfying than functional decor. It's beautiful and serves a purpose to better your home outside of aesthetics. There are plenty of items that fit this category, such as shelved mirrors, storage ottomans, or other simple hacks to sneak extra storage in your home. However, one that doesn't get enough credit is the decorative cork board. You might be thinking, "Aren't those for the home office?" Sure, you could put one there, but this look isn't confined to the workspace — especially if you DIY your own using some Hobby Lobby products and a whole lot of personality. Just take your cues from TikToker @jennanicolehome.
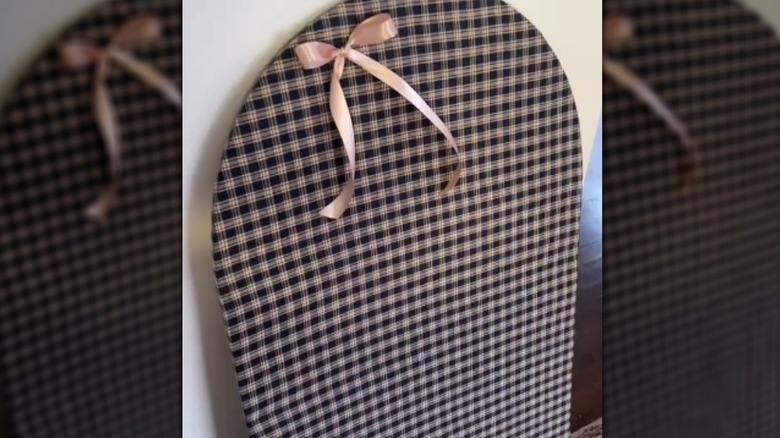
Rather than picking up a generic rectangular board and some pushpins, this project involves wrapping cork and printed fabric around a wooden arch. The wood adds a layer of support and structural integrity to the flimsy adhesive cork, while the material covers the plain brown base, letting you personalize the piece to match your style and accent existing decor. These bulletin boards are anything but basic. Use them to show off family photos in the living room, hang dried herbs or flowers in the kitchen, or post up concert ticket stubs and other mementos in the bedroom. Whatever you're showing off, you'll have the perfect aesthetic spot to do it.
Assembling your DIY corkboard organizer
Stop at your local Hobby Lobby for the arch wood decor, a roll of self-adhesive cork, and any fabric of your choice. Hobby Lobby has plenty of prints to choose from, but you can also grab a bolt from any craft store. Avoid purchasing a fat quarter, commonly used in quilting. It might be cheaper, but it only measures 18 x 22 inches. You'll also need scissors, a staple gun, a scraping tool like Amazon Basics soft grip bent scraper, a hammer, and wood glue. Once you've got everything to make yourself a stunning cork board, it's time to get to work.
Trace the arch onto the cork and fabric and cut them out. Remove the stand on the back of the arch with your scraper. Adhere the cork with wood glue, and weigh it down with heavy objects so it dries flat. Wrap the fabric around the cork and staple it to the back to secure it. Now customize! Add a bow with ribbon, trim the board with a lace border, or add rhinestones for texture. If you don't want to go the fabric route, try painting the cork with an acrylic latex paint. You can map out any patterns or murals with a liquid chalk marker. Hang your new pinboard wherever you want to add some color and use it to organize photos, cards, and notes for the perfect combination of style and function.