Transform Leftover Cardboard Into The Sweetest DIY Christmas Tree Decor
'Tis the season for creating holiday magic and cheer throughout your home. While it's a delight to open the storage boxes of Christmas decor and reunite with old favorites, sometimes there's an urge to change up the look. Despite commercial after commercial encouraging you to shop, adding fresh festive decor doesn't always have to mean spending extra money during an already expensive season. In fact, Antonia (@glowgetter50) shared on TikTok how she created the cutest decorated Christmas tree ornaments by repurposing scraps of cardboard and string. Antonia made a tree-shaped template out of a recycled cardboard box, wrapped the trees with string for aesthetics. Then, she decorated each with spare bits and bobs from the craft supply box for the sweetest results.
Whether you create a grove of matching neutral or traditional green trees for a cohesive look or a variety of evergreens for a more eclectic (or even rainbow!) collection to suit your aesthetic, this fun little craft is a great way to transform scrap materials into festive DIY holiday ornaments. You can enjoy them year after year without spending a dime, a true miracle this time of year. Since the DIY project is super simple (requiring only a little glue gun supervision), it's a fantastic way to get the whole family involved and in the creative holiday spirit. Grab the discarded box from your latest gift delivery, scrap string, the glue gun, and an assortment of spare beads, buttons, and other sparkly craft supplies — get ready to start crafting!
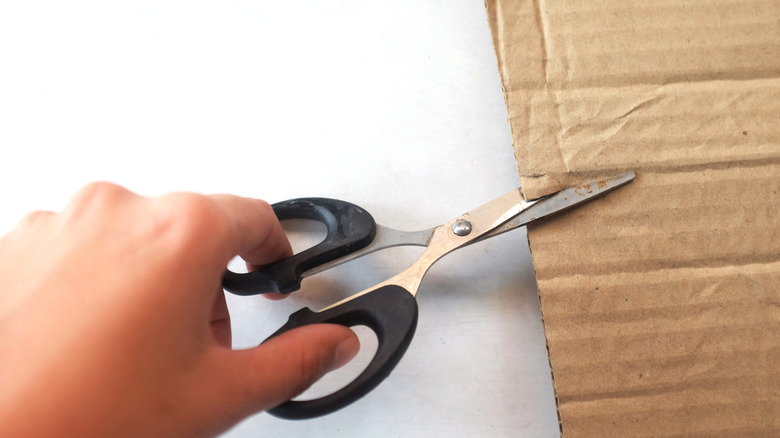
Create a Christmas tree ornament template cut from scrap cardboard

To begin this adorable ornament DIY, you'll need to make a Christmas tree template on a piece of paper or directly on the cardboard. While you can adjust the scale to fit your aesthetic, the TikToker began by making a box that is 2 inches wide by 4 inches tall. Measure and draw a horizontal line a half-inch from the bottom to separate the larger upper tree portion from the smaller lower trunk portion. Next, measure in approximately a half-inch in from each side, and draw a small vertical line in the lower portion to create each side of the tree's trunk.
@glowgetter50 Tag a friend who loves $0 cozy holiday crafts and make heirloom quality Christmas tree ornaments out of cardboard and yarn scraps! 🎅🏻🎄🧶✂️#holidaycrafts #diyornaments #christmascountdown #craftingmagic #crafttok
Finally, mark the top center of the rectangle and draw a line from the uppermost middle point down to the horizontal line you created to form the triangle of the tree. Now, you have an ornament template to work with, which can be repeatedly traced onto cardboard scraps as desired. To minimize cardboard waste and/or efficiently make many trees with fewer cuts, alternate right-side-up templates with upside-down trees directly next to each other, as this template is designed to nest right together like on TikTok. Cut out all cardboard trees to form the foundation for the DIY tree ornaments.
To hang the ornament, use a hot glue gun to secure two ends of a loop of string behind the top tip of the tree on the back side of the cardboard. The TikToker used red and white baker's twine for a festive candy cane look — feel free to choose a one that matches your holiday decor or the string you plan to use for the rest of the ornament. Now that you have your cardboard tree and hanging loop made, it's time to start wrapping.
Wrap the cardboard trees in decorative string and then decorate
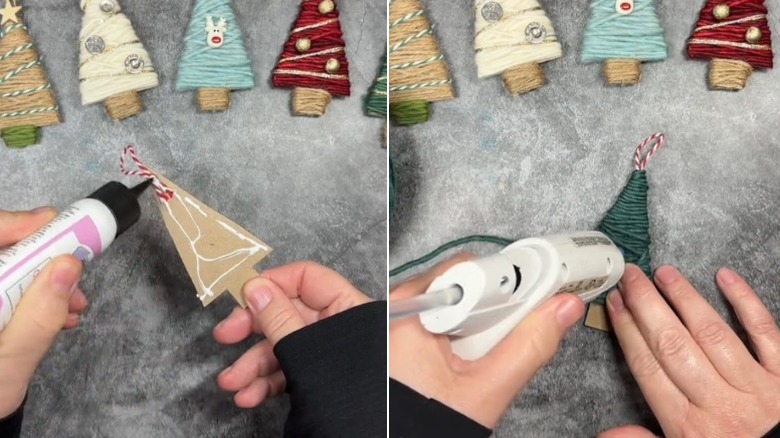
To begin wrapping the ornaments, hold the tree by the trunk and add a layer of clear-drying craft glue to both sides of the triangular portion of the cardboard. This type of glue will dry slower than hot glue, which may not give you time to wrap before it hardens. Press the end of the yarn or string into the glue on the back side of the tree and begin wrapping the triangle with it until the cardboard is completely covered. When finished, cut the thread and secure it in place with a dot of hot glue. Repeat this process with a complementary color of twine for the trunk portion — it's worth noting that this area is small enough that hot glue will work in place of craft glue. Your tree is now wrapped and ready for decorating!
While you can leave your trees plain for a minimal winter aesthetic, you can also add mini decorations for a more Christmasy vibe. Using spare pieces of contrasting string, trim, beads, buttons, sparkly sequins, mini stars (great for the top of the tree), and other miscellaneous craft supplies, decorate your tree ornaments to your heart's content, securing everything in place with hot glue. This is a fun part of the project to involve younger kids, if the previous steps are too involved. Once your festive ornaments are all dolled up, hang them on your Christmas tree (or tabletop tree), string them onto a holiday garland, or attach them to wrapped presents as thoughtful handmade gift tags.
Skip the store's festive decor section this year and use this lovely, heartfelt DIY to create personalized, hand-crafted scrap material Christmas tree ornaments without spending a cent.