How To Paint An IKEA BILLY Bookcase For An Instantly Elevated Look
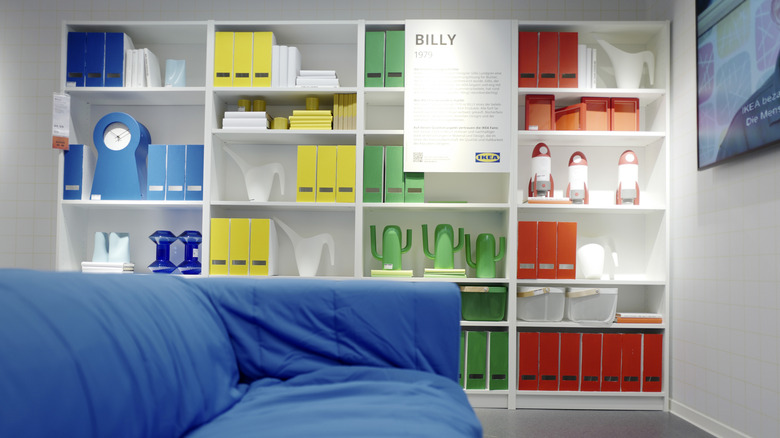
Because I am a professional woodworker, you might think I would be dismissive of IKEA furniture. That is not the case at all — I think it provides good quality at a reasonable price. I have assembled many pieces of IKEA furniture for friends and family. One important limitation of the product is the limited scope of color options. So, suppose you are one of the many people who have fallen in love with the IKEA BILLY bookcase, but you'd like to change its color. Can you, as a DIYer, paint it successfully? The answer is yes, with a few caveats.
The highly durable surface that IKEA installs on its furniture makes applying paint successfully difficult, but not impossible. When painting an unfinished wooden surface, it is a straightforward process because wooden panels, solid wood, plywood, or MDF have fibers and pores that will allow the paint to bond tightly to their surface. IKEA furniture already has a finish treatment that has bonded to those features and sealed them smooth, which prevents paint from bonding, but it can be done with some careful prep work.
How to paint IKEA laminate furniture
To successfully paint your IKEA furniture, you'll need to first prepare the surface. Start by cleaning the surface with a cleaner designed to remove dirt and grease. This is especially key if you are painting furniture you have been using for a while, as it will have accumulated dirt along with its wear and tear. Even if you are painting a new piece of furniture right from the flat pack, you still need to clean it, but do not assemble it before you paint, as it's much easier to prepare the surface and paint the pieces first rather than painting an assembled bookcase. It's what we woodworkers call pre-finishing.
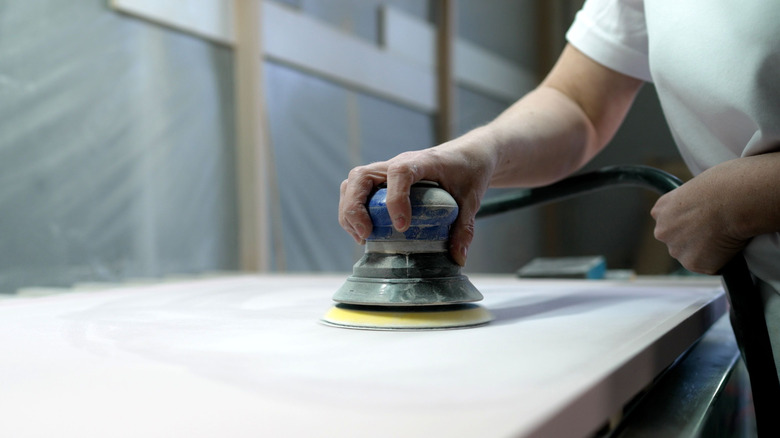
Next, you need to sand every surface you will be painting. I recommend 120-grit sandpaper. The tiny grooves it leaves on the surface are what the paint will bond to during painting. Pay special attention to the edges of the panels and the "arris," which is the pointy part of the 90-degree corners on the panels. Paint has a difficult time sticking to the arris, so be sure to rough it up a bit with your sandpaper. When you have carefully sanded every surface, grab a cloth, moisten it with isopropyl alcohol, and wipe away all the sanding dust, which is what we woodworkers call "swarf".
Picking the proper primer and paint
Next, you need to select the proper primer for your panels. It's tempting to skip a primer, but this is one of the times you absolutely need to prime before painting. You need a primer that is formulated to stick to these prefinished panels. My choice is Zinsser B-I-N Shellac-based primer. There are also oil-based primers that will work well, but I would avoid water-based primers. The primer will adhere tightly to your panels, and your paint will bond securely to it.
Spraying on the primer and paint coats is your best option, and sprayers are not tremendously expensive. But if you do not spray, use an extremely fine-napped roller for the flat parts of the panel and a high-quality brush for the edges. Prime the edges first, followed by the flat panel sections. Do not rush and allow the primer to cure completely. If there are any drips or sags, sand them out and re-prime; this may be the most important step in the process.
Apply the paint coat in the same way. You may need two coats for even color coverage. In my opinion, a high-quality latex enamel is the best paint to use on furniture. Enamels are durable and long-lasting. By following these steps, congratulations, you have completed an advanced DIY painting job. Be sure to take some time to enjoy your newly painted furniture — you deserve it.