Say Goodbye To Bathroom Countertop Clutter With This Easy Dollar Tree DIY
We may receive a commission on purchases made from links.
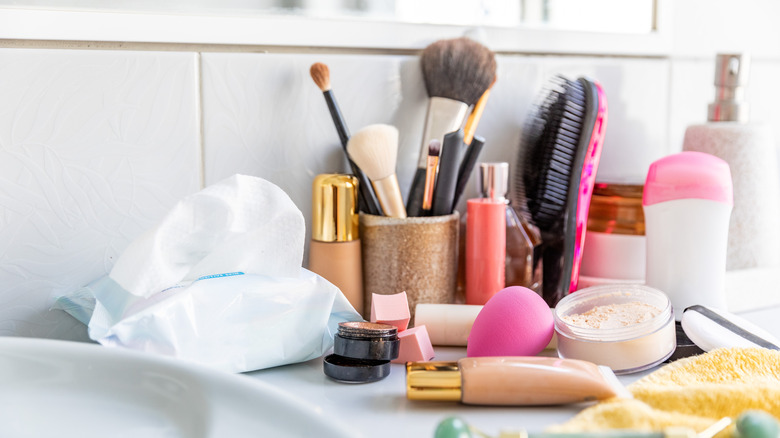
Many of us dream about having one of those organized bathrooms that are truly satisfying and Instagram-worthy. But in reality, most bathrooms are quite cluttered, as they're high-traffic, frequently used areas. This is especially likely if you share a bathroom with multiple people or enjoy collecting bath products, makeup, and other toiletries. In this scenario, it can be helpful to routinely toss unused items and limit how much you bring in the bathroom to begin with. It's also worth establishing a solid organization system for your bathroom countertops, which can keep clutter at bay.
If you need inspiration, try this bathroom organization hack that only requires a few Dollar Tree items and basic DIY skills. The project, which was shared by @lizfenwickdiy on YouTube, combines wood boxes and planks from Dollar Tree to make a custom tiered organizer. It also uses glue, so you won't have to worry about screwing or drilling any pieces together.
How to use Dollar Tree supplies to make a bathroom countertop organizer
For the project, you'll need six Crafter's Square Rectangular Wooden Crates and two Crafter's Square Craft Wood Planks from Dollar Tree. Both items cost just $1.25 each. You'll also need wood glue, which is sold at Dollar Tree, craft stores, and hardware stores. Hot glue is a viable alternative, so long as you don't plan to place heavy items in your organizer; that's because hot glue is less durable than wood glue. To start, apply glue to the short side of a wood box, place it against another box, then gently press them together. You can secure them with a small clamp, if needed. Repeat this process with the remaining crates so that you have three sets of two crates glued together.
Next, glue the pairs of boxes to the wood planks. Place one of the wood planks on a flat surface, then glue the side of one pair to the bottom of the plank. Note that you should only apply glue just beneath the box's handle, rather than the entire side. Otherwise, the glue will be visible on either side of the plank. Glue another pair of boxes at the top of the plank, measure the halfway point, and glue the final pair in the center. Secure everything with clamps, sit your organizer upright, then glue the second plank to the other side of the boxes before adding clamps.
Ways to customize your bathroom organizer
Once you let the glue dry for several hours, your organizer is ready to use! Feel free to leave it as is or use decorative supplies to personalize the piece. For example, you can finish wood with stain and a polyurethane finish. You'll need to apply three to four coats of polyurethane to protect the piece from moisture, which is ideal for bathroom storage. Other ideas include coating the organizer with acrylic, chalk, or spray paint. Whether you go for a solid color or funky design, be sure to apply a sealer to protect the paint.
Are you craving a more refined look? Adhere flat-back metal embellishments to the piece. For example, these BEADSLAND Store Round Studs are meant to be ironed to fabric, but you can glue them to the organizer to create the illusion of hardware. Regardless of how you decorate your bathroom organizer, consider adding self-adhesive cork pads to the bottom, like these stickers from Ace Hardware Cork Self Adhesive Bumper Pads. This will keep your organizer in place and prevent it from slipping on your bathroom countertops.