The DIY Solution You Need To Disguise Popcorn Ceilings (Without A Renovation)
We may receive a commission on purchases made from links.
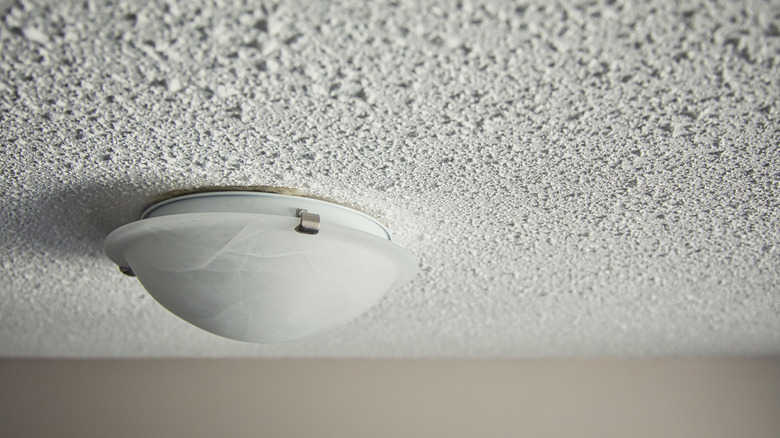
Popcorn ceilings are no longer the home décor favorite they once were. Today, they are a priority target of home renovation projects. There are a number of options for a DIYer to replace this eyesore. For instance, you can cover your dated popcorn ceiling with wood paneling. You can also remove the popcorn ceiling completely by scraping the popcorn texture and hoping the ceiling underneath it (well, above it) is intact. Or you can simply cover it with layers of joint compound to create a smooth, paintable surface. None of these options are one-day projects, and each involves covering or removing furniture from the room, but the last option is less back-breaking than removing an entire ceiling and creates less of a mess to clean up afterwards.
Before you do so much as touch your popcorn ceiling, however, get it tested for asbestos. Between the 1930s and 1970s, compounds used to create popcorn ceilings often contained asbestos, which is an extremely dangerous health hazard. The United States Environmental Protection Agency (EPA) lists asbestos detection and removal as a top priority in any home renovation. You can purchase asbestos testing kits from a retailer, like this one on Amazon, or have a qualified professional test and remove (if necessary) your popcorn ceiling. Once you've tested your popcorn ceiling, how do you cover your popcorn ceiling with joint compound?
How to cover your popcorn ceiling with joint compound
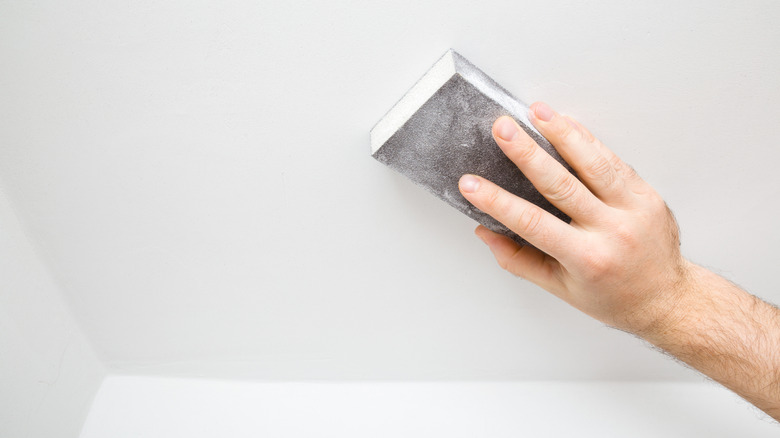
You will need joint compound, a bucket, scraper, eye protection, step ladder, drop cloths, painter's tape, a taping knife, putty knife, sand paper or sanding sponge, gloves, and a dust mask. Cover up floors and furniture with drop cloths and use painter's tape to cover the corners where the ceiling meets your walls. Before you start covering your popcorn ceiling, use your scraper to remove any loose portions of the popcorn texture. There's no need to scrape down the whole ceiling if the texture is intact, but merely covering rather than removing loose materials can lead to the joint compound coming loose as well.
In a large bucket, combine a lightweight joint compound with water and mix until thoroughly. Add some of your compound to a drywall mud pan and apply it to the ceiling with a taping knife. Use a putty knife for narrow areas. This will merely fill in open areas in the popcorn ceiling. Let the compound dry for 24 hours. The ceiling will still look lumpy. Apply a second coat and let it dry. You can then either sand down the dry second coat (which can produce a lot of dust) or apply a third coat until the surface is smooth. Let the third coat dry for 24 hours, then lightly sand it to achieve your smoothest, paintable surface. Wipe down the ceiling with a wet sponge to remove any remaining dust. Once the ceiling is dry, fill in any remaining holes or missed spots. Let it dry overnight, then sand and wash one last time. Your ceiling is now essentially bare drywall, so you will have to prime your ceiling first, but then it is ready for you to paint.