Animal-First Architecture: DIY Luxury Fluted Cat Tower
We may receive a commission on purchases made from links.
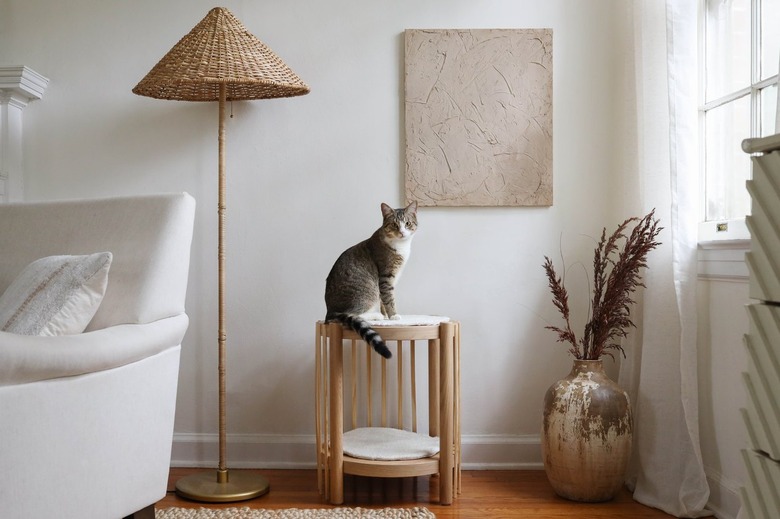
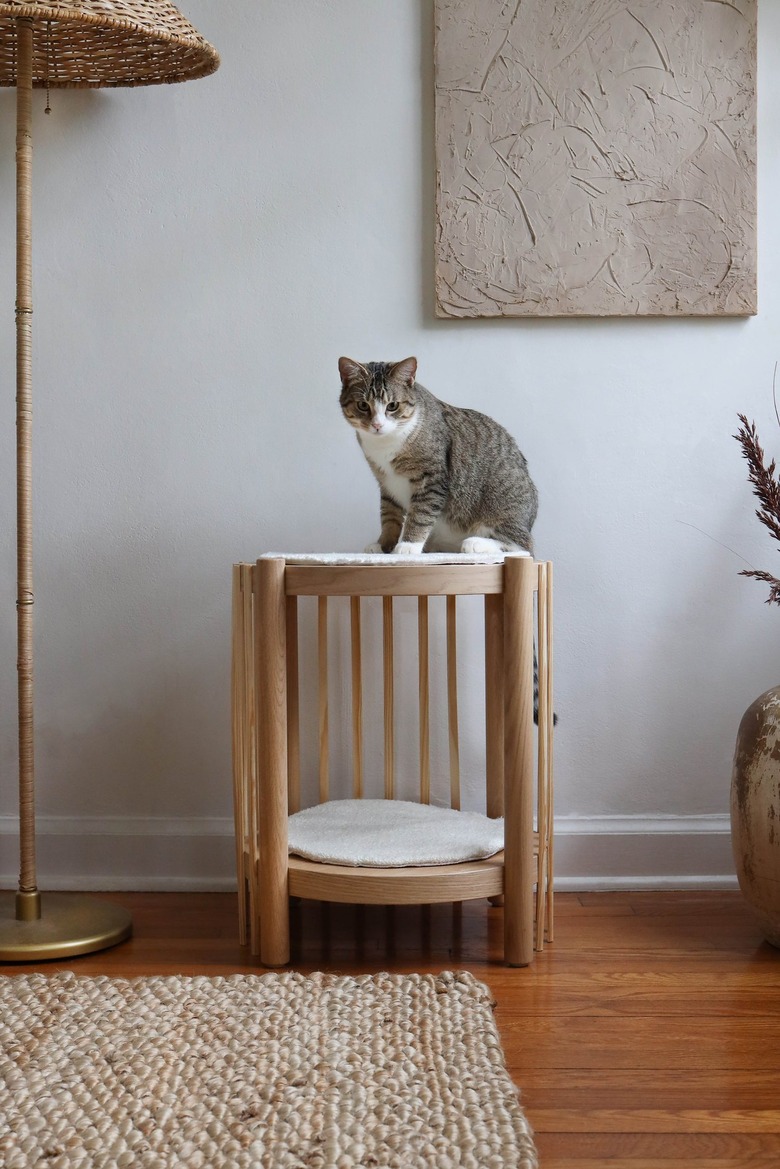
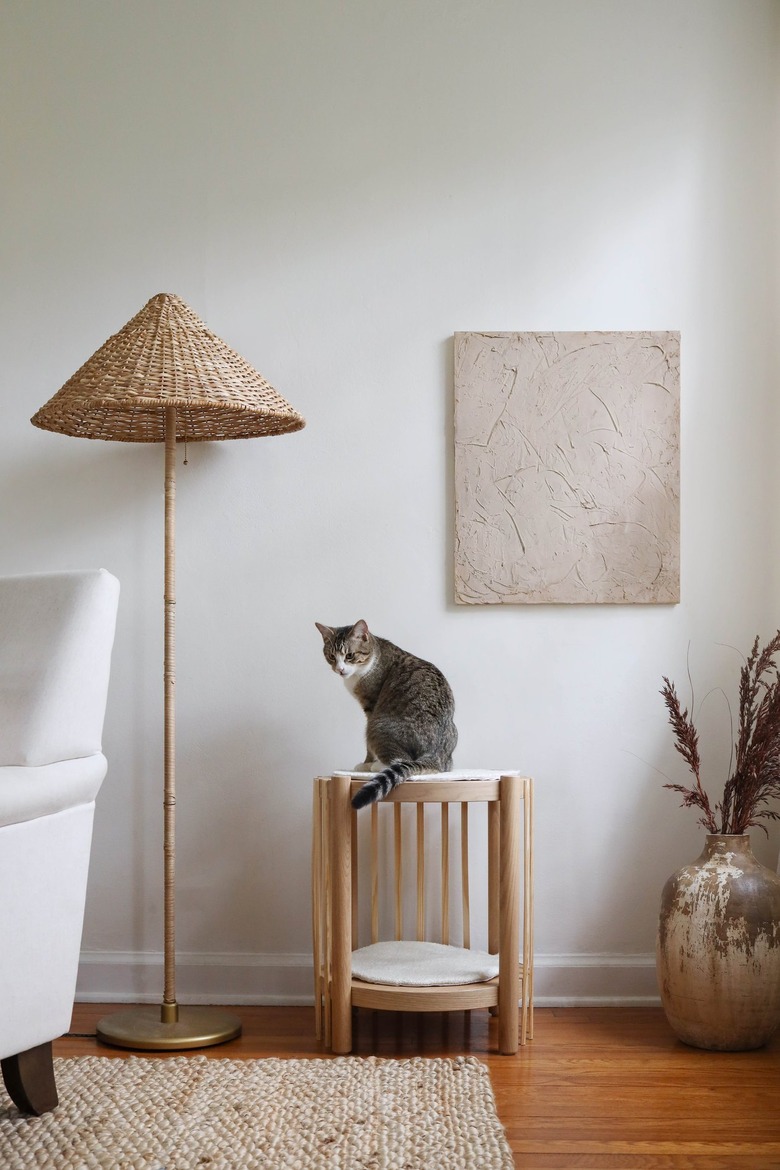
We are loving the animal-first architecture trend. Take, for example, our favorite cat tower, which is seriously stylish but also pretty pricey. So, we hacked an IKEA side table to get a DIY similar look for less. This step-by-step tutorial is simple — all it boils down to is adding fluted dowels and bouclé pillow pads — yet the payoff is large. You'll no longer have to endure the eyesore of carpet-covered cat houses or cat trees in your living room, and kitty will have a soft spot to lounge and nap in style.
 Trisha Sprouse
Things Needed
Step 1
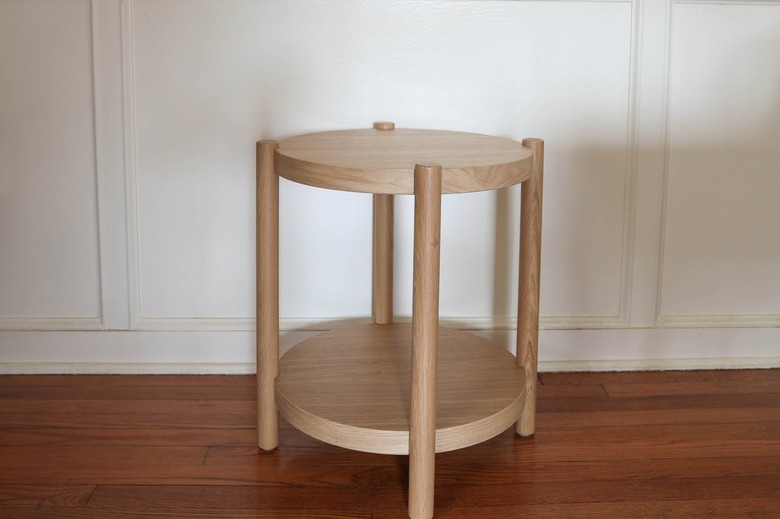
Assemble the LISTERBY side table according to the directions included in the packaging.
 Trisha Sprouse
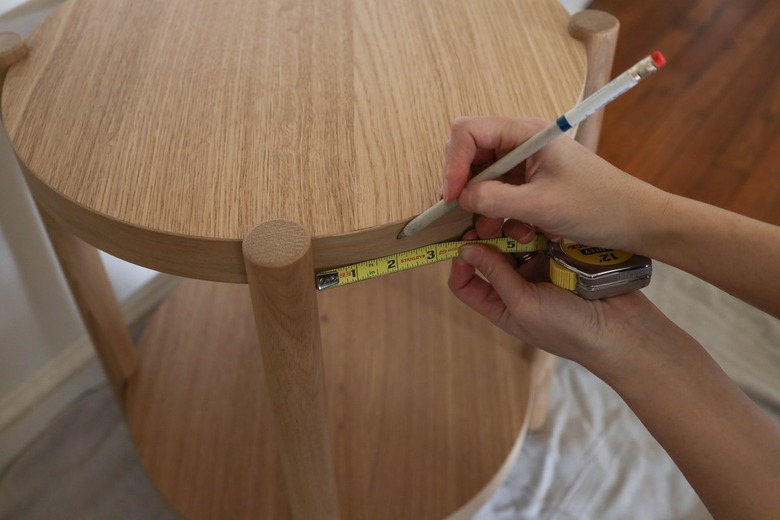
Step 2
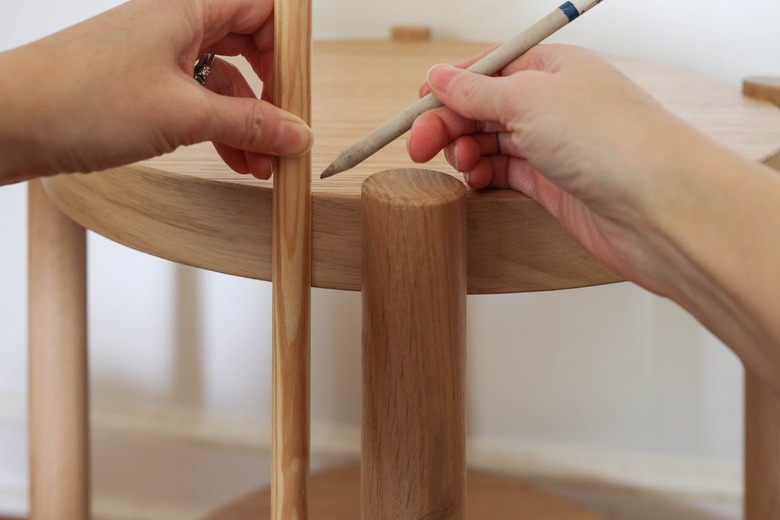
Place one of the moulding pieces upright against the side table, and mark the height of the table on the dowel. (Ours measured 21 1/16 inches in height.)
 Trisha Sprouse
Step 3
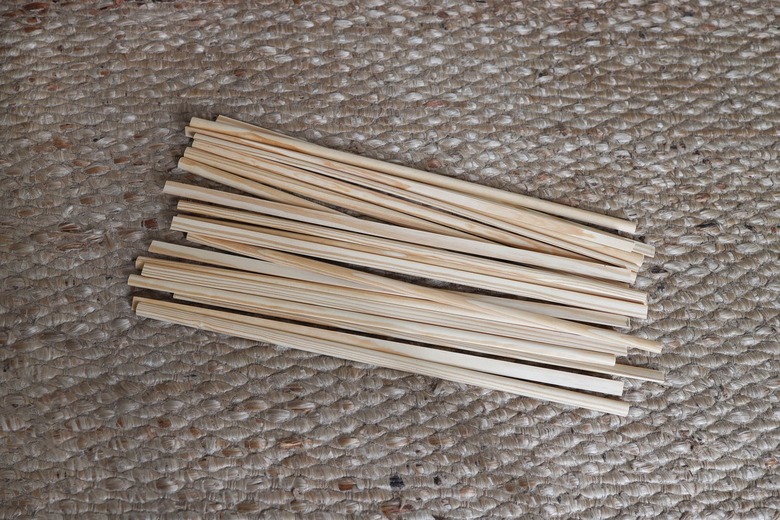
Use an electric saw or hacksaw to cut the moulding to the table's height (21 1/16 inches), and then use the cut piece as a guide to mark and cut 15 more fluted pieces to the same measurement. Sand any rough edges.
 Trisha Sprouse
Step 4
Mark the spacing for the fluted pieces around the top and bottom perimeter of the table. We spaced ours out every two inches. You only want to place fluted pieces around three sections of the table, and leave the fourth section open for kitty to enter and exit.
 Trisha Sprouse
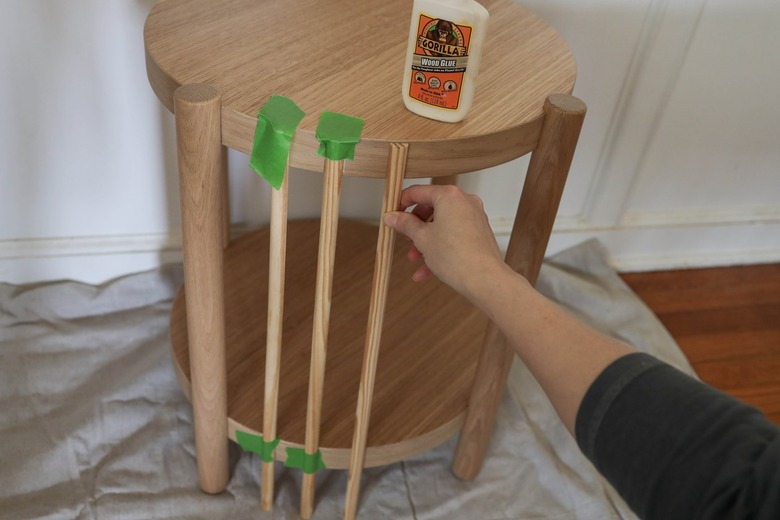
Step 5
Place wood glue on the back of the fluted pieces and press them to the marks you made on the top and bottom of the table. Wipe away any excess glue, and use painter's tape to keep them in place while they dry.
 Trisha Sprouse
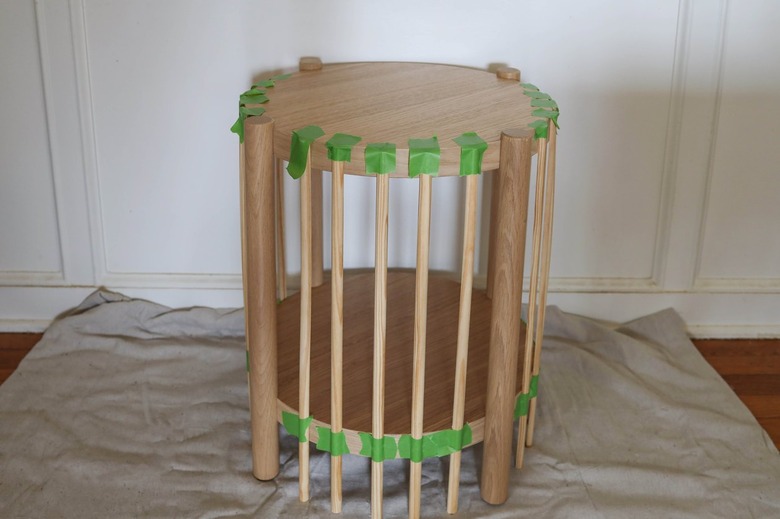
Let the wood glue dry for several hours or overnight, and then remove the tape. At this point, you could use a brad nailer to nail each fluted piece into the table, but we didn't find it necessary since they aren't structural pieces.
 Trisha Sprouse
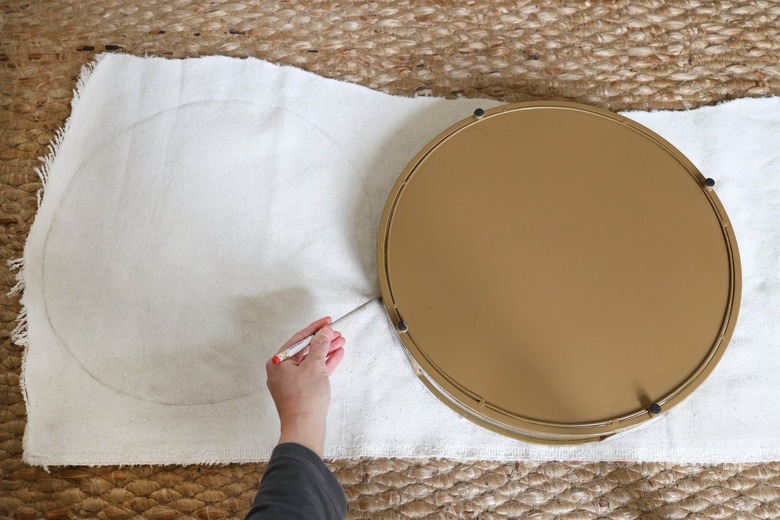
Step 6
Find a round object such as a large plate or platter to use as template for your round pillow pad. This circle measured 15 inches in diameter. Trace two circles onto the back of your bouclé fabric (or other soft fabric like sherpa or fleece).
 Trisha Sprouse
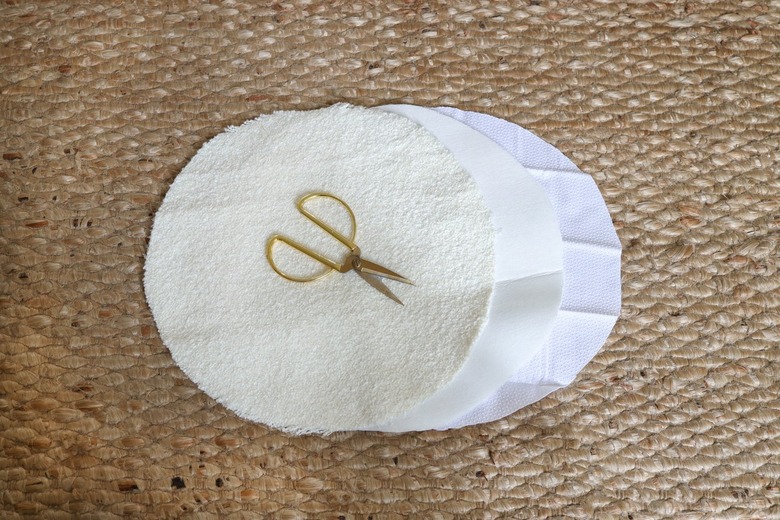
Step 7
Cut out the two circles on your fabric, and then repeat cutting two circles from the non-slip fabric and two circles from the foam stabilizer.
 Trisha Sprouse
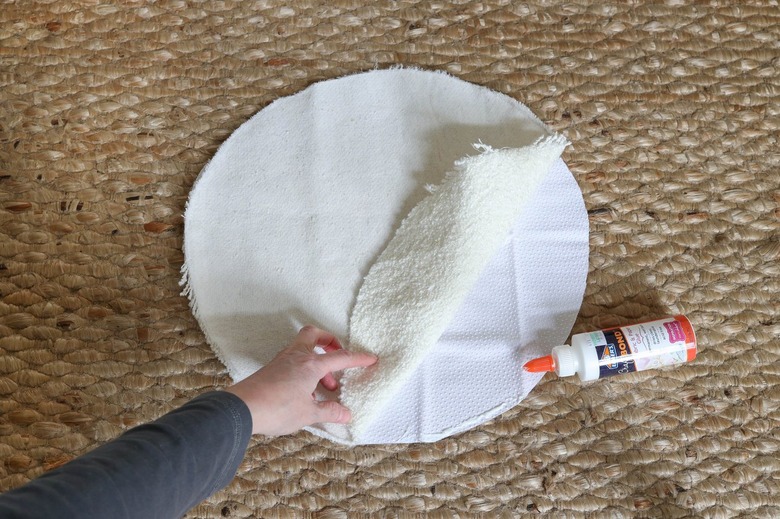
Step 8
Place the right sides of one bouclé circle and one non-slip circle together. Glue or sew around the perimeter of the circle with a 1/4-inch seam allowance. Be sure to leave several inches unsewn so you can flip the fabric right-side out.
 Trisha Sprouse
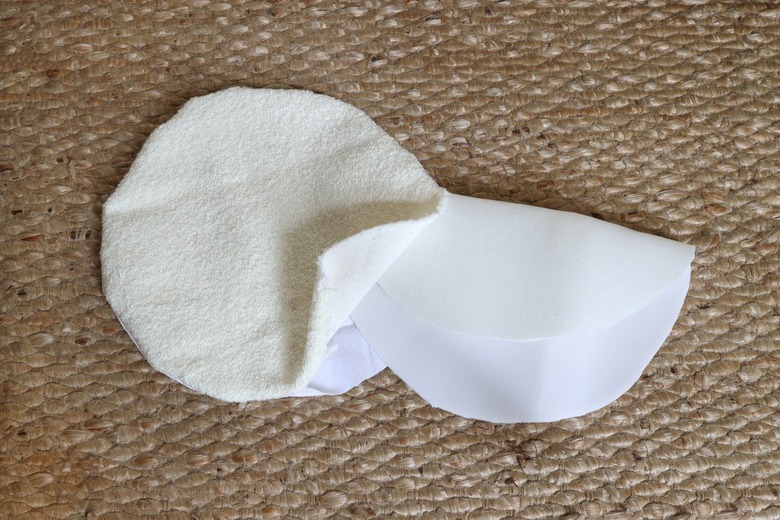
Step 9
Flip the fabric right-side out, and then place one foam stabilizer circle inside the opening. Smooth the foam inside so the pillow lays as flat as possible.
 Trisha Sprouse
Step 10
Turn the raw edges of the opening in by 1/4 inch and sew or glue the opening closed. Repeat the same process to make a second pillow pad.
 Trisha Sprouse
Now place the pillow pads on the top (to create a chic cat shelf) and bottom of the table (to create a little cat bed), and let kitty loose to play, climb, or nap in its new and super stylish cat tower!
 Trisha Sprouse
 Trisha Sprouse
For more DIY cat furniture ideas that will complement your interior decor, you'll love this cat hammock, this modern kitty daybed, and this lovely litterbox.