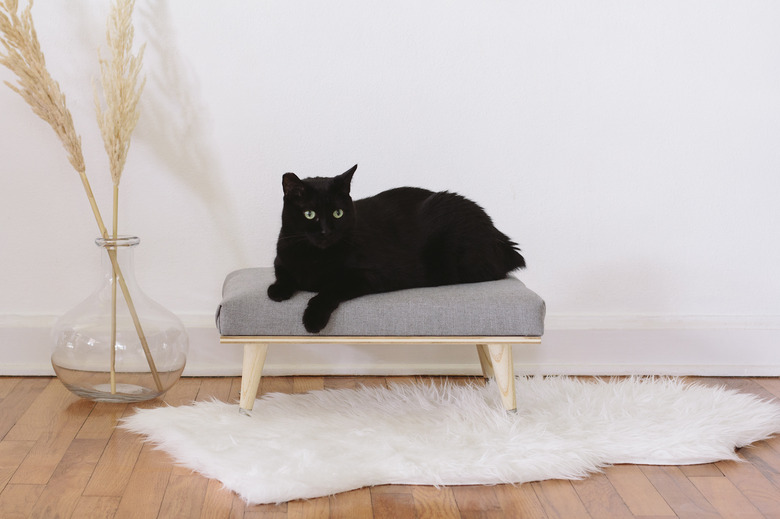
Even Finicky Felines Will Love This DIY Mini Modern Daybed
We may receive a commission on purchases made from links.
For those of us who enjoy a modern aesthetic when it comes to home furnishings, cat furniture can be kind of a downer. There's no denying, though, that kitties love to lounge and nap. (Pumpkin hanging out in this hammock is proof.) And we wouldn't want to deny our feline friends a cozy space to call their own. So we give you this DIY cat bed, which carries extra style points because it's technically a daybed, and, good lord, do we love a daybed. Plus, it's really easy to make. The comfy linen-upholstered top means luxury lounging for kitty, and the minimal style means chic Scandi vibes for your space.
Things Needed
-
1/2-inch thick plywood
-
Power drill
-
Screw driver
-
Scissors
-
Fabric (we used a gray linen remnant)
-
Staple gun
 Trisha Sprouse
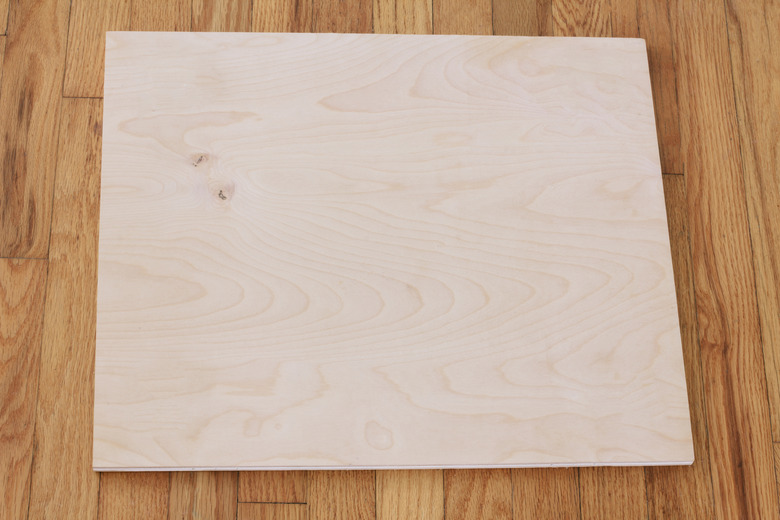
Step 1
Determine what size you'd like to make your daybed, based on your kitty's size and the space in which you plan to use it. Have your hardware store cut (or cut it yourself) two pieces of 1/2-inch plywood to your desired dimensions. For reference, our daybed is 18 inches wide by 21 inches long.
 Trisha Sprouse
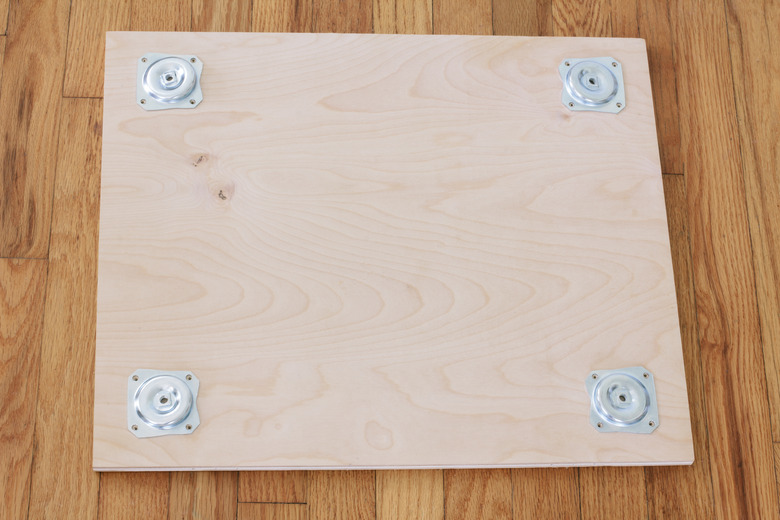
Step 2
On the first piece of plywood, place the four table leg plates on top, spacing them one inch in from the sides, top and bottom. You want the elevated side of each plate pointing toward the center and the flat side pointing toward the outside edge of the plywood. (This will ensure the table legs are angled properly when you attach them.)
Drill pilot holes where the screws will go in each plate, but be careful not to drill all the way through the plywood.
 Trisha Sprouse
Step 3
Use a screw driver to secure all of the screws in place for each plate.
 Trisha Sprouse
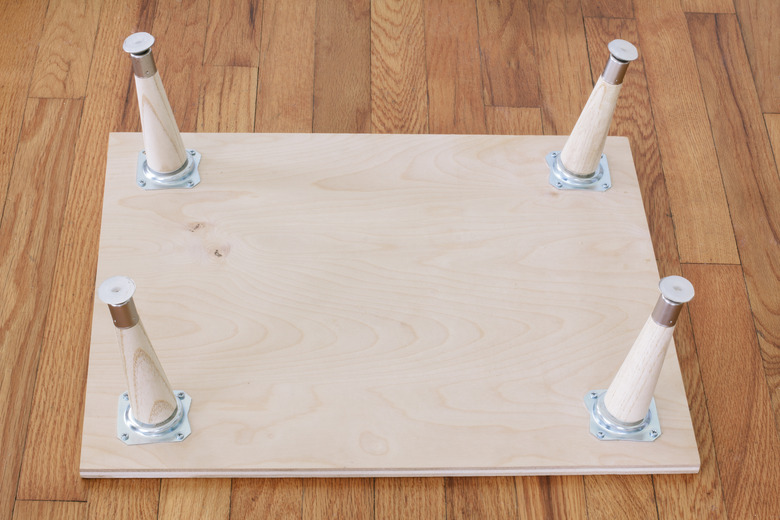
Step 4
Screw the table legs into the plates, and then flip it over. This will be the base of your daybed.
 Trisha Sprouse
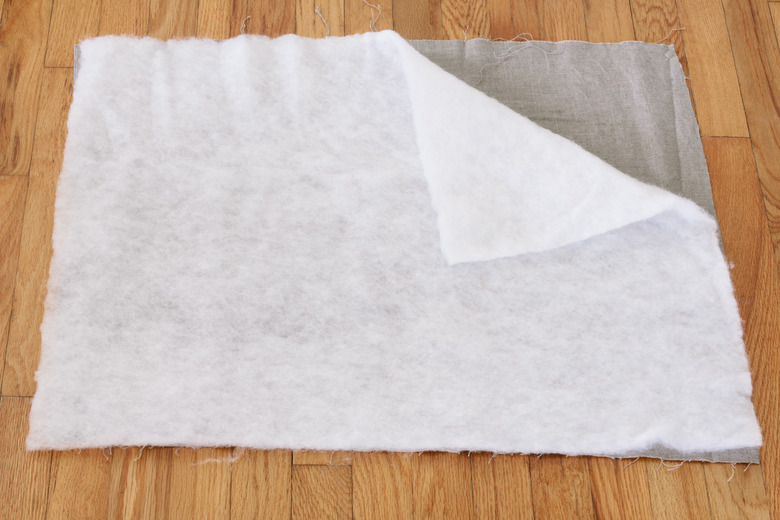
Step 5
Cut a piece of fabric and cotton batting to the same size, making sure they are at least three to four inches wider and longer than your plywood.
 Trisha Sprouse
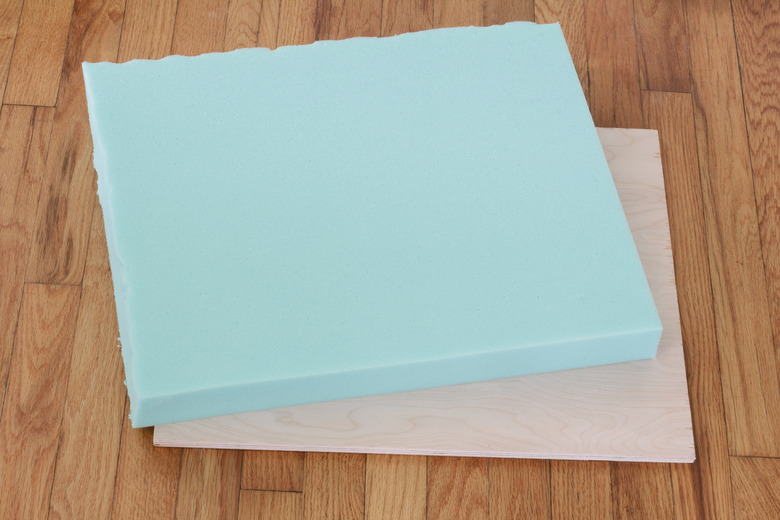
Step 6
Cut a piece of high-density upholstery foam to the same size as your plywood.
 Trisha Sprouse
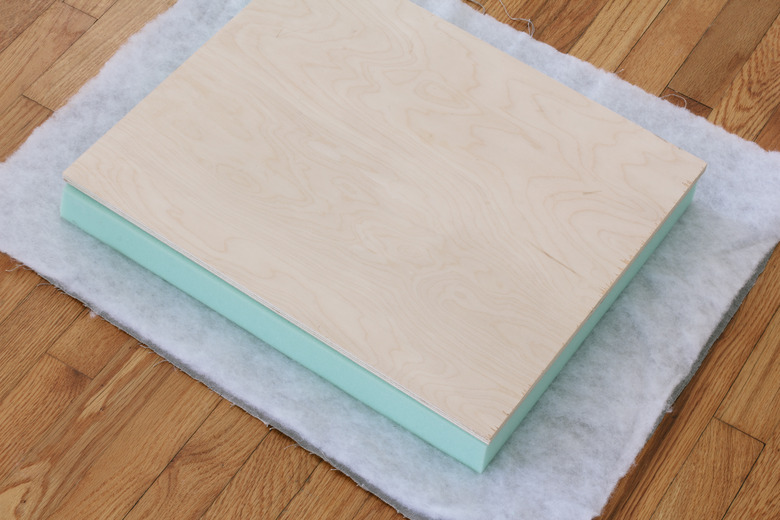
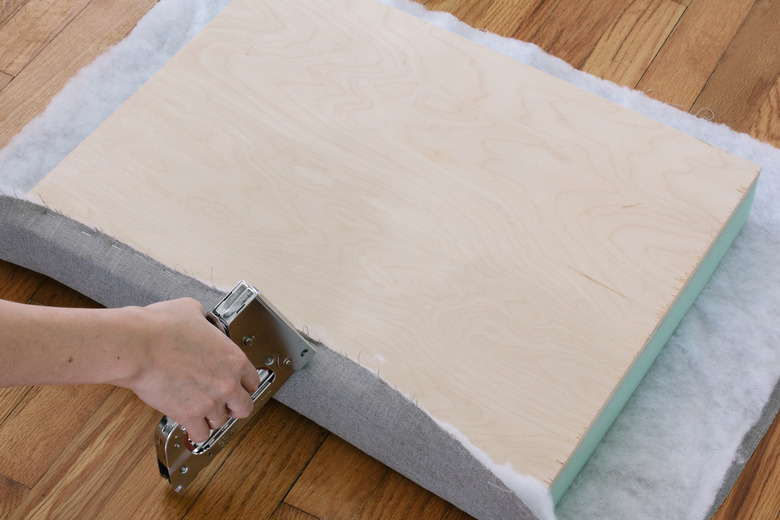
Step 7
Layer the fabric, batting, foam, and the second piece of plywood (in that order) centered on top of each other.
 Trisha Sprouse
Tightly pull the fabric and batting up over the foam, and staple it into place on the plywood.
 Trisha Sprouse
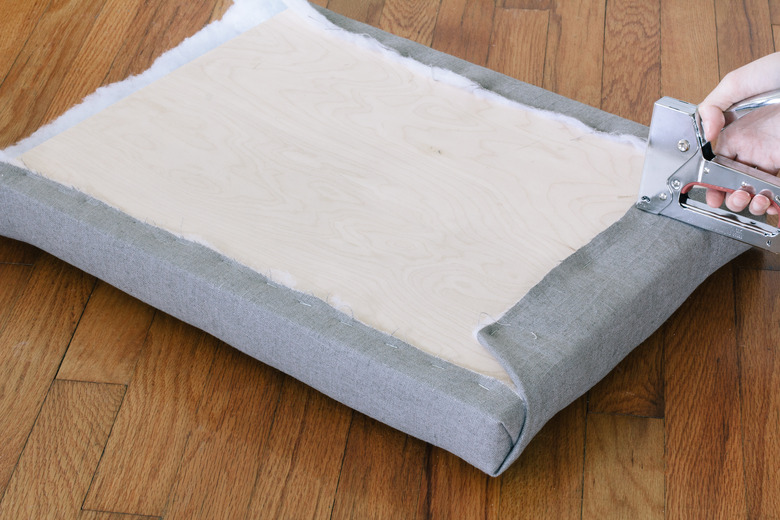
When you get to the corners, fold the fabric like you would when wrapping a present. Pull the fabric as taut as possible, smoothing it out as you go, and staple it into place on the plywood.
 Trisha Sprouse
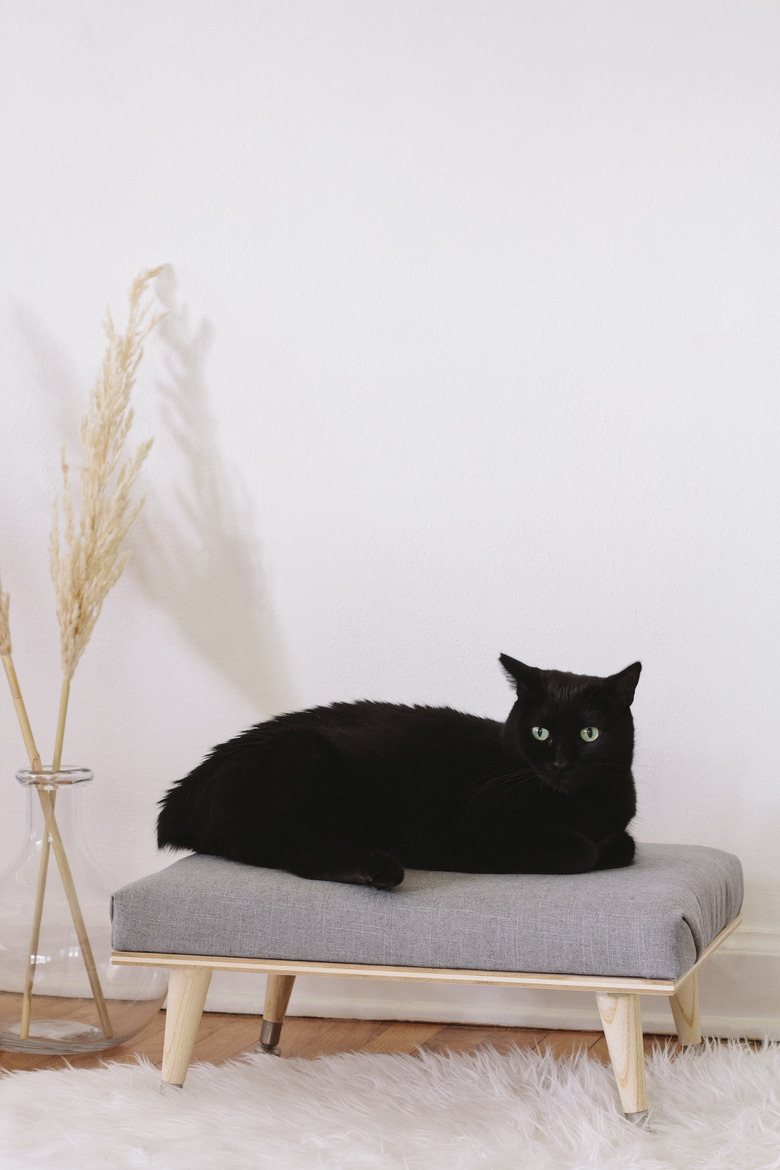
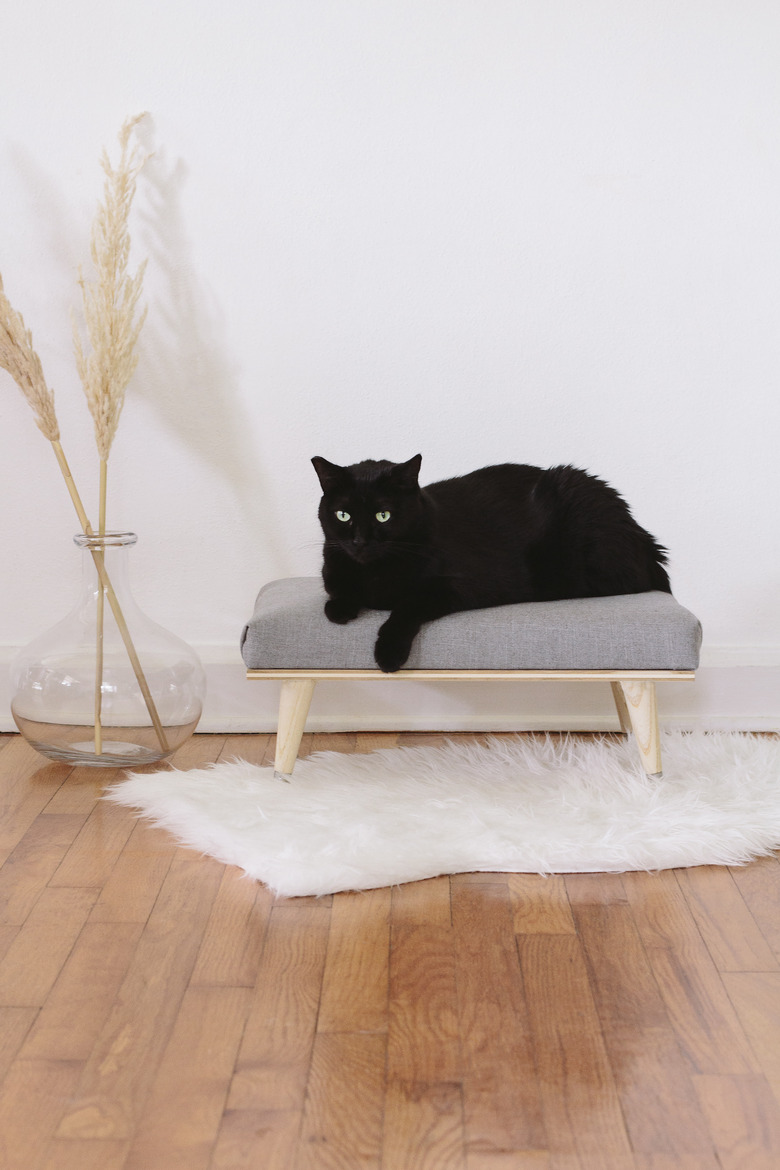
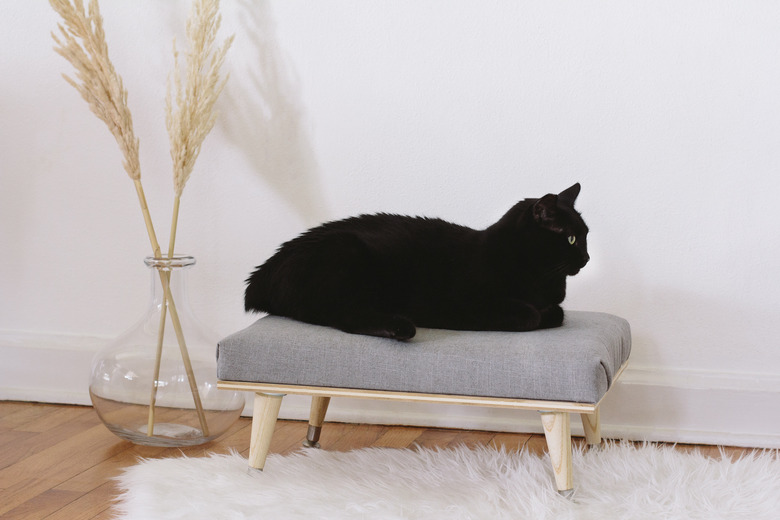
Now, simply place your upholstered cushion on top of the plywood base, and kitty is ready to lounge to her heart's content.
 Trisha Sprouse
 Trisha Sprouse