9 Easy DIY Maintenance Tips To Extend Your Roof's Life
We may receive a commission on purchases made from links.
A roofing system is one of the most expensive things to fix or replace in your entire home, with the average price of a roof replacement coming in around $8,500 and the bill for a roof repair averaging $1,000. With this in mind, it's easy to see the value in basic roof maintenance, which can help dramatically extend the life span of your roof. Whether you have asphalt shingles, wood shakes, clay tiles, stone-coated steel, or any other type of roofing material, familiarizing yourself with basic DIY roof maintenance tips can help ensure your roof remains in good condition for as long as possible.
1. Inspect Your Shingles (or Tiles)
1. Inspect Your Shingles (or Tiles)
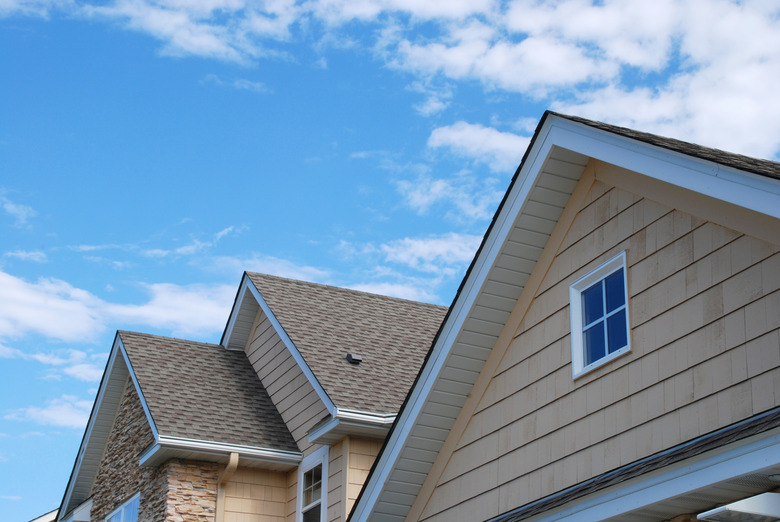
While experts recommend getting a professional roof inspection every three years to catch potential problems when they're still minor, you should look at your roof far more often, and you don't even need to climb up a ladder to do it. Even a quick once-over with binoculars can be enough to identify damage or other concerns. The day following a big storm (at least once a year), take out your binoculars and look around the entire visible surface of your roof.
Look for loose, curling, or missing shingles and popped nails. If you have tiles, see if you notice any that are cracked or missing. See if there are any streaky areas that may indicate algae growth. Pay attention to metal flashing around the edges of your roof or along the chimney, vents, and skylights as well, looking for missing, damaged, or rusting flashing.
Depending on the issue and your roofing material, you may be able to handle the matter yourself, but if you can't, be sure to contact a professional roofer as soon as possible so you can fix the problems before they get worse.
2. Replace Failed Caulk Joints
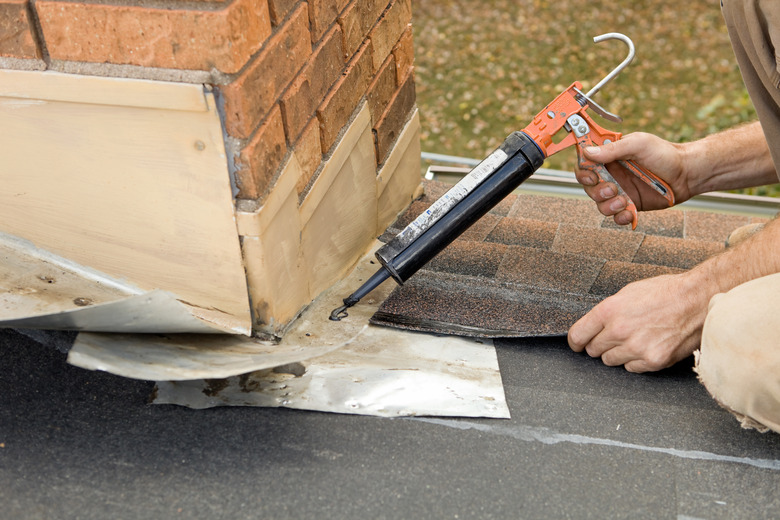
2. Replace Failed Caulk Joints
Many smaller issues with asphalt shingles can be handled by homeowners. For example, if you notice that roofing caulk or roofing cement on flashing or shingles has started cracking due to lifted flashing, pry up the nails, remove the damaged caulk or cement, and then secure the flashing or shingles with new nails. Be sure to seal the nail heads with new caulk or cement to prevent them from rusting, which can cause leaks. Water can also get under unsealed nail heads. Similarly, rusted or damaged flashing can be removed or replaced or if the rust has barely started to form, a coat of rust-resistant paint may be enough to fend off further damage.
3. Deal With Popped Nails
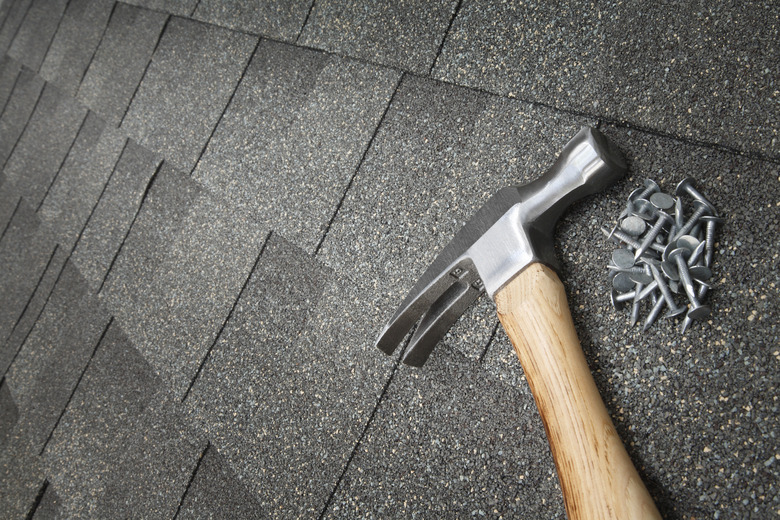
3. Deal With Popped Nails
Two common problems homeowners discover on asphalt shingle roofs are broken shingles and nails pushing through the shingles. These problems can often result in leaks, and repairing them requires removing the broken shingles and exposed nails. To fix them, you'll need to remove any nails that have popped through and then pry up the shingles around the edges to get to any nails that haven't pushed through yet so you can remove them. Remove the shingles, fill in the old nail holes with roofing cement, and replace the old shingles with new ones. Place any new nails an inch away from where the old ones were located and seal all exposed nail heads with roofing cement.
4. Replace Failed Boots
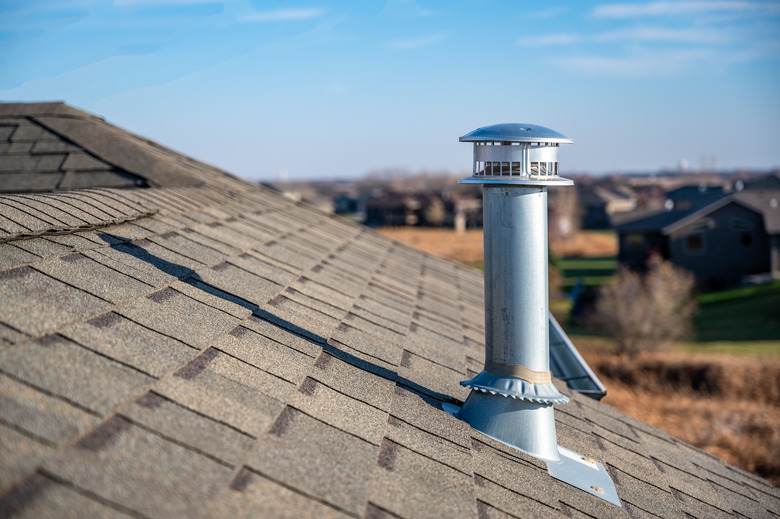
4. Replace Failed Boots
Another problem that is simple enough to fix is when rubber pipe boots begin to deteriorate, which can allow water to seep directly into your attic. To fix this, gently pull up the shingles around the boot, taking care not to tear them. Then, remove the nails and lift off the shingles. Next, remove the nails holding the boot in place and remove the old boot. Replace the boot with a new one, securing it with nails, and then apply a little caulk at the top of the boot to seal it against rain before reinstalling the shingles and switching out any that are not in good shape with new shingles. Finally, cover all exposed nail heads with roofing cement.
If you don't feel comfortable performing any of these tasks, a professional roofer can safely and expertly handle them for you.
5. Inspect the Underside of Your Roof
5. Inspect the Underside of Your Roof
Visit your attic and check for leaks. Signs of leaks include puddles on the attic floor or water stains, discoloration, moisture, or mildew on insulation, roof rafters, trusses, or the ceiling or floor of the attic. Trace the water trail back to its source if possible. If you can find where the water is coming through the roof decking, you're getting closer to the leak, but water can also travel along the top of the deck for some distance before it moves to the underside.
Get as close as you can from below and then see if that location lines up with any features or problem areas upslope on the roof. Skylights, pipes and vents, chimneys, and other roof penetrations are likely culprits for leaks. If you can identify a suspect, carefully inspect the roof around that area from above; you'll probably see some failed caulk or other problem that is the source of your leak. If the evidence of leaking seems extensive, you're probably better off calling in a pro.
6. Trim Your Trees

6. Trim Your Trees
Tree branches hanging above your home can harm your roof in a variety of ways. If they break off in a storm, they could tear a hole in your roof. When it rains, leaves or needles can fall into your gutters, clogging them and contributing to roof damage. Overhanging tree branches can also scrape on your shingles, damaging or removing shingles. Tree branches can also provide a convenient highway for critters, who may chew on shingles or decking.
Part of your standard annual roof maintenance routine should involve cutting back tree branches near your home. Whenever possible, trim tree branches so they remain at least 10 feet away from your home, but if that's not an option, remove branches hanging directly over your roof and install a sheet metal bank around your tree trunk to keep furry critters from getting on your roof. Keep in mind that large branches over the roof should be removed by a professional to avoid damaging the roof when the branch falls.
7. Clean Your Gutters

7. Clean Your Gutters
Overflowing gutters can rot fascia boards, damage house siding, and lead to ice dams in winter. Clean gutters and check for clogs in spring and fall. If your downspouts are clogged, plug the bottom with a rag and then spray a pressure washer into the downspout at full pressure. If this doesn't work, try using a drain snake. If leaves regularly land in your gutters, gutter guards can help keep them clear.
While cleaning your gutters, inspect them for shingle debris. If you notice a lot of asphalt granules in the gutters, it may be a sign that your shingles are near the end of their life span since the granules protect the shingles from damage.
Also ensure your gutters aren't coming loose, as this can damage the fascia and rafter tails. This problem can be addressed by removing loosened gutter spikes and replacing them with longer gutter screws.
8. Clean the Roof
8. Clean the Roof
After cleaning your gutters, use a soft broom or leaf blower to clean leaves, twigs, and other debris on your roof itself since these can contribute to rot, moss, and algae buildup. Be sure to clear the crevices by chimneys, skylights, and vents, which are the most prone to debris buildup. Avoid using a pressure washer, which can damage shingles.
9. Eliminate Moss and Algae

9. Eliminate Moss and Algae
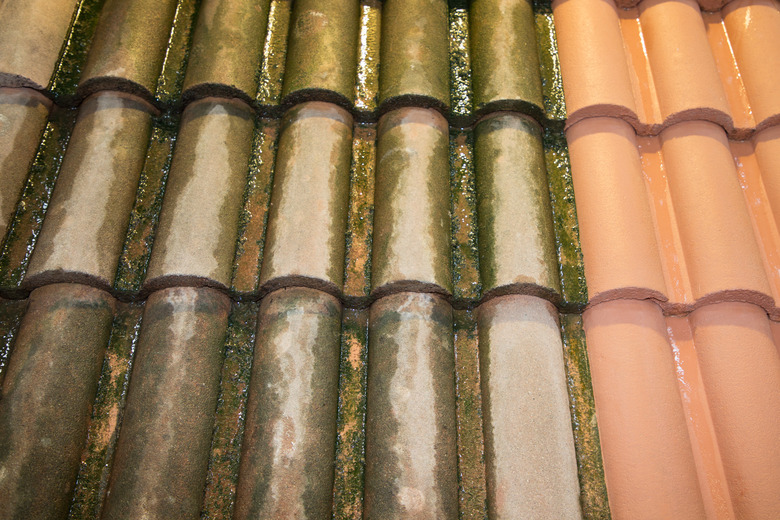
Both moss and algae can damage your roof, so if you notice any algae, which looks like dark streaks on your roof, or moss, which looks green and fuzzy, take action. Algae and moss can both be removed with a solution of half water and half bleach. Apply the solution on areas with algae or moss and let it sit 15 to 20 minutes before rinsing the area gently with a garden hose.
Always use protective gear when working with bleach to ensure it does not get on your skin or in your eyes. Also protect nearby plants and grass so they aren't killed by the bleach. Algae should die off and disappear after one bleach treatment, but dead moss needs to be swept off with a soft-bristle broom and may require multiple bleach treatments to fully kill it. Severe moss infestations may require a professional cleaning.
To help prevent future algae or moss infestations, you may want to hire a roofer to install zinc strips to your roof, which inhibit problematic plant growth.
References
- Cenvar Roofing: DIY Roof Maintenance Tips You Need To Know To Keep Your Roof Strong
- Nationwide: 5 DIY Roof Maintenance Tips
- Roofing Solutions of Texas: Roof Nails Popping Up – They Cause Leaks & Here's How To Fix Them
- Asphalt Roofing: Algae & Moss Prevention and Cleaning for Asphalt Roofing Systems
- HomeAdvisor: How Much Does it Cost to Repair a Roof?
- HomeAdvisor: How Much Does it Cost to Replace or Install a Roof?