How To Replace Damaged Roof Shingles
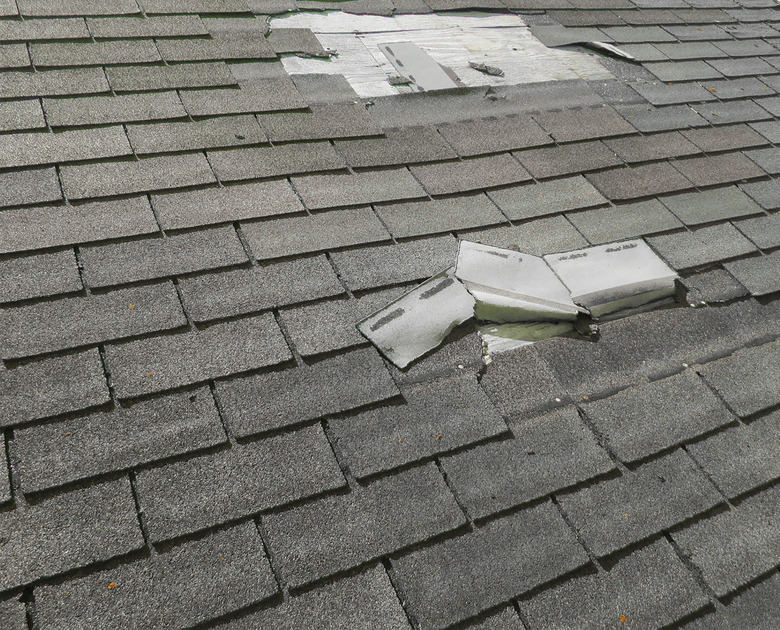
As a shingled roof ages, one or more roof shingles are bound to get damaged. Asphalt shingles become brittle as they age, and years of sun and wind exposure and occasional mishaps involving tree limbs are bound to produce a few casualties.
As long as your roof has only a few damaged shingles, it's possible to remove and replace them yourself. It's one of the easier DIY jobs for homeowners to tackle, provided they have no qualms about working on a roof. If more than a few shingles are damaged and the roof has missing shingles, however, that means the roof is reaching the end of its service life, and it's a good reason to consider replacing the entire roof. This is especially true if the roof deck is sagging or has begun to leak.
As a matter of home improvement safety, you should leave this job to a professional roofer if your roof is particularly high or steep. The Occupational Safety and Health Administration defines a steep roof as one with a pitch greater than 4:12, which means it rises 4 inches for every foot of horizontal distance. Even if your roof pitch is below this limit, it's important to wear work shoes with rubber soles and to use safety gear, such as a roof jack or harness, when warranted.
Maybe You Can Fix the Shingles
Maybe You Can Fix the Shingles
You don't always have to replace damaged roof shingles. Depending on the damage, you can often fix them with a little roof sealant, which comes in a caulk tube. Examples of damage you can fix this way include:
- Torn shingles: As long as both parts of the shingle are in good condition, you can fix the damage by applying a bead of sealant underneath the tear, pressing the parts into the sealant, covering the crack with more sealant, and spreading it around with a putty knife. It's best to do this on a warm day (not hot) when there's enough sun to keep the sealant warm enough to flow. Grab some loose granules from the gutters and spread them over the sealant to hide the repair.
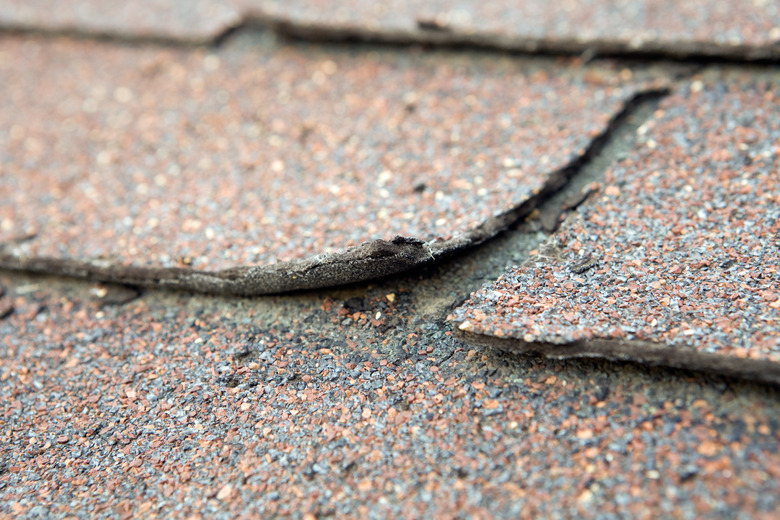
- Flapping shingles and curled edges: If you notice a shingle flapping around in the wind or curling up at the edges, the repair is even easier. Spread sealant underneath the shingle and hold it down with a brick for about 24 hours to give the sealant time to harden.
Once again, if you find yourself having to do this to a large number of shingles, it may be time to reroof or replace the roof altogether, underlayment and all. You can reroof (which means applying new shingles over the old ones) if the existing roof is in good shape and has only a single layer of shingles. Be sure to check with your local building department because some local codes — especially in areas with heavy snowfall — prohibit more than one layer of shingles. If you can't reroof, then roof replacement — underlayment and all — is your only option.
Matching Existing Roof Shingles
Matching Existing Roof Shingles
When you're installing a new roof, the conventional wisdom is to keep a few leftover shingles just in case you need them as replacements. The problem with this approach is that by the time the shingles need replacing, the entire roof has weathered, and the color has faded, so the new shingles you kept as replacements will stand out like sore thumbs.
If you're replacing shingles on a highly visible part of the roof, one approach would be to remove a few shingles from a less visible portion of the roof, replace those weathered ones with the shingles you have been storing, and use the weathered shingles to replace the damaged ones. That's a little extra work but not much because replacing shingles is an easy job.
If this isn't a practical option, the next best bet is to look for shingles that match the color of the roof as it is now (not as it was when it was new). A close-up image of the roof taken with your phone should help you do the color matching. Rather than buying an entire bundle of shingles, you can often find open bundles at outlets that recycle construction materials, such as Habitat for Humanity's ReStore. When choosing replacement shingles, remember that there are two types of shingles: three-tab shingles and heavier architectural shingles. Be sure to choose the right kind.
Things Needed
How to Replace a Damaged Roof Shingle
How to Replace a Damaged Roof Shingle
Pick a warm, dry day to replace shingles because the sun will make the shingles more flexible and easier to handle, and the sealant will flow easier and bond better. Don't work on a roof in full sun on a hot day, however.
1. Loosen the Shingle From Those Around It
Lift the bottom edge of the shingle you're replacing. Sometimes, you can do this with your fingers, but if not, slip a flat pry bar (usually called a flat bar) underneath the shingle and move along the width of the entire shingle, gently lifting as you go. The goal here is to break the bond of the glue strip just above the bottom edge of the shingle. Do the same thing to the shingle(s) directly above the one you're replacing and to the shingle(s) in the next row above. You may have to work with more than one shingle in each row due to the staggered pattern of the shingles. Use more care when lifting these upper shingles because you don't want to damage them, or you'll have to replace them as well.
2. Remove Two Rows of Nails
Lift the shingle above the damaged one so you can see the lower row of nails holding the shingle you want to replace. Slip a flat bar under the damaged shingle and use it to lift the shingle, which will force the nails to pop up a bit. Then, use the curved end of the flat bar to pull out each nail from the top side of the shingle. Repeat the same process to remove the nails from the shingle(s) in the row above the damaged one; these nails go through the shingle(s) above as well as through the top edge of the damaged shingle. Pull out the damaged shingle when you're finished.
3. Position the Replacement Shingle
Slip the upper edge of the new shingle under the shingle above it and slide the shingle into place. Line up the exposed edge of the shingle with the other shingles in that row.
4. Nail Down the Replacement Shingle
Lift the shingle above the new shingle and drive 1 1/4-inch roofing nails into the new one using a hammer. Drive the nails just above the point where the upper shingle(s) overlap the lower one. Use four nails: two at the edges and two spaced equally in the middle of the shingle.
Drive four more nails to secure the shingle in the row above the one you're replacing but don't drive them into the old holes. Instead, drive them slightly to the right or left of the existing holes to make sure they hold properly.
5. Apply Roofing Sealant
The shingle you replaced has a brand-new glue strip that will bond to the roof, but the glue strips of the shingles in the two rows above the replacement have been compromised. Lay a generous bead of roofing sealant under the bottom edges of those shingles (along the old glue strip) using a caulk gun and then press the shingles into the sealant. Just before you do this, it's also a good idea to dab a little sealant on each of the nail heads to make sure that no water can seep into them. If you feel the shingles need more sealant to hold them down, don't be shy about adding more. You can't really overdo it.


