10 DIY Plumbing Tips Every Homeowner Should Know
We may receive a commission on purchases made from links.
Major plumbing repairs are best left to professionals, and some plumbing problems require you to hire a licensed plumber to meet code requirements — but other projects, like clearing a clogged sink, are easy to tackle when you have some DIY plumbing tips under your belt. Using the right tools and techniques to prevent leaks or other damage is the priority so you don't end up ankle-deep in water or with secondary issues that need to be repaired.
1. Locate Shutoff Valves
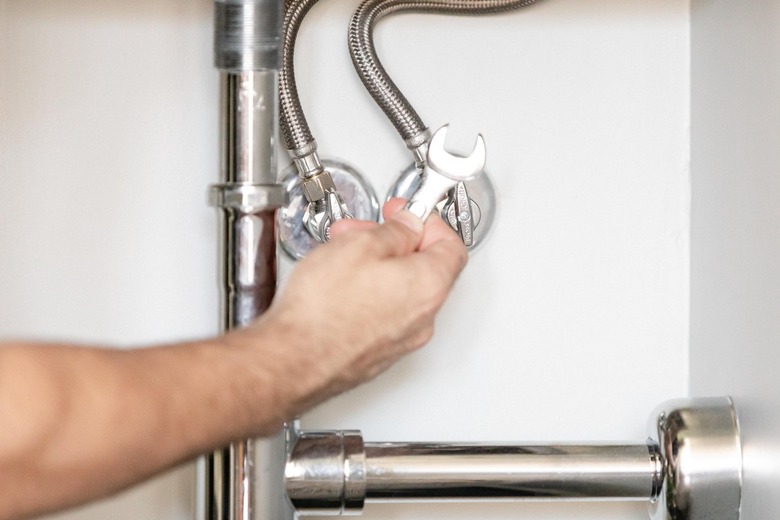
1. Locate Shutoff Valves
Before you ever touch a pipe or plumbing fixture, locate all of the plumbing shutoff valves in your home. The main water valve where the water supply comes into the home has a shutoff option that cuts the water to your entire house. This valve can be indoors in your basement or at the lowest level near the front of the house where the pipe comes inside. Your home might also have an outdoor shutoff valve on the exterior wall of your home or in an underground box behind a lid.
Your home should also have shutoff valves at different fixtures, like your toilets and sinks. These valves only shut off the water to that fixture, so you can still use the water in other areas. If you're working on a single item, you can use the shutoff valve for that fixture. You can shut off water to your kitchen sink by turning off the valve under the sink, for example.
Before beginning your plumbing projects, shut off the water at the appropriate location, making sure to test the fixture to ensure you shut off the valve completely to avoid accidentally flooding your home. If you're only shutting off the water at the fixture, test the main shutoff valve before you start to double check you know how to operate it quickly. If something goes wrong during the repair and you have gallons of water pouring into your home, you'll know exactly where to go and how to shut off the main valve.
2. Use Plumbers' Tape When Appropriate
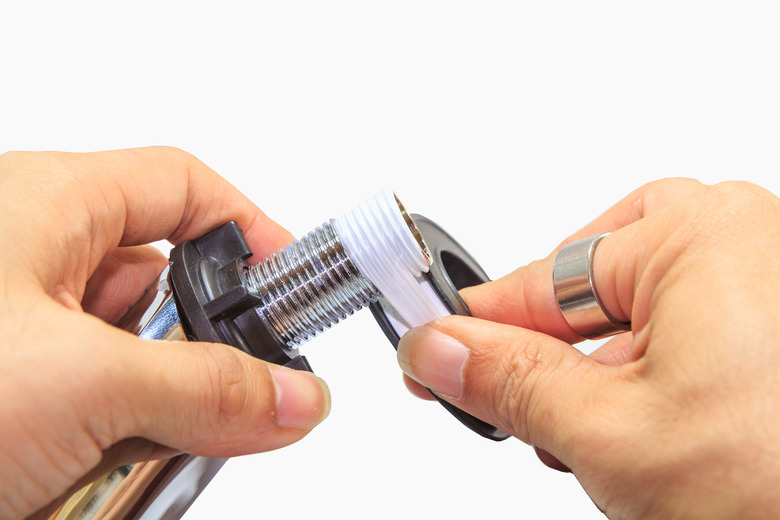
2. Use Plumbers' Tape When Appropriate
Using plumbers' tape can help prevent and stop minor leaks at connections, but it's not appropriate for every situation. It's best used on threaded connections without rubber seals built in. It's not meant for compression or other connection types. When applied correctly, the pipe thread tape creates a watertight seal and helps lubricate the connection, making it easier to thread and disassemble the connection.
When applying the tape, wrap it in the opposite direction of how you'll turn the pipe when you connect the pieces. This keeps the tape from balling up or unraveling. Wrap it snugly, starting at the second thread from the end of the pipe. Keep the tape snug and wrap it four to six times.
3. Use Compatible Materials

3. Use Compatible Materials
Your plumbing pipes can be made from a variety of materials, but they don't all get along well. Using compatible materials when you're replacing pipes or connections helps your home's plumbing system last longer. Pairing different materials together can prematurely wear down the pipes through galvanic corrosion. Ideally, you should use the same type of pipes when replacing a section of the plumbing system.
Stainless steel and copper pipes or fittings connected to each other are an example of incompatible materials. These dissimilar metals will create galvanic corrosion — meaning that your materials can literally disintegrate. Certain types of stainless steel can work with brass, but it's best to avoid using the two materials since it can be difficult to know if the two will work well together.
However, there is one trick you can try if you simply must use two dissimilar materials: Using dielectric couplings between the materials can reduce the risk of galvanic corrosion if they're allowed under local plumbing codes. These special fittings use rubber ring gaskets to interrupt the electricity flow between the two metals, which is what causes the accelerated corrosion.
Consider the metals for all plumbing components you're using, including your bolts, screws, hangers, and other parts, as they can also cause issues when used with pipes made from a dissimilar material. For example, corrosion can occur if you use a stainless steel hanger with a copper pipe. If you don't know what type of pipes you have, contact a plumber to handle the work to avoid unnecessary corrosion.
4. Check for Leaks
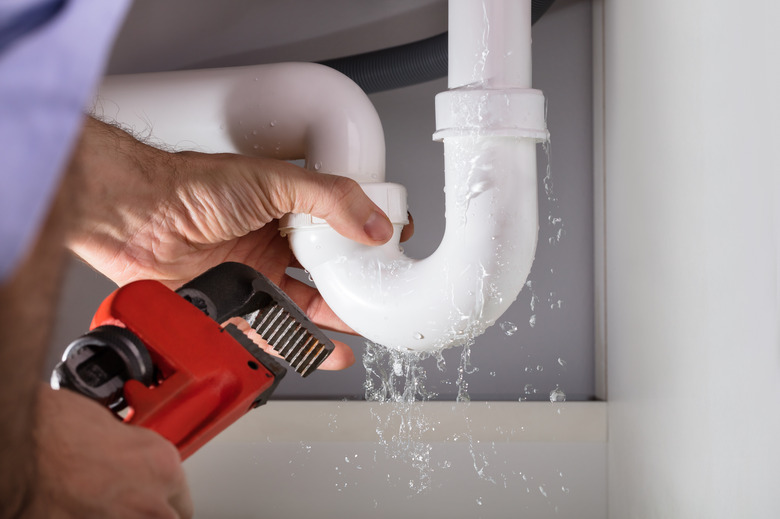
4. Check for Leaks
Don't assume everything is working correctly after you install a new fixture or handle a plumbing repair. Even though the connections look tight, they could leak and cause water damage that can become severe quickly if you don't catch it immediately. Always turn the water supply back on and watch for several minutes to see if there are any immediate leaks. Check back every few hours to make sure no leaks have started.
Continue to watch the connections where you did your plumbing installation or repair for several weeks. Leaks don't always happen immediately.
5. Don't Hide Vulnerable Connections
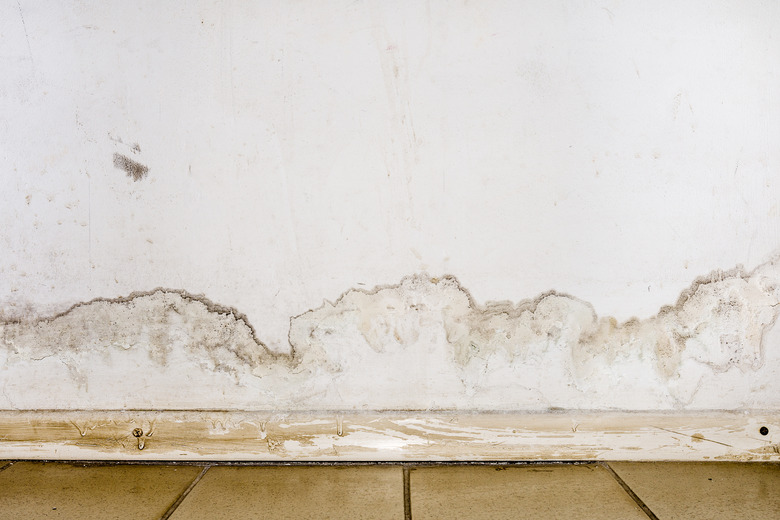
5. Don't Hide Vulnerable Connections
Many types of valves and other fittings are vulnerable to leaking, including shutoff valves, saddle valves, and other fittings. Keeping those connections easily accessible makes it easy to monitor them for leaks in the future. It also makes the connections easier to replace or repair if you have leaking or corrosion issues later.
If you hide them behind drywall, the leaks are much more difficult to detect. They'll continue until the damage shows through the finished spaces with signs such as soft drywall, water stains, or water dripping to rooms below. Repairing the damage requires you to cut into the drywall, which creates additional repairs. For vulnerable connections in finished spaces, installing an access panel makes repair work easier.
6. Avoid Overtightening Connections
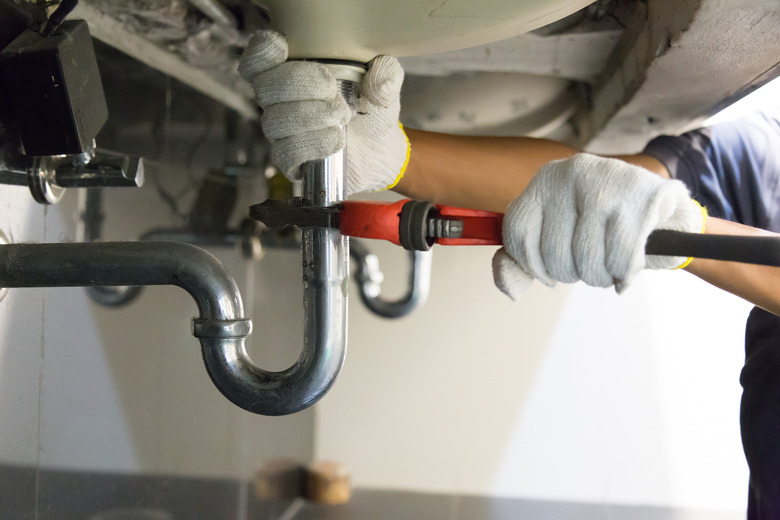
6. Avoid Overtightening Connections
It's logical to think tightening plumbing connections as much as possible will prevent leaks, but overtightening the connections can actually damage them and cause leaks or other issues. It can ruin rubber seals or strip the threads in the fitting. If you're working with plastic, you can crack the piece completely while you install it. Tightening bolts, such as those that hold your toilet in place, can crack the toilet.
In general, your plumbing connections just need to be hand-tightened or an eighth to a quarter turn past hand-tightened. You want the connection snug without it being too tight. If you force them once you feel resistance, you can quickly overtighten them and cause damage. When using pliers or other tools to tighten parts, go slowly so you can feel the resistance.
7. Use the Right Plunger Type
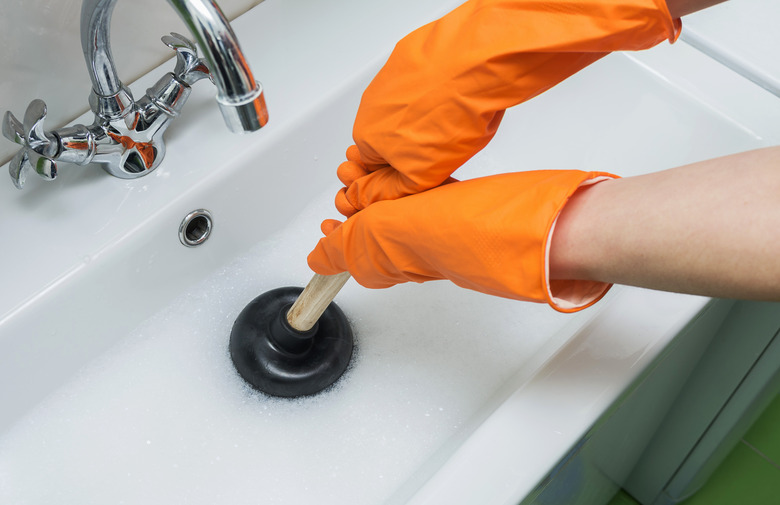
7. Use the Right Plunger Type
To keep your drains clear, you need the right kind of plunger for different jobs. There are three main types of plungers, all of which help clear a clogged drain, but they're designed for slightly different applications. Having all types on hand ensures you have a plunger for different jobs when a clog happens.
The three types include:
- Flat plungers: Also known as a sink plunger, this style has a flat, open bottom. Because of the flat bottom, it's ideal for use in a sink or bathtub that also has a flat surface to create a good seal.
- Flange plunger: A flange plunger is sometimes called a toilet plunger since it's ideal for the curved shape of the toilet bowl. The rubber flap that extends down in the center of the cup helps you get better suction in your toilet, making it easier for homeowners to clear a blockage.
- Accordion plunger: Another option for your toilet is the accordion plunger, which has a ribbed, accordion-looking cup. While it can be challenging to use, this type can give you stronger suction for difficult toilet clogs.
8. Take Photos First
8. Take Photos First
If you don't have a lot of plumbing experience, you might not know how parts go together, but it's essential that you reinstall everything correctly for the system to work properly. Of course, it's easy to forget how the system was put together once you start removing parts. A helpful plumbing tip is to take photos of the plumbing components before you start taking things apart so you have a reference when you reassemble things. Labeling the parts with masking tape and a good old-fashioned Sharpie can also help you keep them straight.
If you're replacing a specific plumbing component, refer to the instructions provided and the photos. For example, when installing a new garbage disposal, referring to the instruction manual gives you product-specific help. The photo of how the previous unit was installed gives you a good visual of how to connect it to your system since instruction manuals can be vague or difficult to understand.
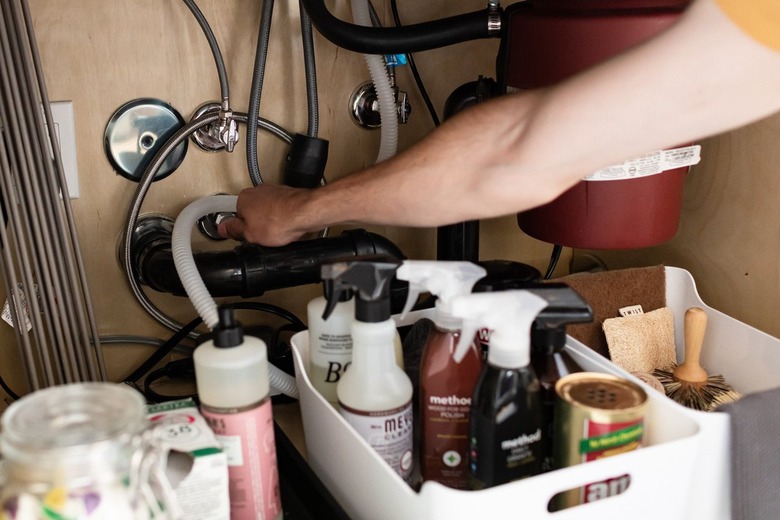
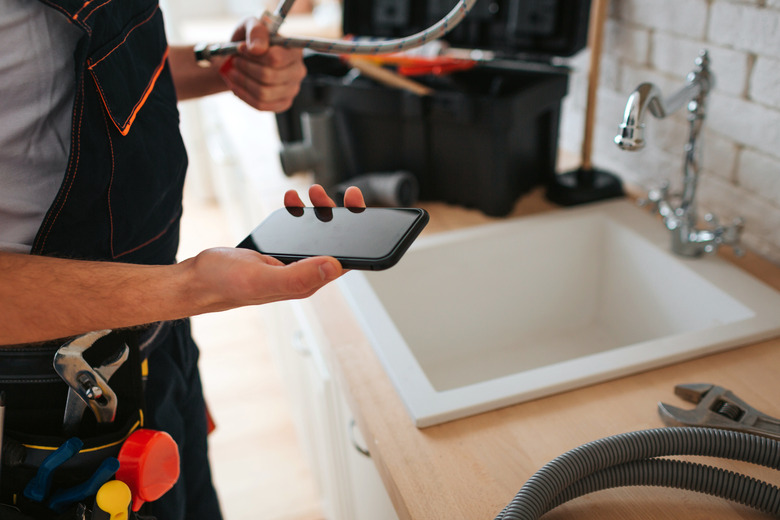
9. Have Tools and Spare Parts
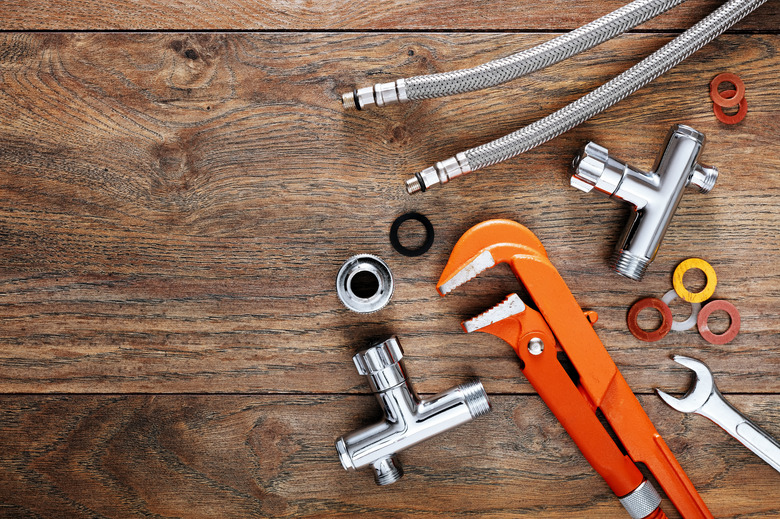
9. Have Tools and Spare Parts
Some plumbing jobs require specialty tools to do the job efficiently. A basin wrench is useful when working under a kitchen sink or in other tight areas. Using a strap wrench on parts like faucets prevents damage to the finish. Research the project you're doing to determine the specialty plumbing tools you need to do the job correctly.
You might also need replacement parts in case you discover worn components or if you break a part while you're doing the repair. For example, you might need to replace rubber gaskets or damaged washers during your project. When replacing a cartridge to fix a dripping faucet, you might discover there are also issues with the gaskets or O-rings. This can result in leaky faucets that require additional repairs or a full replacement.
Having the necessary tools and spare parts on hand before you start working makes your plumbing issues easier to repair and saves you from stressful midproject trips to the hardware store. It makes your project less stressful and reduces the amount of time your family has to deal with the water being shut off.
10. Know When to Get Help
10. Know When to Get Help
Even with the best DIY plumbing tips, simple plumbing jobs can become complex quickly. Knowing when to hire a professional plumber can save you stress and prevent serious damage. Always call a plumber if the repair deals with your gas lines: It's very dangerous to work with gas lines, especially if you aren't experienced.
When it comes to water lines, call a plumber if you feel uncomfortable with the repair or if it's potentially dangerous. Working with a water heater can be complicated and dangerous, for example. Dealing with a sewer line is also a situation that's best left to professionals who have the right equipment to do the work safely.
If you've tried to fix an issue but it keeps coming back, such as a toilet that keeps getting clogged or consistently low water pressure, it might be time to let a professional try. Letting a plumber fix hidden plumbing leaks or work behind walls and in difficult to reach areas makes your life easier. Plumbing emergencies are also best left to professionals since they need to be addressed quickly.