How To Install A Motion Sensor Security Light
We may receive a commission on purchases made from links.
A motion sensor light is an intrusive headache for burglars — making it an easy, attractive option for home safety and security. But beyond providing security by deterring intruders, a motion sensor light illuminates the way for you when you come home late at night, and that can save you from tripping over a curb or slipping on a patch of ice in your path. A well-placed motion sensor floodlight can also help keep your garden safe by deterring critters, such as deer, coyotes, bears and mountain lions. You can even buy a motion sensor light with a built-in camera that begins recording when the lights switch on and sends a video to your smartphone so you know what's happening on your property whether you're home or away.
Motion detector lights are neither expensive nor difficult to install and adjust. If you already have an exterior light fixture, you can simply replace it with a motion sensor light — no electrician required — and if you want to install one in a place in which there is no existing light fixture, the procedure for running wires and installing an electrical box is no different than it is for installing a regular fixture.
How a Motion Sensor Light Works
How a Motion Sensor Light Works
Motion sensors can use one of several technologies to detect movement. Some sensors work like radar, sending a signal to cover a predetermined area with ultraviolet or microwave radiation and looking for reflected radiation. A technology employed in many home security lights called passive infrared (PIR) is less complex than this. Humans and animals emit infrared radiation as body heat, and a PIR sensor looks for the increases in infrared radiation that occur when a person or animal enters its range.
A PIR motion sensor has a pair of pyroelectric sensors placed side by side inside the sensor housing, and when the signal differential between them changes because something has entered the detection zone, a small electrical signal is generated. This signal can be used to trigger an alarm or send a notification to the authorities, but in a security light, it just switches on the light. Because this is an electrical process, the sensor has to be connected to power to work — and so does the light — so if the fixture is wired to a circuit with an existing wall switch, the switch has to be left on for the fixture to work.
A typical motion sensor light has three adjustments. A dial on the sensor regulates the sensitivity by changing the differential between the two pyroelectric sensors, and a second dial sets the length of time the light stays on after the sensors detect something. This is called the delay time, and on some fixtures, you can set it as long as 30 minutes. You can also regulate the field of view; if there is no control dial provided, you do this by changing the angle of the sensor screen.
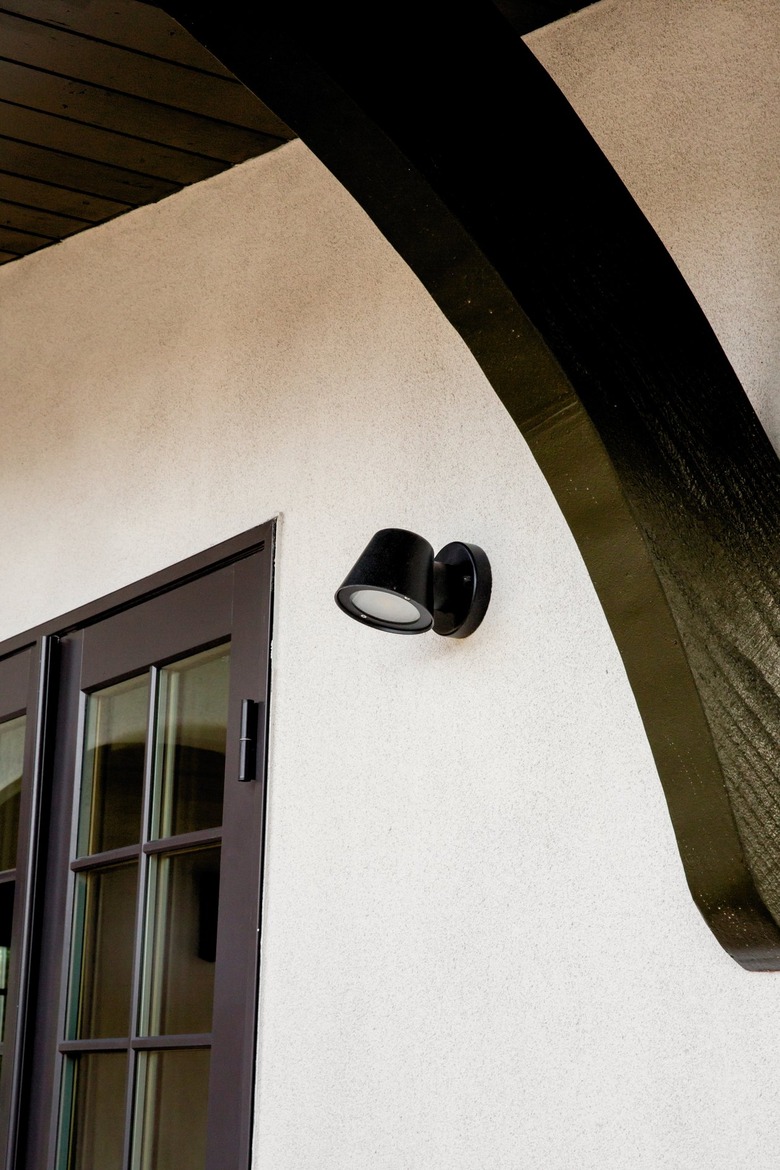
 dsharpie/iStock/GettyImages
Where to Install a Motion Sensor Light
Where to Install a Motion Sensor Light
To effectively detect motion over a wide area, a motion detector has to be mounted high but not too high, or it will be too far away to "see" anything. A height of 8 feet is ideal, although if you're only interested in monitoring a limited space, such as the area around a pool door, mounting it on top of a 6-foot fence might do the job. Keeping in mind that the light fixture needs to be connected to electricity, the best locations for spotting movement in the yard and around entry doors are on the underside of soffits or the side walls of a building, where it's easy to run electrical wires.
Obstructions block the view, and the closer they are to the sensor, the more they block. It's generally a bad idea to mount a motion sensor light close to overhanging tree branches or behind bushes, not only because the sensor can't detect movement in the yard but also because the movements of the leaves will trigger the sensor. Tree branches and leaves are alive and radiate a small amount of heat, and it's often enough for the sensor to detect.
A motion sensor light should also be out of the range of streetlights, landscape lights and any other lights that the sensor can mistake for daylight. Most motion sensor fixtures include a light sensor that keeps the light switched off during the day. You can override this sensor when you need to make adjustments by putting the fixture into test mode.
How to Install a Motion Sensor Security Light
How to Install a Motion Sensor Security Light
As a DIY electrical project, there is virtually no difference between installing a conventional light fixture and a motion sensor security light. The motion sensor and light socket are connected internally, and the wires coming out of the fixture are the same black, white and ground wires you see on a conventional fixture. All you have to do is connect the wires to the circuit wires, mount the fixture on an electrical box and finish by adjusting the sensor sensitivity, range and delay time. If there are no wires or electrical box at the location of the fixture, you (or an electrician) have to install these first.
1. Shut Off the Power
Shut off the circuit breaker in the main panel that controls the light fixture circuit. Don't rely on shutting off the wall switch because someone may turn it on while you're working. If you're replacing a light fixture controlled by a dimmer, now is a good time to replace the dimmer with a standard on/off switch. A motion sensor light should never be controlled by a dimmer.
2. Unmount the Old Fixture
Unscrew the fixture canopy using a Phillips screwdriver if necessary and gently pull the canopy away from the wall or ceiling. If the canopy is caulked to the surface, you may have to cut the caulk first using a sharp utility knife.
3. Test and Disconnect the Wires
Pull out the fixture far enough to allow you to reach behind it and unscrew the wire connectors. Before you touch the exposed ends of the wires, it's a good idea to test them with a voltage tester to make double sure they aren't live. You may have to support the fixture on the top of your stepladder to do this. Once you're sure the wires are dead, you can untwist the wires and remove the fixture.
4. Install the Mounting Bar for the New Fixture
Each light fixture comes with a mounting bar that screws onto the electrical box and provides holes for the screws that support the fixture. Remove the old mounting bar and install the one that came with the security light using the screws provided.
5. Connect the Wires
If the fixture comes with a weatherproof gasket, fit it around the fixture canopy before you connect the wires. (You won't be able to do it afterward.)
Support the fixture on the top of the ladder while you connect the wires. Twist the black wires together clockwise using pliers and then screw on a wire nut clockwise and tighten it well. Twist and cap the white wires and the ground wires in the same way. The wire nuts are usually supplied with the fixture, but you can also reuse the nuts from the existing fixture.
6. Mount the Fixture
Push the wires into the electrical box — making sure the wire nuts are behind the mounting bar — and then position the fixture onto the electrical box and secure it to the mounting plate with the screws provided. The motion sensor should be at the bottom of the fixture facing downward. Once the fixture is secure, run a bead of silicone caulk around the base of the canopy to seal out moisture.
7. Screw in the Light Bulbs and Turn On the Power
Install only the type of light bulb for which the fixture is designed. If you aren't sure of what type of bulb to use, consult the manufacturer's instructions. Turn the breaker back on and turn on the wall switch. The light won't come on until you put it into test mode.
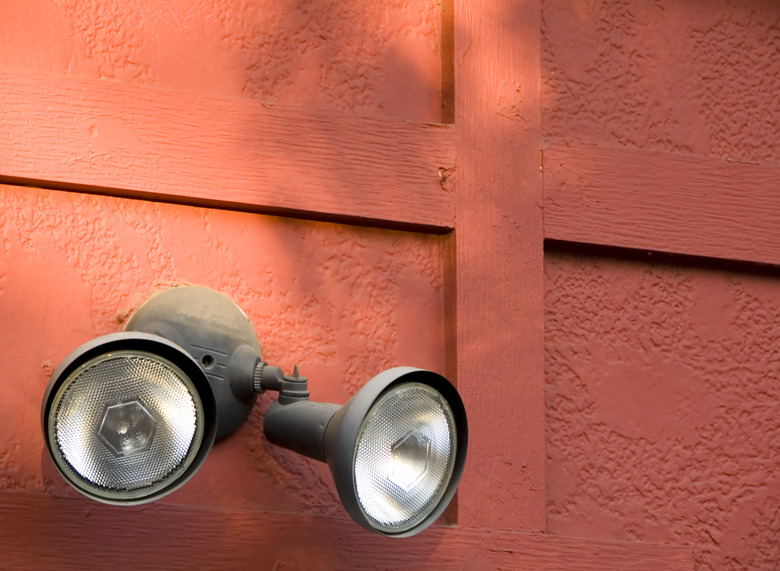
 ronstik/iStock/GettyImages
Adjusting the Motion Sensing Parameters
Adjusting the Motion Sensing Parameters
Manufacturers provide two levers or screws to adjust the sensitivity — range and delay time of motion sensor lighting — and you can usually move these by hand, but on some models, you may need to turn the adjustment screws with a screwdriver. To make these adjustments, the unit must be in test mode, which overrides the light sensor and allows the light to turn on in daylight. To make the adjustments easier, it helps to have two people — one making the adjustments and one walking around the field of view of the sensor — but you can do it yourself if there's no one else around.
Climb the ladder and look for a dial on the bottom of the unit that says "on time" and turn this to the "test" setting while you turn the other dial, which is labeled either "range" or "sensitivity," to its lowest setting. To adjust the range, walk away from the light, wait for it to go off and then walk slowly toward it and note how far away you are when it comes on. You can increase this distance by turning up the sensitivity. Once you're satisfied, take the "on time" dial out of test mode and move it in the opposite direction to set the amount of time the light stays on. The farther you move it, the longer the light will stay on.
Some motion sensors are curved and rotate on an axis, which allows you to adjust the peripheral view as well as the range. You adjust the range by swiveling the sensor up and down; the higher it faces, the farther the range will be, but don't set it too high if you don't want birds to trigger the sensor. The sensitivity dial on this type of sensor adjusts the peripheral view, and if you can't set this view to be narrow enough for your needs, you can cover the outside edges of the sensor with tape.