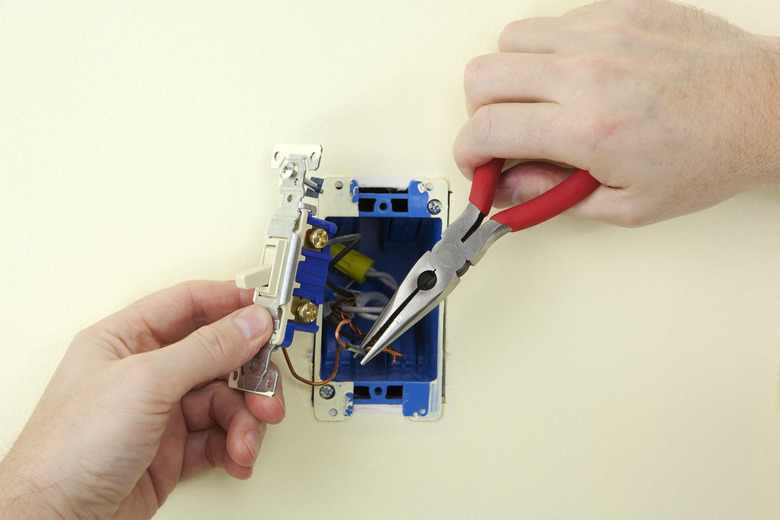
How To Wire An Additional Light To An Existing Light & Switch
If you think a room in your house is too dark, you may want to add an additional wall light fixture. Connecting another light to an existing light and switch is an easy electrical wiring job. Since the existing light is already connected to the switch and you are not adding a light switch, most of the wiring you need will be present in the wall or ceiling. You can wire the new wall light fixture into the existing light and have a single switch control both lights.
Adding a Light to a Circuit
Adding a Light to a Circuit
Turn off all power supply to the room in which you will be working. Check that there is no power running through the wires with a circuit tester.
Drill a pilot hole through the ceiling where you would like to install your ceiling electrical box. Insert a wire through the hole, up to the attic. Cut through any rough flooring around the wire with a jigsaw.
Place the electrical box over the pilot hole, and use a pencil to trace around it. Cut this tracing out with a drywall saw. Position the electrical box in the hole, and adjust the arms on the side of the box so that they are tight to the wooden joists on either side. Secure the arms to the joists with screws.
Measure the length from the existing light to where your new light will be. Cut lengths of 14-gauge white wire, green wire and black wire to reach this distance.
Wiring the New Light
Wiring the New Light
Unscrew the wire nut holding the two black wires together on your existing light. Strip the last one inch of your new black wire, and place all three black wires together. Twist the wire nut onto the three wires to secure them.
Unscrew the wire nut holding the two white wires together. Strip the last one inch of the new white wire, and place it next to the other white wires. Place a wire nut over all three white wires, and twist the nut to secure the white wires. Repeat this process with the green wires.
Run the new wires across the attic to your new light. Strip the last one inch off all three wires.
Connecting the Light to the Electrical Box
Connecting the Light to the Electrical Box
Connect the white wire you ran through the attic to the white wire coming off the ceiling electrical box with a wire nut. Do the same with the black wires. Use a screwdriver to loosen the grounding screw on the box. Bend the green wire into a "U" shape with a pliers and wrap it around this wire. Tighten the screw to hold the wire.
