Easy Way To Remove Peel-And-Stick Wallpaper
We may receive a commission on purchases made from links.
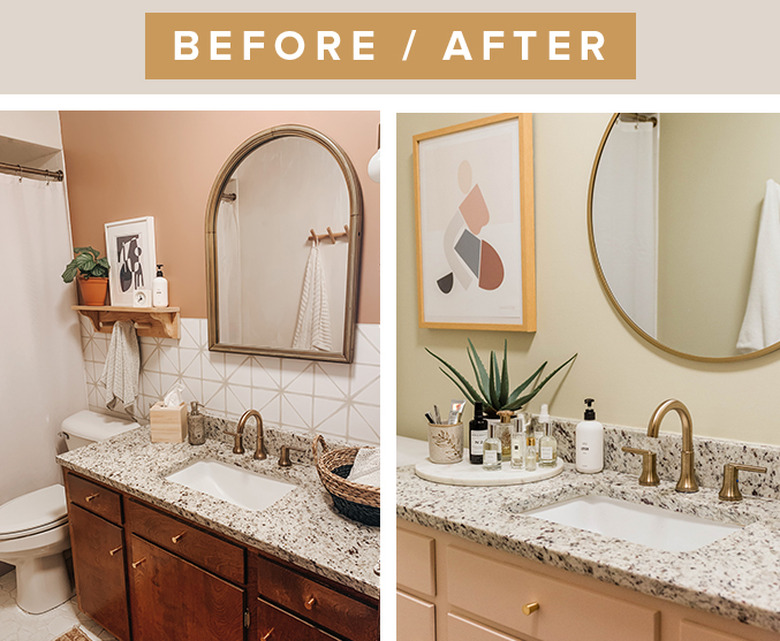
Tired of your peel-and-stick wallpaper? If you're ready for a refresh, here's how to take it down the right way without doing lasting damage to your drywall. Below, our step-by-step, including a quick five-minute fix for any small blemishes that might (but probably won't!) crop up along the way.
 Carrie Waller
 Carrie Waller
Step 1
Take down any art, mirrors, and shelving from the wall that has the peel-and-stick wallpaper so you have a clean working surface.
 Carrie Waller
Step 2
Run a utility knife along the edges of the peel-and-stick wallpaper to free it from any caulk or paint lines that surround the paper.
 Carrie Waller
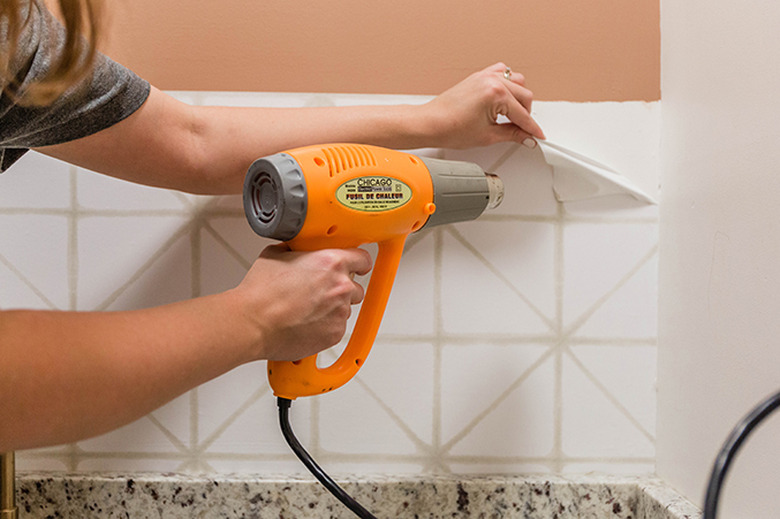
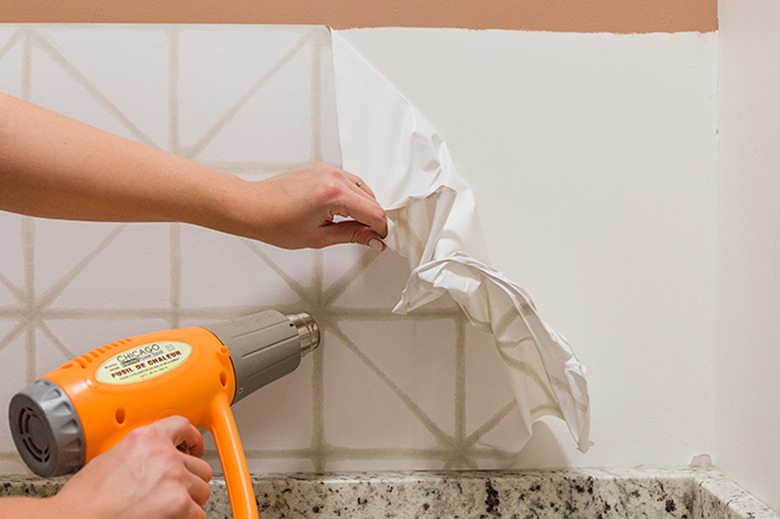
Step 3
Use a heat gun to gently warm the surface of the peel-and-stick wallpaper. The heat gun can be held within just a few inches of the paper to get it thoroughly heated through, but just make sure you sweep the gun gently from side to side so the heat isn't concentrated full blast on any one area at a time.
Once the wallpaper is heated, peel it very slowly back from the wall at a 45-degree angle until it's completely free. Discard the old wallpaper, and allow the drywall to cool down before painting.
WARNING: Be careful of your fingers! Use thick heat-resistant utility gloves if you have trouble keeping the heat away from your skin.
Carrie Waller
 Carrie Waller
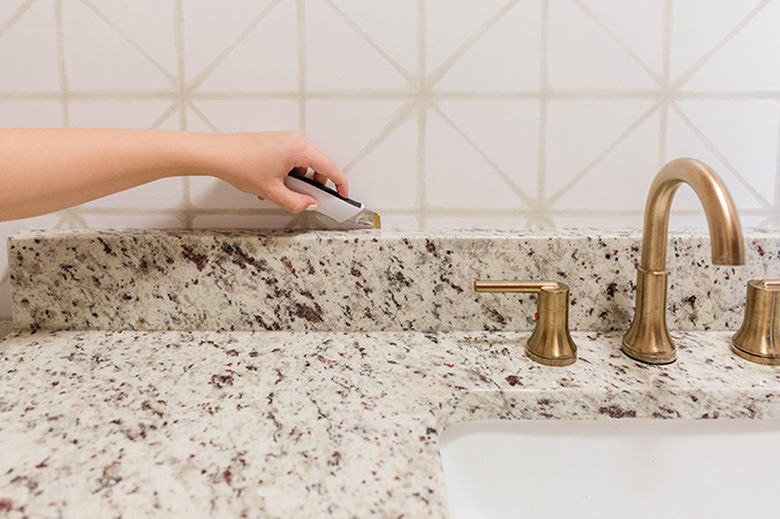
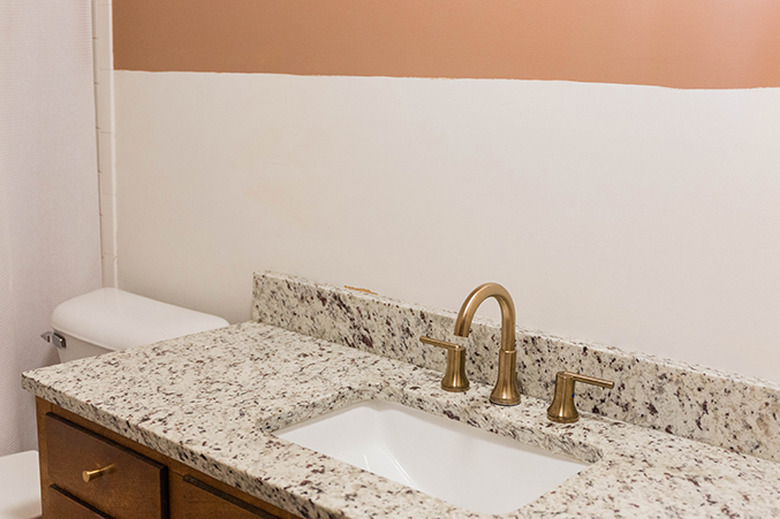
Step 4
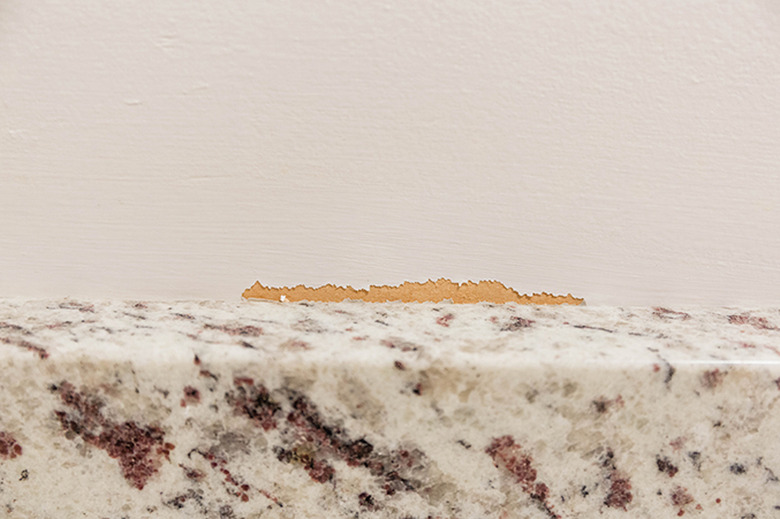
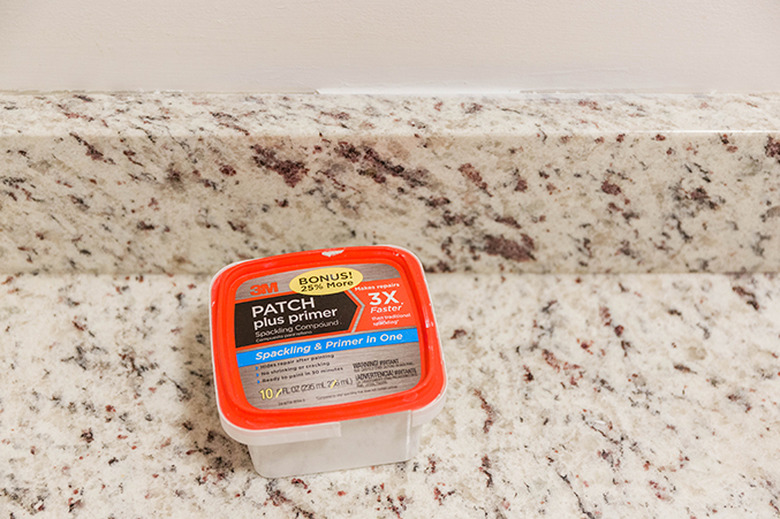
If you did the previous step correctly, you should be left with a largely unblemished wall behind the wallpaper. That said, there may be a couple of small areas that need patching. Fill these areas of missing drywall with spackling compound. To do so, just put some patch plus primer spackling compound on a spackling knife, then fill the blemish. Allow it to dry completely and sand smooth, if necessary.
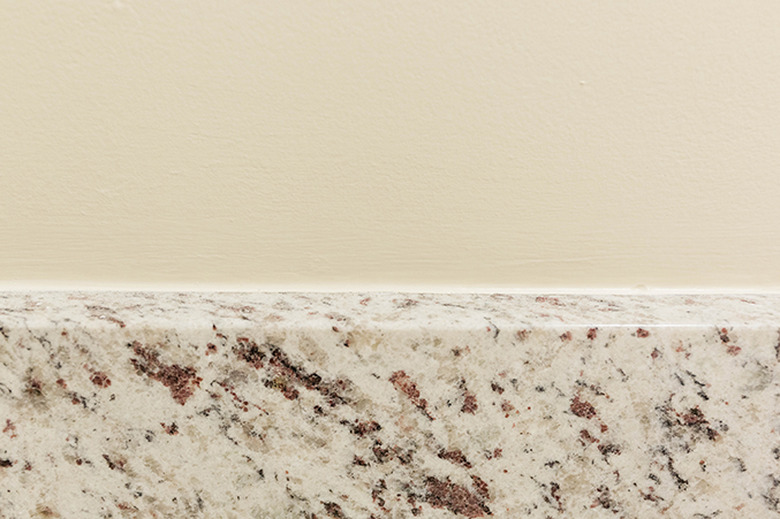
TIP: For the small area on our own wall where the paint peeled up along the backsplash, we actually used our fingertip to get the spackling compound in place to cover the blemish. Before it dried, we wet our fingertip with water from the sink, and smoothed the compound down, like you would caulk. Done in under a minute!
 Carrie Waller
 Carrie Waller
 Carrie Waller
Step 5
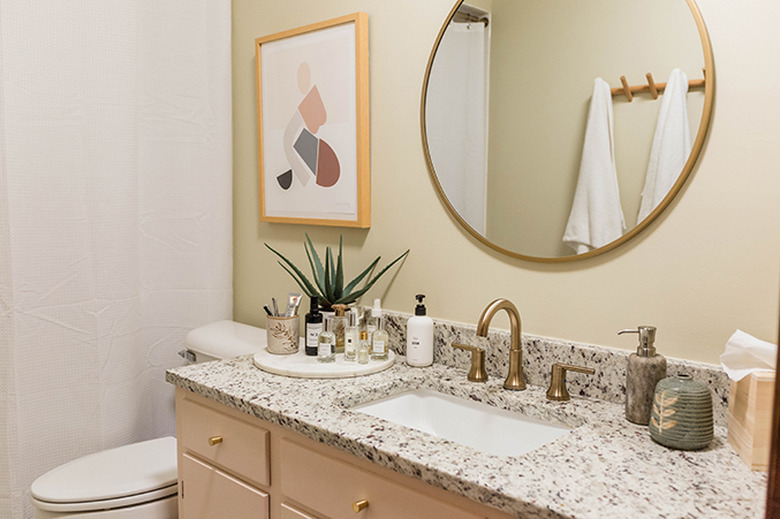
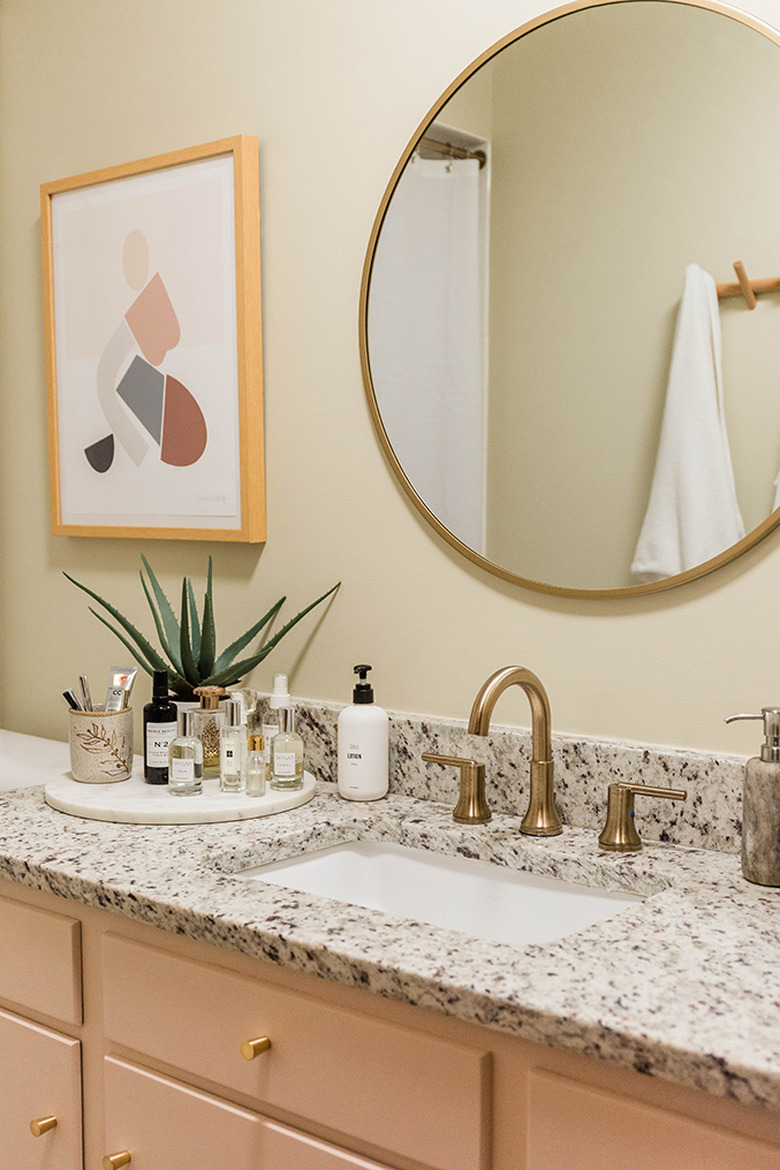
Run new paintable caulk along any areas that might need it (for example, in a bathroom along the backsplash), and then repaint your walls a fresh new color to eliminate all traces of the old peel-and-stick wallpaper.
 Carrie Waller
 Carrie Waller
 Carrie Waller