How To Install Brick Lawn And Landscape Edging
We may receive a commission on purchases made from links.
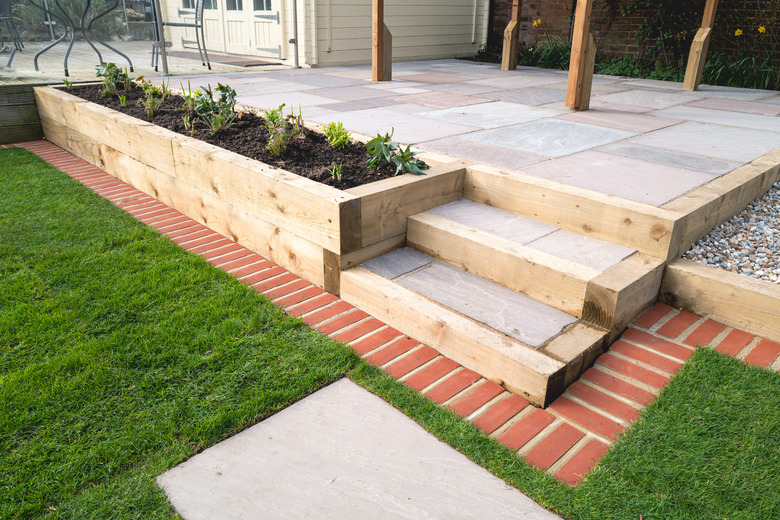
Installing brick edging is a simple DIY project that can really add some curb appeal to your home and take your landscaping to the next level. Brick pavers are inexpensive and create a nice division between your lawn and flower beds. You can then use a dark mulch to create a sharp contrast or opt for red mulch to match your bricks and create a more seamless look.
A Few Words of Wisdom
A Few Words of Wisdom
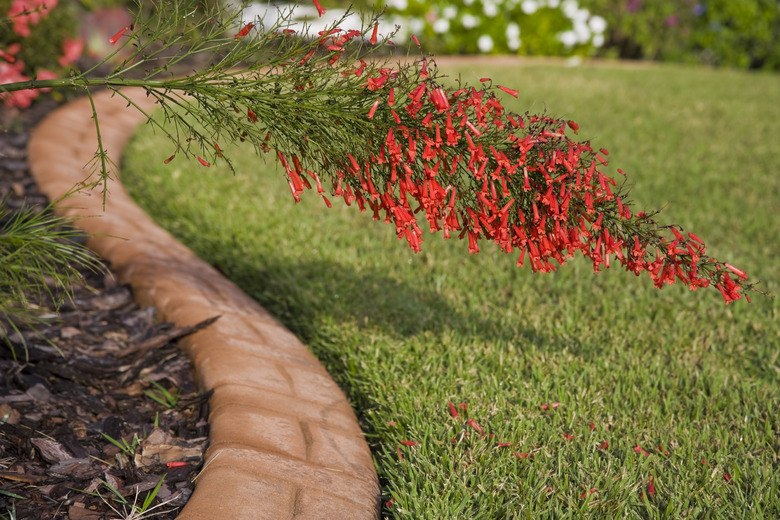
When installing brick edging, it's important that you get the right type of bricks. You want to purchase bricks specifically made for landscaping use. Traditional brick materials don't always take well to freeze and thaw cycles, so they might crack or break as the weather changes. Purchase bricks that specifically say they can withstand these weather changes.
Don't hesitate to get creative when designing your DIY landscaping, You can stand up your bricks, lay them side by side or lay them end to end. You can even alternate between the two or get more intricate detail with a herringbone or diagonal pattern. Whatever option you choose, lay out your bricks next to the garden so you can see if you like the way they look before you begin. Doing this will also show you if you have any curves or problem areas around which to work.
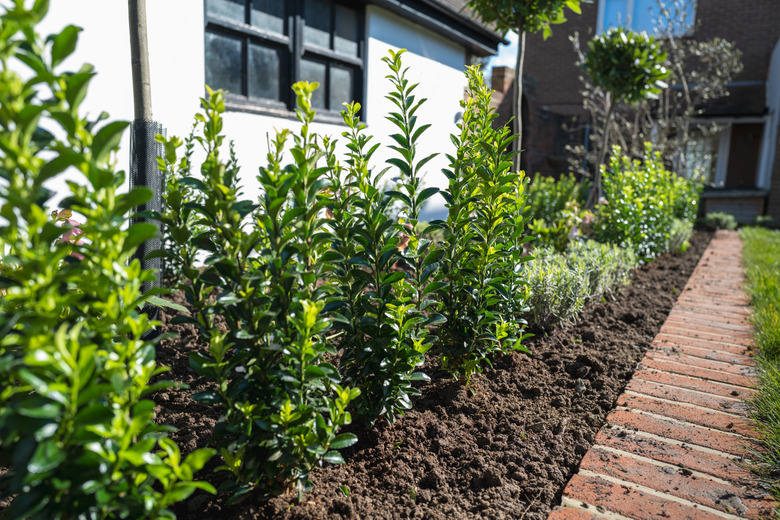
Also note that you should use polymeric sand when finishing your project. You can use an inexpensive basic sand for your base but always lock your bricks together with polymeric sand. Polymeric sand contains binding agents that keep the sand in place so it doesn't wash away during heavy rains. It's also better at resisting weeds and insects and comes in a variety of colors to match your project.
Although your brick pavers are going to serve as your visible edging, you want to make sure that the bricks don't shift or move over time. If desired, you can do so by placing a basic plastic or aluminum landscaping edge behind your bricks to discreetly help hold them in place. You won't see this edging when you're finished, as it will be behind your bricks, and in flower beds, it will get covered by mulch.
Things Needed
-
(2) Wooden or metal stakes
-
Twine or string
-
Landscape marking paint (optional)
-
Screed or straight 2x4
-
Circular saw or wet saw
-
Broom
 CBCK-Christine/iStock/GettyImages
How to Install Brick Lawn and Landscape Edging
1. Create a Mason Line
A mason line will help guide you while you work. Without one, you may find that your trench or the bricks themselves start to wander off course a bit. If you prefer, you can also mark out your edging with landscape marking paint to keep you on track.
-
Drive a stake into the ground at either end of your edging run.
-
Tie a string to the stake and adjust it so that it sits at the same height that the top of your bricks will sit. This string will serve as a guide while you work.
2. Dig a Trench
The trench that you dig will serve as the base for your bricks. Use a square shovel to get a nice, clean edge where your bricks will meet your lawn. If you're going with only one row of bricks, you'll want to dig deeply enough to keep them even with the lawn after adding your base materials. If you don't, you won't be able to get your lawn mower close to it, and you'll need to use a string trimmer to keep grass at bay.
If you're using standard bricks, your trench should be 4 or 8 inches wide depending on how you intend to lay your brick and 9 1/4 inches deep. If you plan on backing your brick edging with aluminum or plastic, make the trench 14 inches wide to accommodate it. You can adjust these dimensions as necessary if you're using bricks of a different size. Just remember to dig deep enough to accommodate the height of your brick, 6 inches of gravel and an inch of sand.
3. Prepare a Base
The base is going to serve as the foundation of your pavers, so take your time here. Laying the base isn't difficult, but the more solid your base, the easier it will be to align your brick edging when you install it.
-
Fill the bottom of your trench with 3 inches of gravel. Don't use pea gravel, as this won't compact well. Run a screed or the flat edge of a 2x4 across the top of the stone to make it level and then tamp it down.
-
Add another 3 inches of stone and repeat the tamping and smoothing process.
-
Add 1 to 1 1/2 inches of sand on top of your gravel. Run your screed across it again until it's smooth and level. If the sand is very dry, mist it with your garden hose to make it easier to work with.
4. Place Your Brick Edging
The way that you place your bricks during this step is the way that they'll stay. Look closely at your bricks as you lay them. Place stains or discolorations face down and pass over bricks that are chipped or cracked.
- Lay your bricks in place, positioning them exactly where you want them to be. Use a mallet to gently tap the bricks into place. They may stick out over the adjacent lawn a bit but don't worry — you'll tamp them down later. For now, just make sure they don't poke up more than about 1/8 inch.
- When you reach a curve in your landscaping, fan your bricks a bit further apart to go around the bend more easily. To keep them from drifting too far apart, leave space for a wedge-shaped keystone (or an arch-shaped brick, which will be cut from an existing brick later in the process) between every third or fourth brick if necessary.
 RobertsGalleries/iStock/GettyImages
5. Cut Your Pavers
Cutting your bricks (whether they need to be cut for length or to be reshaped into wedges) near the end of your project helps you avoid having to recut if you need to make a change in your layout. A wet saw makes quick work of brick cutting, but you don't need to invest in one unless you plan on a lot of future tile and brick work. If you have several cuts to make in your landscape edging, you can rent a wet saw for the day.
-
Set a brick over the gap you left for a keystone when cutting your pavers.
-
Mark the brick with a masonry pencil where it meets the other bricks so you'll know where to cut it. For a wedge-shaped keystone, extend your marks out to the edge of the brick to outline a pie-shaped wedge. For cutting brick to length, simply measure where the brick needs to end and mark.
-
Cut the brick along your marks with a circular saw and diamond blade. You can periodically mist your saw with a water bottle or rent a wet saw to cut your bricks. This prevents the saw blade from overheating while you cut and keeps the dust down.
-
Place your new keystone into place along your landscaping curve and your bricks that were cut to length where they belong in the layout.
6. Secure Landscape Edging
This is an optional step but one you should consider. Bricks can easily get bumped by lawn mower wheels or playing children, and you could find your bricks slowly drifting back into your flower beds over time. Installing edging behind the bricks provides extra support.
- Remove any sand that is sitting behind your bricks that will interfere with your landscaping edge. You want your landscape edging to sit on the gravel behind your bricks but stay hidden behind them. Removing some gravel may prove necessary in places to prevent the edging from sticking out above your bricks.
- Install the edging firmly against the back of your bricks. Secure it with anchoring spikes driven every 12 inches to hold it in place.
7. Tamp Down Your Bricks
You don't want the top of your brick edging to rest above the adjacent lawn, so you'll need to tamp them down and make them flush. The sand base you laid under the bricks will provide plenty of wiggle room so your bricks can settle nicely into place without much trouble. Once they're in place, polymeric sand helps keep them there.
-
Place a board across a section of your bricks and hit it with a rubber mallet to tamp down your bricks.
-
Tamp down your bricks until they're even with your lawn. Check them as you work to make sure they're flush with each other as well.
-
Spread dry polymeric sand over your bricks with a broom and then tamp down the bricks again. This will force the sand into the cracks between your bricks and help hold them in place.
-
Spray the bricks with a hose to activate the polymeric sand.