How To Replace A Sprinkler System Valve And Solenoid
We may receive a commission on purchases made from links.
The in-ground sprinkler system that irrigates your lawn and garden has different types of valves that control the flow of water. Some of these sprinkler valves are above ground, and others are usually located in recessed in-ground boxes. Sooner or later, it's likely that you'll face a sprinkler valve replacement or replacement of a solenoid that controls a valve. Though this project requires some plumbing skills, it's a fairly simple DIY project you can tackle in a weekend.
Types of Sprinkler Valves
Types of Sprinkler Valves
A typical lawn irrigation/sprinkler system has three different types of valves controlling the flow of water:
- A main shutoff valve controls water flow to the entire sprinkler system. This valve allows the sprinkler system to be shut down without interrupting water flow to the rest of the home. Because this valve sees infrequent use, it doesn't fail very often, and most homeowners will never need to service it.
- A stand-alone anti-siphon valve is included when the sprinkler zones are controlled by below-ground in-line valves, which by their design cannot have anti-siphon capability. The stand-alone anti-siphon is a vacuum-breaker device that is sometimes integrated with the main shutoff valve or is part of the backflow preventer assembly. It's also rare for this valve to require repair or replacement.
There is a third type of valve that most homeowners will need to service or replace at some point — the zone valves, which feed sprinkler heads in different areas of the yard. There are two different types of zone valves you may encounter:
- An in-line zone valve is installed below ground, usually grouped with the other valves in a recessed box set into the ground. Each of these valves will have a wired device known as a solenoid attached to it. The solenoid receives low-voltage signals from the timer/controller unit, causing the sprinkler zones to activate according to the programmed schedule.
- An anti-siphon zone valve is an above-ground zone valve. It operates in exactly the same way as an in-line zone valve but is shaped slightly differently and has a built-in anti-siphon mechanism that eliminates the need for a stand-alone anti-siphon valve.
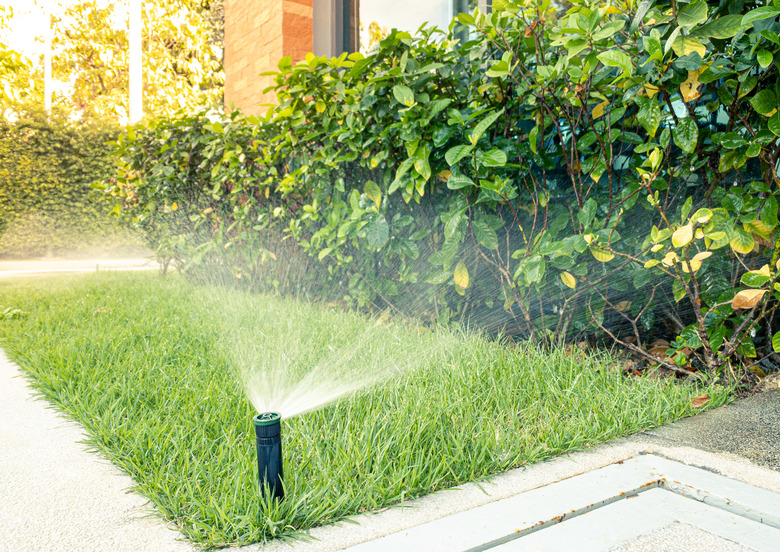
 georgeclerk/E+/GettyImages
Servicing the Solenoids
Servicing the Solenoids
When a valve stops working correctly, it's possible that the problem lies with the solenoid rather than the valve itself. Thus, it's always a good idea to consider replacing the solenoid before turning to full replacement of the valve, which is a bit more involved. This is quite easy to do:
- Make sure low-voltage current to the solenoid is turned off at the controller. You can simply unplug the controller itself if necessary.
- Disconnect the controller wires from the solenoid attached to the zone valve. This is usually just a matter of unscrewing wire nut connectors.
- Unscrew the solenoid from the valve housing. Generally, this is done by unscrewing it in a counterclockwise direction.
- Check for any debris clogging the port where the solenoid sits. Wipe away this debris and rinse off the solenoid itself.
- Check the O-ring on the solenoid for debris or wear and replace the O-ring if necessary. Reattach the solenoid, reattach the wires and see if this simple service returns the valve to good operating condition.
- If the valve still doesn't work correctly, replace the solenoid with an identical replacement. Then, reattach the low-voltage controller wires and test the operation of the system. If the zone still does not operate correctly, then replacement of the entire valve unit is the next step.
Servicing the Valve Diaphragms
Servicing the Valve Diaphragms
Some zone valves are designed so the inner diaphragms that control the water flow can be cleaned and replaced:
- Shut off the controller and turn off the water supply to the sprinkler system.
- Disconnect and remove the solenoid.
- Remove the bonnet screws that secure the cap on the zone valve. Lift off the cap to expose the spring and rubber diaphragm inside. (Some valves have a screw-on cap that is removed by twisting it counterclockwise.) Remove the spring and set it aside.
- Remove and inspect the rubber diaphragm. Clean away any debris. If the diaphragm seems cracked or brittle, replace it with a new one.
- Reassemble the valve, making sure to reinsert the spring. Reattach the solenoid and then turn the system back on and test the operation.
Replacing an In-Line Zone Valve
Replacing an In-Line Zone Valve
In-line zone valves are usually found inside a recessed ground box. In some cases, most or all of the valves may be buried in soil with only the tops and the controller wires exposed. In this case, you'll need to remove plenty of soil to go forward with sprinkler valve replacement.
An in-line zone valve can be attached to the PVC sprinkler pipes in a number of ways, but in the most common scenario, it will be fitted with threaded male adapters that are solvent-glued to the sprinkler pipes. Removing the old valve usually means cutting through the sprinkler pipe on one side of the valve in order to unscrew it from the adapter on the other side. Be prepared to be flexible, as your configuration might look different. Also be aware, that replacing a valve is a job that requires some experience working with pipes.
Things Needed
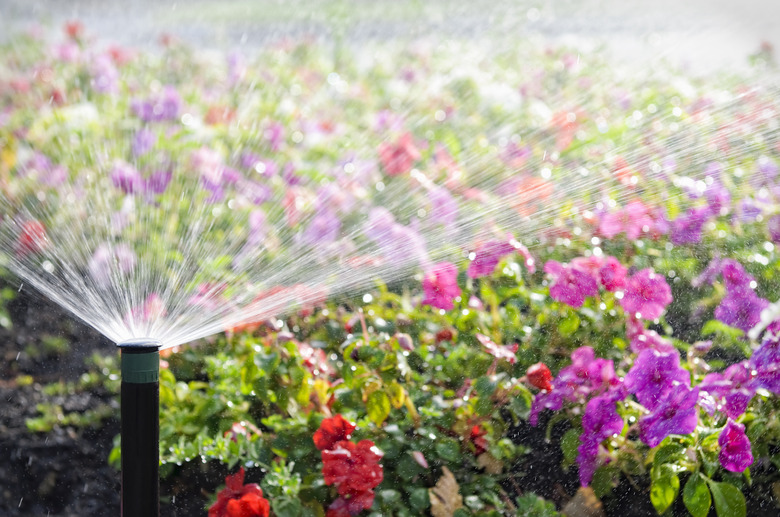
 stevecoleimages/iStock/GettyImages
How to Replace an In-Line Zone Valve
1. Prepare to Replace the Valve
Shut off the sprinkler system at the controller and then shut off the water supply to the system at the main shutoff valve. Open the ground box and dig away soil to completely expose the valve you want to replace. In some cases, this may involve removing quite a lot of soil or even the ground box itself to create plenty of space.
2. Remove the Old Valve
Disconnect the low-voltage wires from the valve's solenoid. This usually involves simply disconnecting wire nut connectors, or you can snip away the wires near the solenoid.
Cut through the plastic sprinkler pipe at one end of the old valve using a plastic tubing cutter. Make this cut as close as possible to the hub of the adapter. Usually, this will be sufficient to allow you to rotate the entire valve counterclockwise to unthread it from the other side using tongue-and-groove pliers. (In some instances, you may need to cut through the pipe on both the downstream and upstream sides of the valve in order to remove it.)
Buy a replacement valve that matches the specifications for your system. (This doesn't necessarily mean an exact replacement because there are new, improved valves that may have better performance than the old valve.)
3. Prepare the Pipes
Wrap the threads of a male-threaded adapter with pipe-seal tape and then thread it into the appropriate port on the new valve. (If you've had to cut the pipe on both sides, then you'll need to install adapters into both ports.)
Clean off the threads of the male adapter still attached to the sprinkler pipe and wrap it with fresh pipe-seal tape.
4. Attach the Valve
Position the valve into the gap between the upstream and downstream sprinkler pipe and screw it onto the threaded adapter that is still attached to the pipe. At the other end, secure the pipe into the hub on the valve's adapter fitting using solvent glue.
5. Connect the Wiring
Connect the low-voltage controller wires to the new valve's solenoid following the manufacturer's instructions. Usually, this is a simple matter of connecting the controller wires to the solenoid's wires using wire nuts.
6. Finish and Test
Replace the ground box if you had to remove it and backfill around the box with soil. Replace the ground box cover, turn on the water at the main shutoff valve, turn on the sprinkler system at the controller and test the system.
Replacing an Anti-Siphon Zone Valve
Replacing an Anti-Siphon Zone Valve
Anti-siphon zone valves are the above-ground style of zone valve. They are designed with a vacuum-breaking anti-siphon feature built into them. These valves extend up and out of the ground and are usually grouped together near the system's main shutoff valve.
The procedure for replacing an anti-siphon zone valve is similar to replacing an in-line valve, but it is even easier because you have open access. In this instance, use grip-fit adapters rather than solvent-glue adapters since these adapters can be used with any pipe material.
Things Needed
-
Plastic tubing cutter (if necessary)
-
Metal pipe cutter or hacksaw (if necessary)
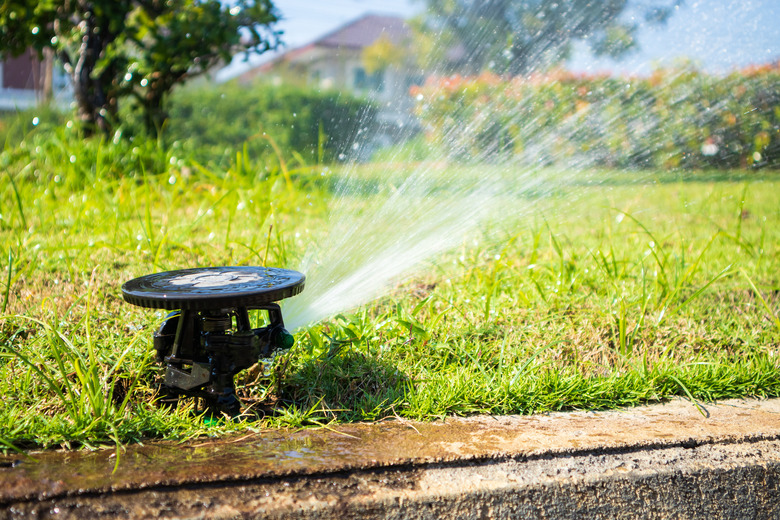 Kwangmoozaa/iStock/GettyImages
How to Replace an Anti-Siphon Zone Valve
1. Disconnect the System
Shut off the sprinkler system at the controller and then shut off the water supply to the system at the main shutoff valve.Disconnect the low-voltage wires from the valve's solenoid. This usually involves simply disconnecting wire nut connectors, or you can snip away the wires near the solenoid.
2. Remove the Old Valve
The easiest way to remove an above-ground zone valve is to simply cut off both pipes just below the hub on the adapter fittings. Use a plastic tubing cutter for plastic pipe or a metal tubing cutter or hacksaw for metal pipes.
3. Prepare the Valve
Attach male-threaded grip-fit adapters to the valve by screwing them into the ports on the bottom of the valve. Wrap the threads with pipe-seal tape before screwing them into the valve.
Tip
Experienced home plumbers may prefer other methods of securing the valve to the sprinkler pipes. There are a number of ways this can be done, including solvent-glued fittings, sweat-soldered fittings for copper pipes or compression-style fittings. Use the method with which you are most comfortable.
4. Attach the Valve
Secure the valve to the ends of the pipes by sliding the open end of the grip-fit adapters onto the pipes. Press down firmly to seat the pipes tightly against the inner shoulders of the fitting.
5. Connect the Solenoid
Connect the low-voltage controller wires to the new valve's solenoid following the manufacturer's instructions. Usually, this is a simple matter of connecting the controller wires to the solenoid's wires using wire nuts.
6. Finish and Test the System
Turn on the water at the main shutoff valve, turn on the sprinkler system at the controller and test the system.
References
- Rain Bird: Troubleshooting and Maintenance Guide for Residential Automatic Valves
- IrrigationTutorials.com: How to Repair a Irrigation Solenoid Valve
- PlumbersStock: How to Replace a Sprinkler Valve
- YouTube: Sprinkler Warehouse – How to Replace an Inline Valve
- YouTube: iScaper1 – How to Replace Sprinkler Valves