How To Design Your Own Lawn Sprinkler System
We may receive a commission on purchases made from links.
Like any large-scale home improvement project, installing a lawn sprinkler system starts with a design, and if you intend to install the system as a DIY project, you may also want to tackle the sprinkler system design. That's ambitious of you but not overly so considering you can get help designing an irrigation system from several online sources, such as the exhaustive library at Irrigation Tutorials, and you can always hire a sprinkler consultant to fill in important pieces of the plan that you might be missing.
Sprinkler system design is about placement of sprinkler heads to make sure that all parts of the landscape get all the water they need, including the lawn, the garden and the surrounding shrubbery. The feasibility of accomplishing this depends on two key factors: the flow rate of the available water source and the water pressure. Sprinkler system design starts by measuring both of these factors, and it ends with a detailed map of the system that you can use to do the installation. The process is similar to drawing a landscape design, and if you're designing a sprinkler system for a landscape that hasn't yet been installed, you can do both designs at the same time.
Measuring Water Pressure and Flow Rate
Measuring Water Pressure and Flow Rate
If you get your water through a municipal system, you may be able to call the water supplier and ask what the water pressure is in pounds per square inch (PSI), and if you get your water from a well, you can usually read the water pressure off the pressure gauge on the jet pump. The municipal pressure usually ranges from a high value to a low one, and if you have a pressure pump, the pressure will vary from a low value at the cut-in pressure (when the pump starts) to a high value at the cut-out pressure (when it stops). You want to use the lower value to plan your system to make sure the sprinklers always have the pressure they need to operate.
You can also check the water supply pressure in your home yourself using a water pressure gauge. Take the reading at an outdoor hose spigot, preferably near the location where you will tie in the sprinkler system. For an accurate test, turn off all faucets in the house and make sure no water-using appliances (such as the dishwasher, washing machine and refrigerator ice maker) are operating.
Flow rate, measured in gallons per minute (GPM) is a function of water pressure and pipe diameter, and if you've decided where in your water supply system you're going to tie in the irrigation system, you can technically figure it out by measuring the pipe diameter at that point and using the pressure measurements. That's the approach an irrigation engineer would take, but the DIY approach is simpler. Just position a 1-gallon bucket under the spigot closest to the tie-in point, turn on the spigot and measure how long it takes to fill. Divide the time result into 60 to determine the flow rate in GPM. For example, if the bucket fills in five seconds, the flow rate is 12 GPM (60 ÷ 5 = 12).
Map the Watering Area
Map the Watering Area
The main sprinkler system design tool you'll need is a drawn-to-scale map of the area to be watered. If you're drawing a landscape plan at the same time you're planning the irrigation system, you can map the sprinkler system on your landscape design drawing. Use a 100-foot tape measure to create a scale drawing of the property, including the perimeter and any borders created by buildings and hardscape features. When you're done, you'll be able to see at a glance the areas that need planting and watering.
Next, divide the map of your property into watering zones. It's unlikely your water supply system has enough pressure and flow to irrigate the entire property at once, and dividing it into hydrozones is a way to stagger the watering. The zone map helps you choose the right sprinkler heads for each zone, and it helps with the landscape design because you'll want to fill zones with plants and grasses that have similar watering needs.
Placing Sprinkler Heads on the Map
Placing Sprinkler Heads on the Map
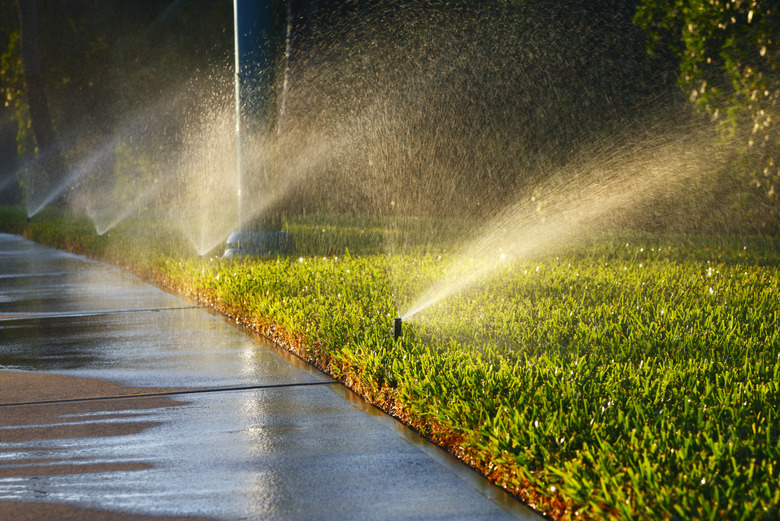
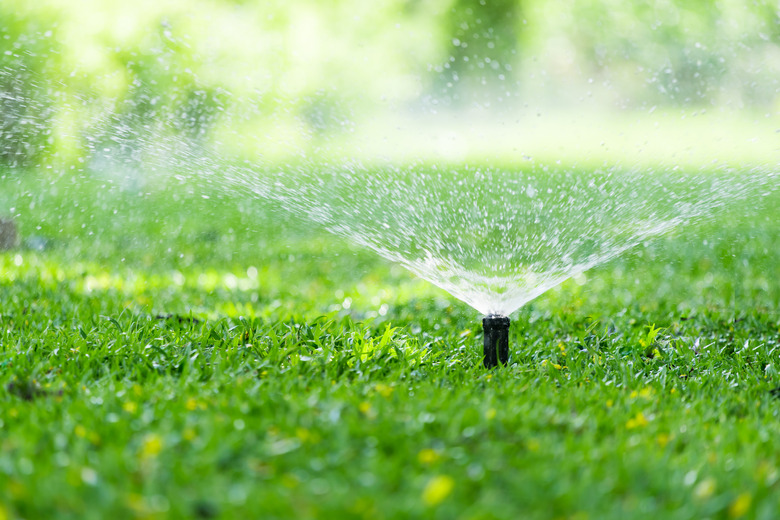
With your drawn-to-scale map, you can draw circles in each zone that represent the expected watering radii of the various sprinkler heads at your disposal. You can choose pop-up fixed spray heads, which have a typical watering radius between 6 and 18 feet, spray heads with rotary nozzles, which can spray from 13 to 30 feet, or above-ground rotors, which can reach 50 feet or more. Rotors need a minimum water pressure of 40 PSI to operate, so they shouldn't be combined with other types of sprinkler heads and are best used to water large lawn or crop areas.
The goal is to arrange the circles representing sprinkler outputs so that each watering zone is covered, and the circles overlap as little as possible. When you've achieved this, note the output of each sprinkler head and add up the outputs for the zone to be sure you haven't exceeded the flow rate your water system can supply. You may find that when added to each other, the output in two or more zones is within the capability of the water system, which means you can water those zones at the same time if desired.
Placing sprinkler heads can be a big job, given the large selection available, and tp make the job easier, Rain Bird offers a design service. All you have to do is send them a scale drawing of your landscape.
 sanddebeautheil/iStock/GettyImages
Connecting the Sprinkler Heads
Connecting the Sprinkler Heads
Now that you've filled each of the watering zones with sprinkler heads, it's time to connect the heads with lines representing the pipes that will feed them. These lines will show where you need to dig trenches, so you'll want to create as elegant a design as possible, taking care to double-check the drawing by comparing it to the actual landscape to make sure you aren't drawing lines through rocks and other obstructions.
The line connecting each of the sprinkler heads in each zone extends to the manifold station, which is the place in the yard, the garage or the basement where the main water supply service line splits into the separate zones. Remember that each zone is a separate circuit, and as an electric circuit originates at the main electrical panel, it must originate at the manifold. Each zone is controlled by a 24-volt solenoid valve, and all the valves are in turn connected to a central control panel. If you have a large area to water, you may want to designate several manifold stations, not just one.
Once this part of the map is completed, you have an easy way to calculate the amount of pipe you need to purchase. Most sprinkler systems are primarily plumbed with 3/4-inch PVC pipe, and many use polyethylene irrigation tubing for some of the lines. At the sprinkler stations, you install 3/4- x 1/2-inch threaded tees to accommodate the 1/2-inch risers for the sprinkler heads. The map will tell you how many of each of these components you'll need, and you can calculate the amount of pipe by reversing the scale on your drawing.
Planning Sprinkler System Control Stations
Planning Sprinkler System Control Stations
The only thing left to do in the planning stage is to plot a path from the main water connection to each of the manifold stations and decide on the number of zones to be controlled by each station so you can purchase the proper number of sprinkler valves and a control panel, or timer. Basic control panels can handle up to four zones, while others can handle six, eight and even 12 zones, and many contemporary controllers are Wi-Fi enabled so you can program your irrigation system from your mobile device. The control panel needs to be plugged in, so your plans should include installation of a 120-volt exterior receptacle if you locate the manifold station outside and one isn't available nearby. The timer unit and receptacle can also be located in a garage or outbuilding.
The mainline can tie into the building's water system at any suitable point, but if you're on a municipal system, it should be as close to the water meter as possible and downstream from it because that will minimize pressure drops caused by water usage in the building. Directly after the tie-in tee, you need two essential components. The first is a ball valve so you can shut off the system in winter and whenever you need to make repairs, and the second is a backflow preventer, which is required by most local codes to prevent contaminated water from siphoning back into the water supply. In cold climates, sprinkler systems typically tie into a main water supply pipe inside the house, usually in a basement or crawl space.
You can choose from four types of backflow preventers, including reduced pressure backflow preventers, double check backflow preventers, pressure vacuum breakers and anti-siphon valves, the latter of which are often built into sprinkler control valves. They work in different ways, and the best choice depends on the configuration of the mainline and the manifolds relative to it. If you aren't sure which type you need, consult with a plumber or landscaping pro because choosing the wrong one can expose the water in your house to contamination by soil and fertilizer.
 Fahkamram/iStock/GettyImages
Incorporating Drip Irrigation Technology
Incorporating Drip Irrigation Technology
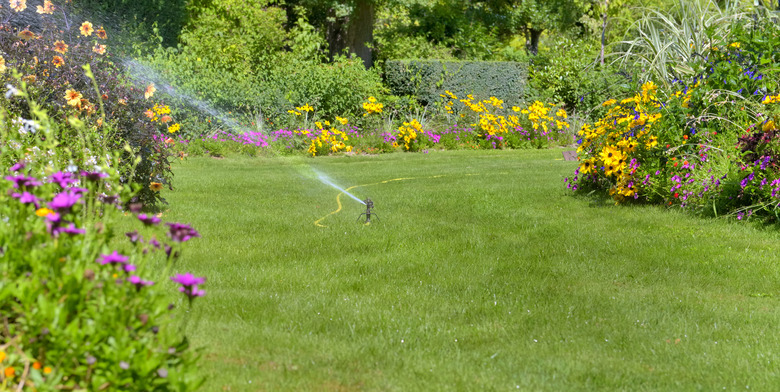
No matter how finely you tune your sprinkler system, you'll probably miss some plants in the corners and on the edges of the landscape, and increasing the flow to reach them risks overwatering other plants in the watering zone and wasting water through evaporation. Drip technology was designed to address such issues, and it's easy to incorporate drip bubblers, microsprayers and soaker lines into your design. Drip emitters operate at a lower pressure than sprinklers, so it isn't a good idea to combine the two watering systems on the same zone, but you can dedicate one or more zones to a drip system to add the finishing touches to your irrigation system.
A 3/4- or 1/2-inch polyethylene mainline can feed directly off one of the sprinkler valves, although you install a filter and pressure regulator before connecting the drip line. Drip lines aren't designed to be buried underground, so you simply run them above ground to the part of the yard that needs watering, preferably along the sides of buildings and walkways rather than through the grass, where you could run over it with the lawn mower. You can, however, position drip lines so that the main lines are underneath the mulch, making sure the emitters are unobstructed; if you're using soaker hoses, you can run them underneath the mulch. Once the mainline is in place, you can add and remove emitters as needed to address the watering demands of the changing landscape.
Drip emitters are designed to deliver water directly to roots or to spray small amounts of water on shrubs or ground cover and aren't suitable for watering large areas of lawn. They are a good solution for a part of the lawn that is narrow and blocked by shrubs or other obstructions so that watering it with a sprinkler is impractical. They are also useful when you plant a small area of new grass outside the range of the existing sprinkler system, and you don't want to dig up the ground to add a new sprinkler. For more information, consult Drip Depot's tutorials page.
References
- Irrigation Tutorials: Landscape Sprinkler System Design Tutorial
- Hunter: Residential Sprinkler System Design and Installation Guide
- K-Rain: 7 Basic Steps to Design Your Sprinkler System
- Eartheasy: Drip Irrigation
- Home Stratosphere: 6 Types Of Sprinkler Heads and Sprinklers (Buying Guide)
- Mr. Rooter: How to Test Water Pressure at Home
- Irrigation Tutorials: A Quick Primer on Sprinkler Systems
- Rain Bird: Sprinkler System Design Service
- Dripdepot: Tutorials