How To Draw A Landscape Plan
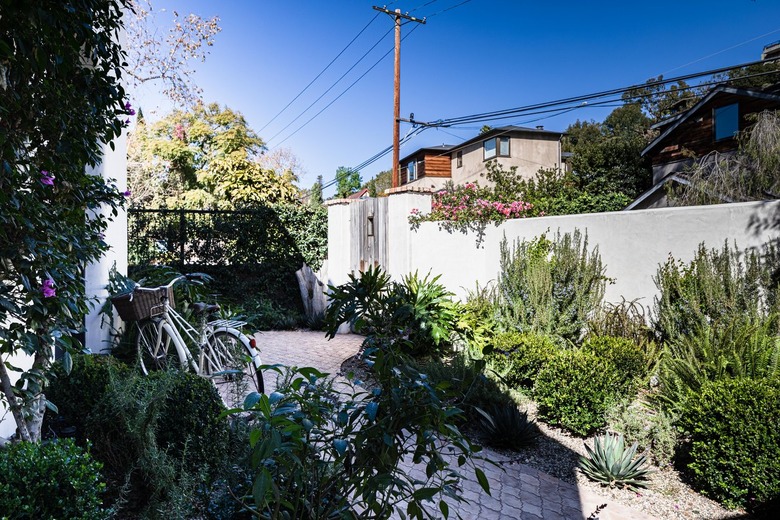
We may receive a commission on purchases made from links.
It's common to use a bubble diagram in the early stages of a landscape plan to get a general idea of the look and feel of proposed landscaping ideas and as the ideas develop, to update the diagram until you get a final working strategy for your new landscape. Before you can do that, you need a base map of the property and its existing landscape drawn to scale so you can accurately place landscape design elements you want to add, such as walkways and other hardscape features, water features and plants. You typically sketch these on your base map as round or oblong shapes, which is why it's called a bubble diagram.
The base map of the property shows the main house in relation to the property lines, any outbuildings and existing hardscape features that you want to keep and also, as the University of Georgia Extension recommends, it should show meters, utility boxes and poles as well as the locations of underground utilities. It's helpful to draw this on graph paper because the graduated squares provide an easy-to-use tool for scaling down the measurements you make. Once you have everything accurately drawn, you can trace the drawing onto a blank piece of tracing paper to make it easier to add the bubbles, which you may want to color code with colored pencils.
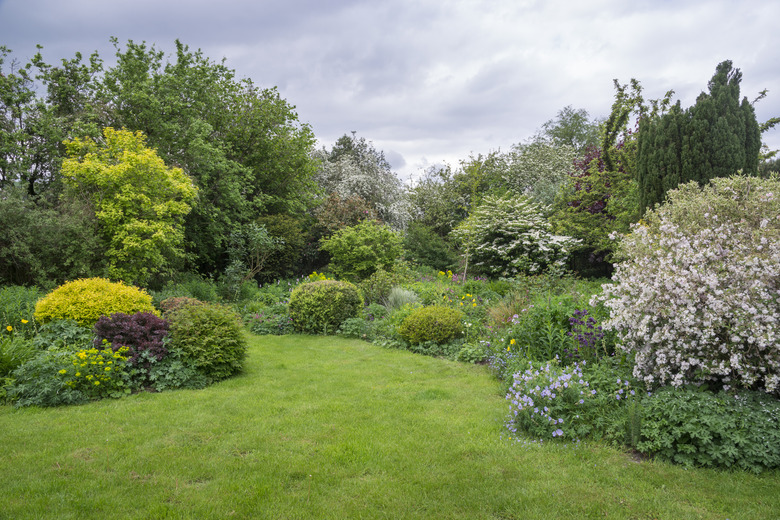
Choosing a Scale for Your Landscape Plan
Choosing a Scale for Your Landscape Plan
The best choice for a measurement scale strikes a balance between accuracy and workability. You want a scale that allows you to depict the property layout on as few sheets of paper as possible (preferably one), but you also want to be able to distinguish distances between objects easily.
If you have a copy of the property deed, it offers a quick way to get the building locations with respect to the property lines, and it may even show the locations of underground utilities, but you'll need to make a copy to use for the bubble diagrams. If you reduce the size of the document to make it more manageable, don't forget to reduce the scale accordingly.
Drawing the base map from scratch on 1/4-inch graph paper and assigning a scale of 1/4 inch = 2 feet, you'll be able to fit a 60 x 80-foot property on a single 8 1/2 x 11-inch sheet. If your property is larger, you can either use 1/8-inch graph paper and change the scale to 1/8 inch = 2 feet or you can glue multiple sheets of 1/4-inch paper together. Eighth-inch graph paper calls for a higher level of drawing precision, but it's less awkward than manipulating multiple sheets of glued-together, quarter-inch graph paper.
 Photos by R A Kearton/Moment/GettyImages
How to Find Property Lines
How to Find Property Lines
It's important to know the exact locations of the property lines so you don't end up planting a garden in a neighbor's yard. In an urban setting, property lines are often well defined by fences, sidewalks, streets and natural boundaries, such as hedges. If any property lines are in question, you should be able to obtain a block plan from the local zoning department.
Property lines aren't always as well defined in rural situations, and the only indication of a property boundary may be surveyor stakes. They are often capped with orange paint to make them easier to find, but if they're old, they may be partially buried, and you may need a metal detector to find them. Even if you find all the stakes, you still need the deed to trace out the property lines, and this can be difficult to do if you aren't a surveyor. Although it's an extra expense, it's worth it to hire a surveyor if you're planning on extending your landscaping project to the property boundary.
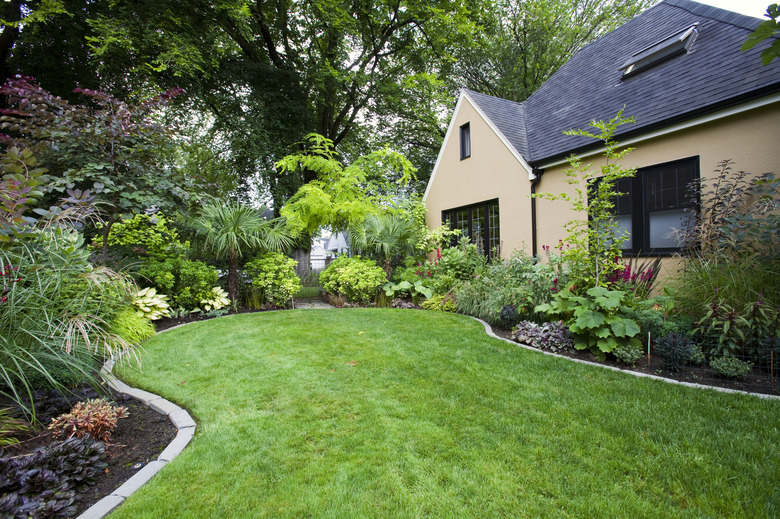
Drawing the Base Map for a Landscape Plan
Drawing the Base Map for a Landscape Plan
Once you've established the scale for your base map, designate the compass directions (north, south, east, west) on it and draw the property lines, which may be formed by irregular natural features in some places. Using a 100-foot tape measure, establish the distance of each corner of the house from the nearest property boundary in two perpendicular directions and mark that corner on the map. When you've established all the outside corners of the building exterior, double-check the distances between them to ensure they correspond to the actual dimensions of the house and then connect the dots with a ruler and a sharp pencil to make an outline of the building.
Use the same technique to draw the locations of outbuildings, hardscape features that you want to keep and other natural elements, such as trees and bushes. Since you've established the location of the house, it may be easier to measure the distances of these elements from there rather than from the property lines.
You need one more addition to the base map before you can use it to make a bubble diagram, and that is the location of underground utilities since they determine where you can dig and plant. Even if you have a property deed that shows these, most communities require that you call 811 (the national "call before you dig" hotline) to begin the process of having all the underground cables and pipes on your property marked before you start digging. This is a free service provided by utilities. Once all of the lines are marked, transfer them onto the base map.
Drawing a Bubble Diagram
Drawing a Bubble Diagram
The purpose of the bubble diagram, according to County of Santa Clara Sustainable Landscape Management, is to define available spaces in a general way just to get an idea of how proposed elements will fit. It's more of a watercolor painting than a sketch, and in keeping with this analogy, you can use colored pencils to denote trees, shrubs, water features and hardscape elements within the bubbles.
To make the bubble diagram, Iowa State University Extension and Outreach advises tracing out the base map on a piece of tracing paper to lose the grid and create an easier-to-use visualization tool. You then draw free-form diagrams on the tracing paper to subdivide the free space into areas of function, such as play space, garden space and open space. Finally, insert smaller bubbles that denote the specific landscape features you plan to add, keeping sufficient space between plants to allow them space to grow to maturity.
The first bubble diagram will be a preliminary one that provides a rough idea of how all the design elements combine, and it will be subject to change. You'll want to make copies of the original tracing so you can make more than one version of the bubble diagram on the way to a final plan. As you approach the final version, you can add the specific plants you want to use for ground covers, to border water features or to adorn the front yard.
 Mint Images/Mint Images RF/GettyImages
The Final Landscape Plan
The Final Landscape Plan
Your final landscape plan should take into account a number of factors other than purely visual ones. You'll have to identify which parts of the landscape are shady and which are sunny, which drain well and which are likely to remain soggy. You should also consider the direction and force of the prevailing winds in summer and winter to determine whether windscreens are needed.
After you've considered all these factors, make a list of the plants you want to purchase along with your reasons for choosing those particular specimens. That way, you can find suitable alternatives in case the ones you want aren't available. To make shopping easier, the list should specify the common names as well as the scientific names of the plants along with the quantity.