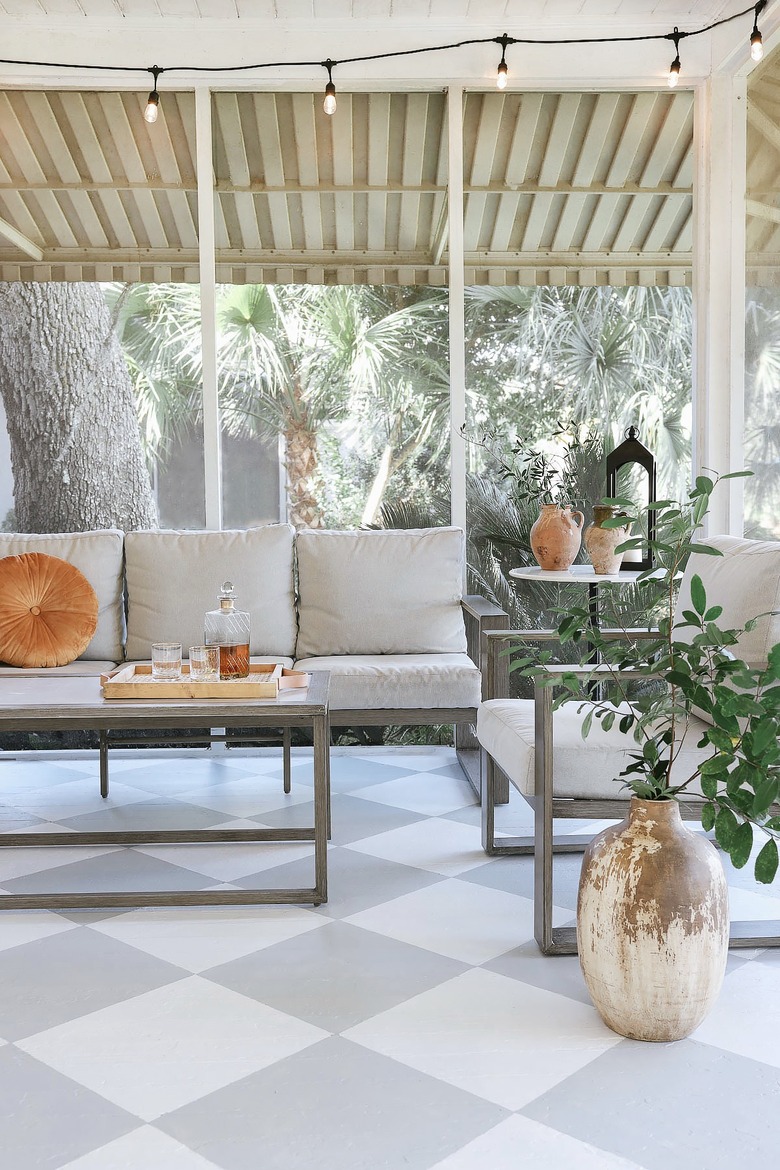
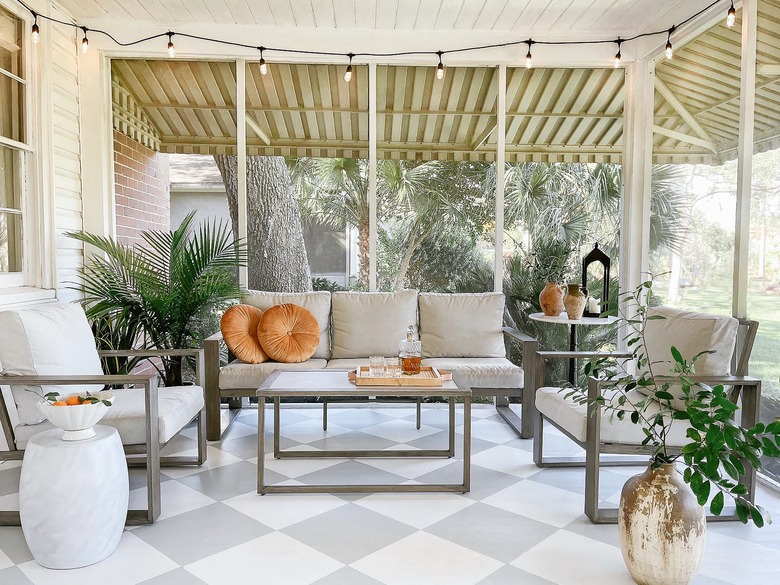
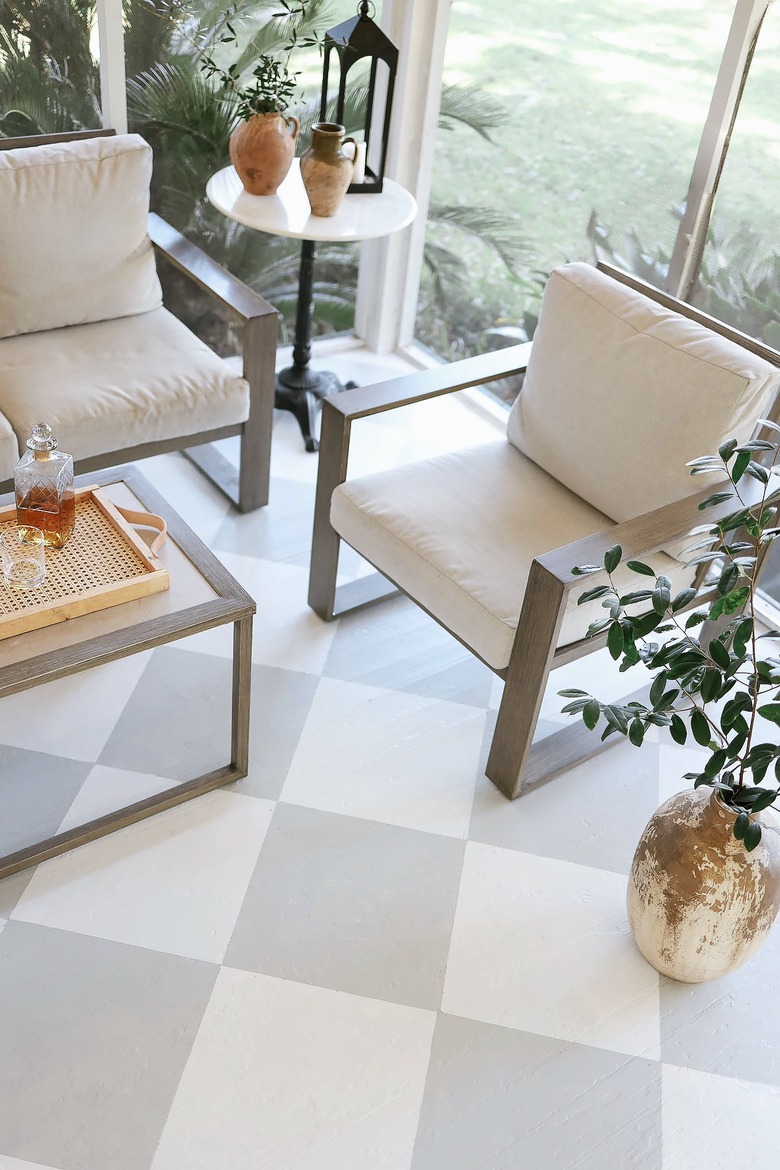
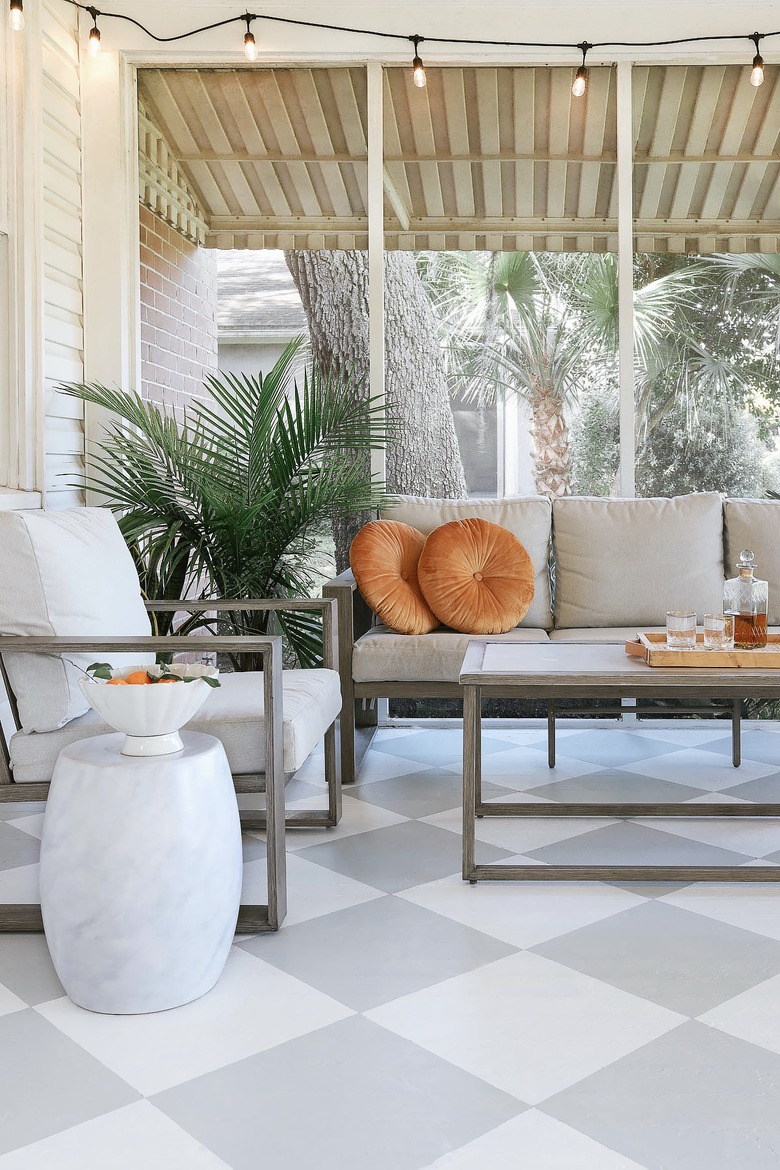
This Checkerboard Floor Tutorial Is Totally On Trend
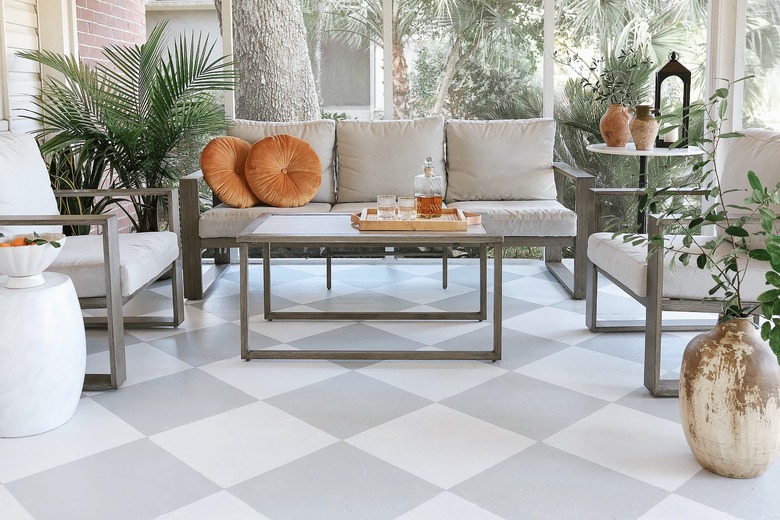
From European elegance to cottage charm, checkerboard floors lend a classic look to any space with its bold, repetitive pattern. You can achieve the look through a variety of materials ranging from stone to tile to paint —and you'll totally be on trend. When the squares are laid on the diagonal, the pattern is also referred to as harlequin floors, which is what we opted for in this tutorial. Though it takes some time and patience to paint checkerboard floors, the character and pattern it adds to a space is totally worth it. Scroll on for our best tips and tricks to achieving the look in your own home.
 Trisha Sprouse
Things Needed
-
Knee pads (optional but recommended)
-
Orbital sander (if needed)
-
Extension pole (optional but recommended)
-
Paint tray and liners
-
Framing square (or ruler/yardstick)
-
Foam board or scrap cardboard
-
Floor/porch paint (two different colors) vacuum
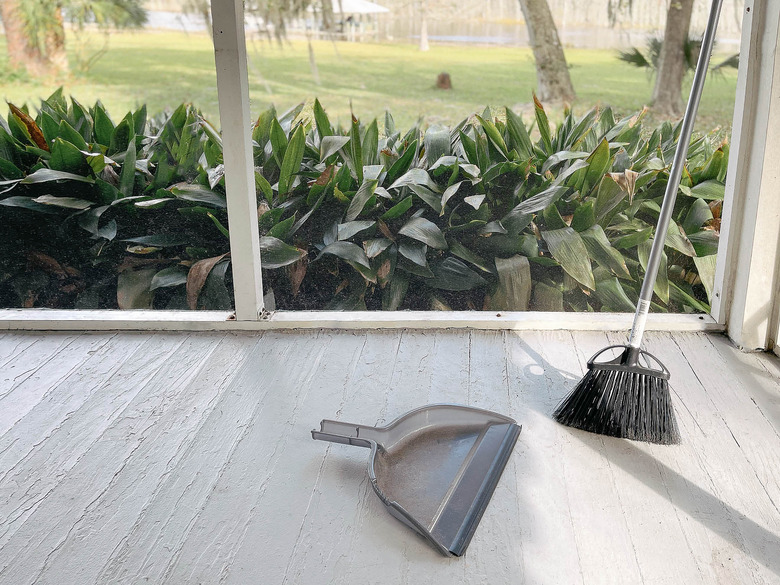
1. Prep the floor.
This prep is based on painting wood floors. If you have concrete floors, see this tutorial for prepping your floors.
Remove all furniture and objects from the room. Sweep or vacuum the floor thoroughly, and then follow up by mopping with a good, strong cleaner to remove any dirt, grease, or oil. You want the floors to be as clean as possible to ensure good paint adhesion. Allow the floor to dry completely.
 Trisha Sprouse
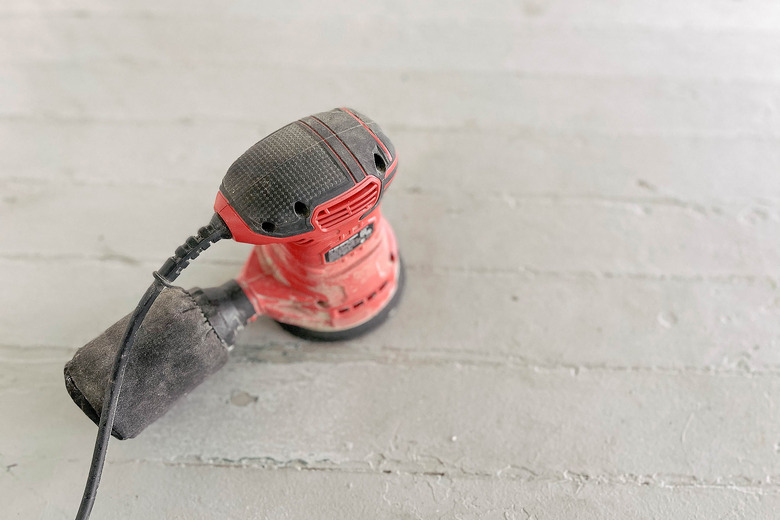
Fill any holes or cracks with wood filler, and scrape/sand any spots with loose or peeling paint. If your floor is in particularly bad shape (lots of peeling or bubbling) or has a very high-gloss finish, you might consider sanding the entire floor. You don't have to take up any previous paint or stain — just enough to smooth out any rough spots or scuff up any existing gloss on the surface. If you're painting a rather large room, it might be wise to rent a floor sander from a hardware store to save your back and knees. Be sure to wipe away any sanding dust with a damp cloth.
 Trisha Sprouse
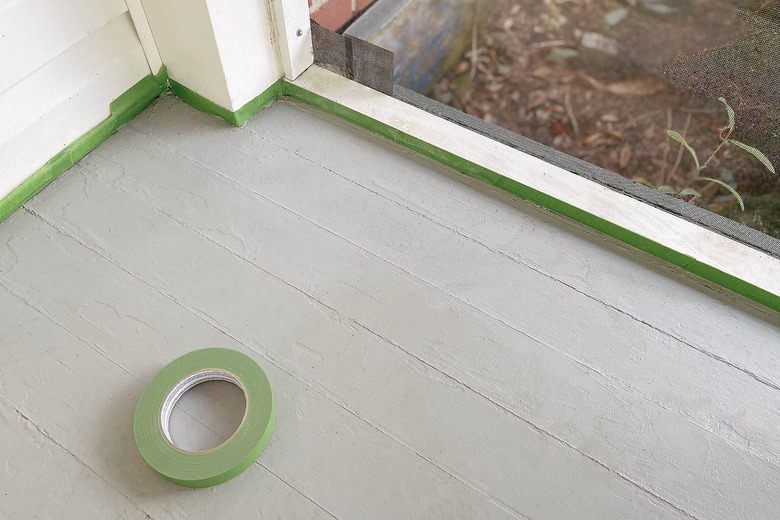
2. Tape the baseboards.
Adhere painter's tape along the baseboards and door trim to protect them from paint.
 Trisha Sprouse
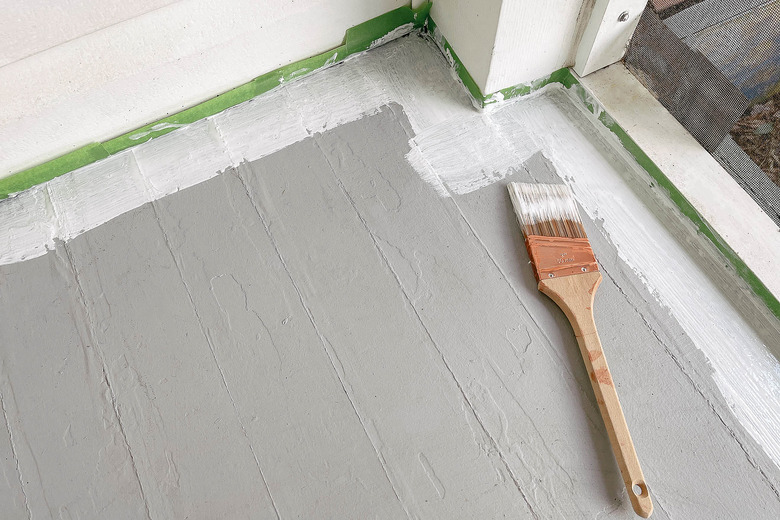
3. Prime the floor.
Be sure to choose an appropriate primer for interior or exterior application that's suitable for use on your type of flooring (such as wood, concrete, or tile). Since we painted the wood floor of a screened-in porch, we used this exterior primer. First, use an angled paintbrush to cut in around the corners of the floor with primer.
 Trisha Sprouse
Then use a paint roller with an extension pole to paint the rest of the floors with a coat of primer. Start at the corner farthest from the doorway so you don't paint yourself into the room. Allow the primer to dry completely per the manufacturer's instructions.
 Trisha Sprouse
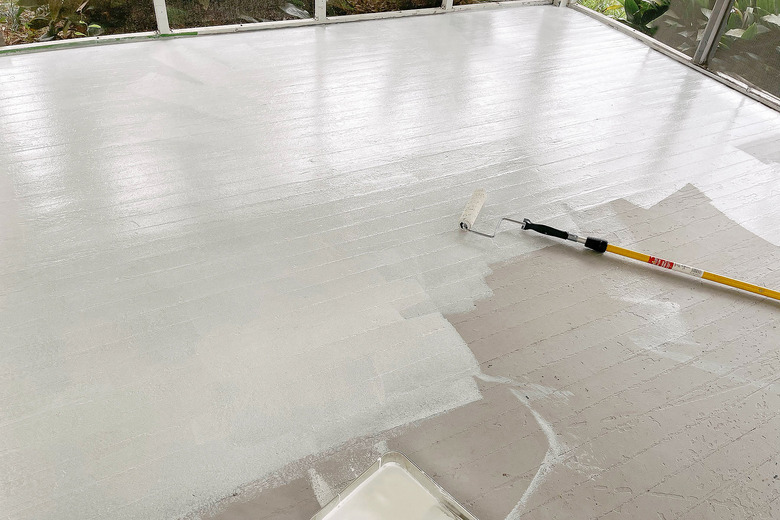
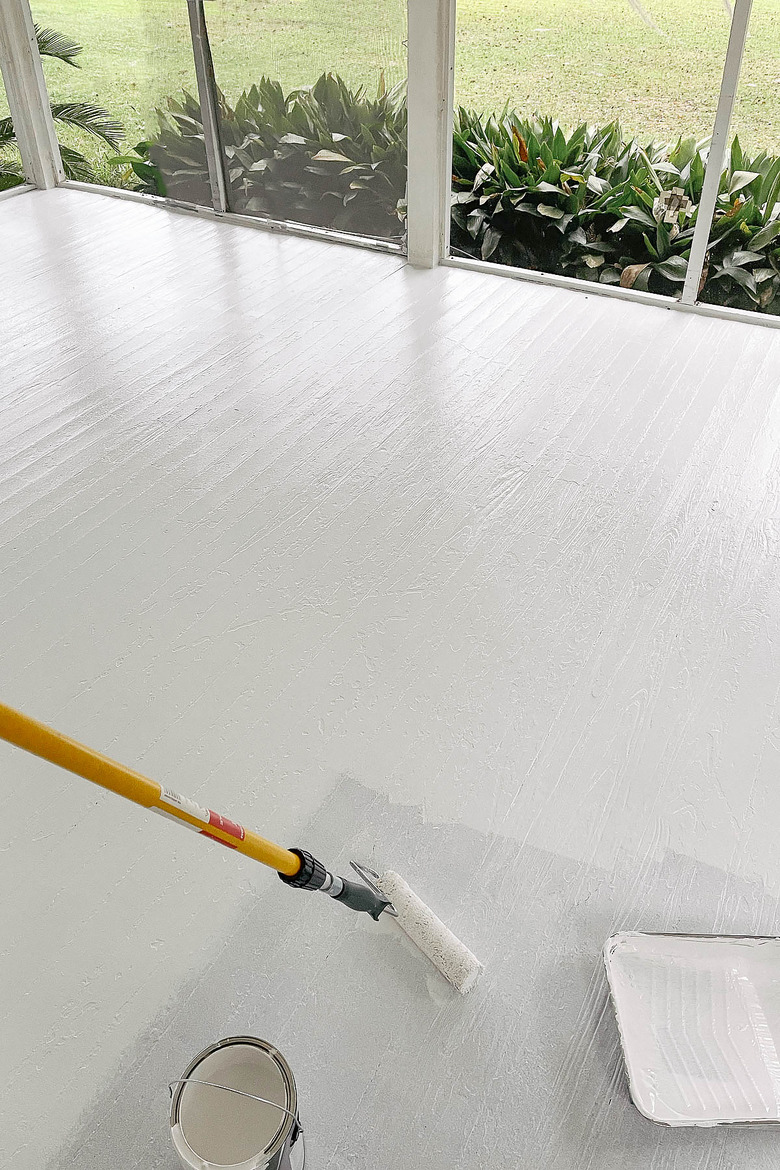
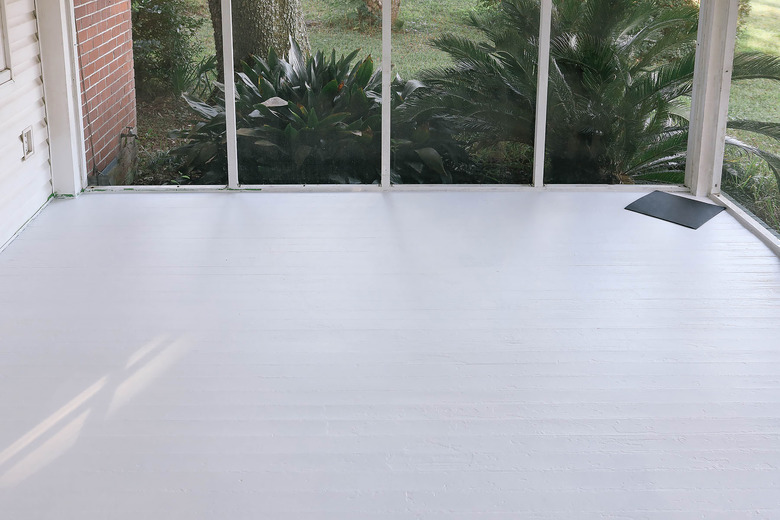
4. Paint the lighter paint color on the floor.
Once the primer is dry, cut in around the corners with the lighter of the two paint colors. Then use a paint roller with an extension pole to paint the rest of the floors. Let dry for a few hours, and if needed, paint a second coat. (The reason it's best to paint the lighter color first is when you paint the checkerboard squares, it's easier to paint a darker color on top of a lighter color than vice versa.)
 Trisha Sprouse
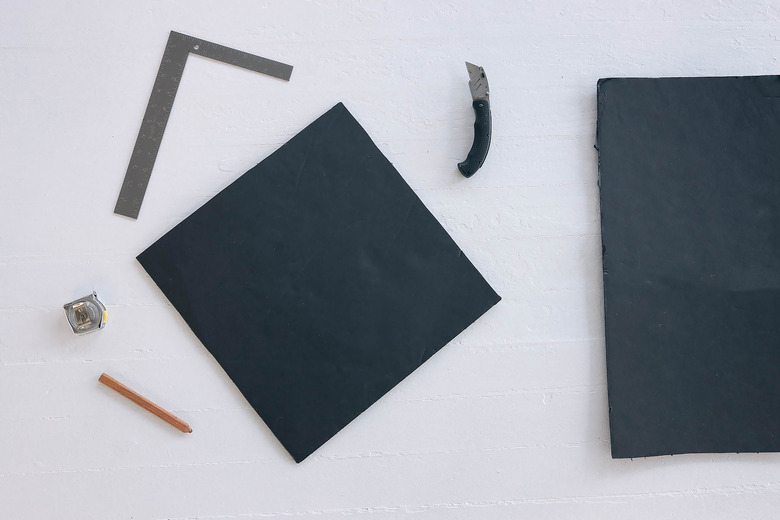
5. Make a square template.
Decide how big you want your squares to be (we made ours 16 inches by 16 inches), and then use a framing square to measure and draw your square on a piece of foam core or cardboard. Use a utility knife to carefully cut out the square — it needs to be very precise. Tip: An alternative to cutting your own template is to buy a peel-and-stick tile that's the size you prefer, and use that as a template.
 Trisha Sprouse
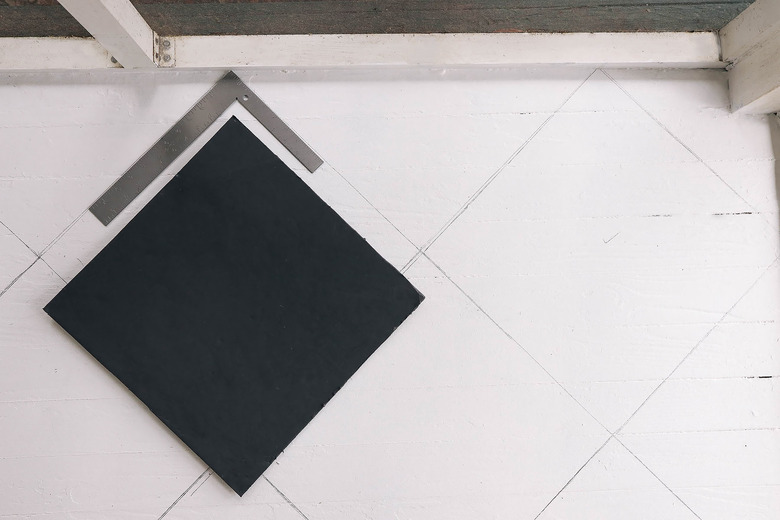
6. Draw the pattern.
Place the template in the corner farthest from the doorway, since this will be the most visible area when you enter the room. If you're opting to do your checkerboard floor in a harlequin style, lay out your square so that it's a diamond. Lay a framing square on top of your template to make sure it's angled correctly.
 Trisha Sprouse
Then trace around your template with a pencil.
 Trisha Sprouse
Move the template next to the first square you drew, and line up the tips of the corners. Again, check with a framing square to make sure the template is angled correctly, and then trace around it. Continue in this same manner until you finish the entire first row. Then start on the next row and so forth until the floor pattern is complete.
 Trisha Sprouse
When you get to any areas where the template can't fit against the wall or in a corner, simply use a straightedge to extend the lines from the adjacent squares.
 Trisha Sprouse
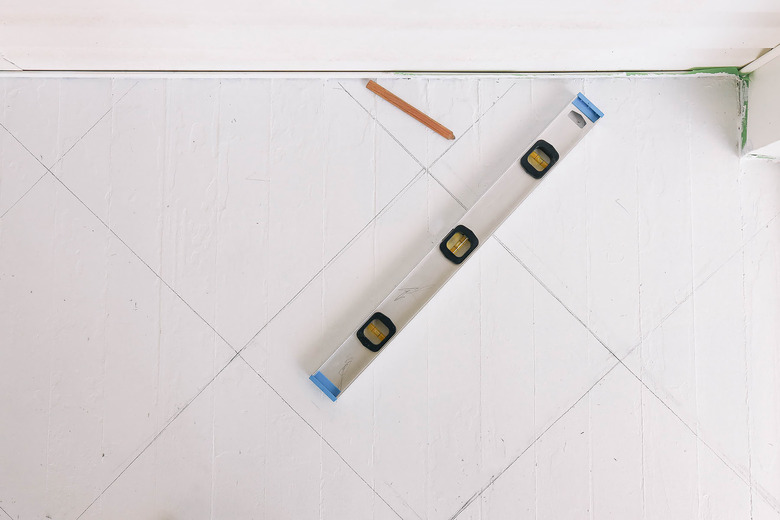
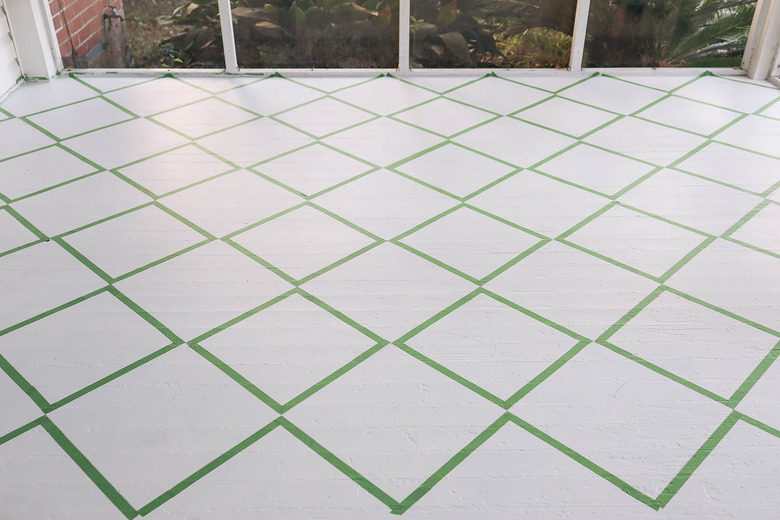
7. Tape the pattern.
Once your pattern is drawn, adhere painter's tape outside the edges of the squares that will be painted. Press firmly to ensure no paint seeps under the tape.
 Trisha Sprouse
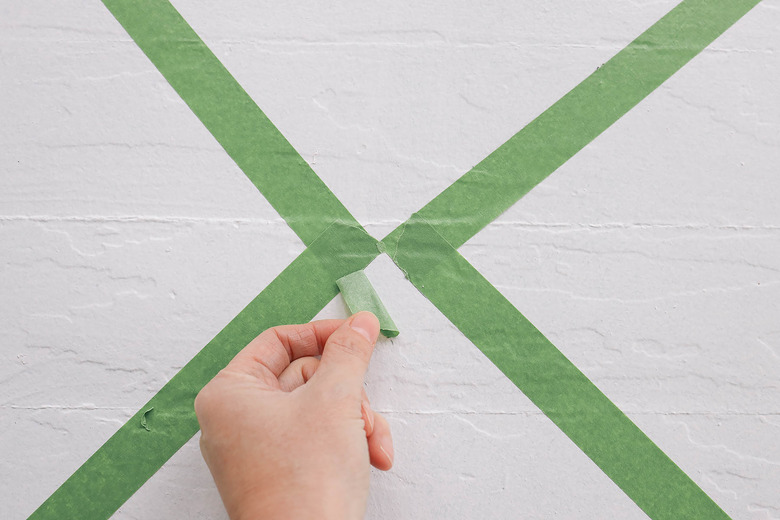
After taping the squares, clean up any overlapping tape by cutting it with a utility knife and peeling it away.
 Trisha Sprouse
When you're done, it'll look like some squares are bigger than others, but that's okay! You'll be painting the bigger squares and leaving the smaller squares the base color. Once you remove the tape, the squares will be the same size. It helps to lightly draw a checkmark in each of the squares that you'll be painting so you don't accidentally paint the wrong ones.
 Trisha Sprouse
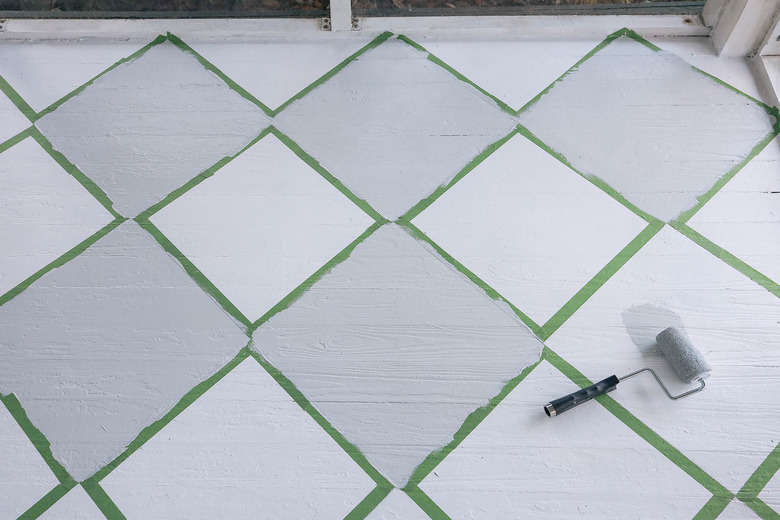
8. Paint the pattern.
Use a small paint roller to paint the bigger squares. If you have a hard time keeping the paint inside the lines, you can use a paintbrush around the edges of the squares and a roller in the middle. Let dry, and paint a second coat, if needed.
 Trisha Sprouse
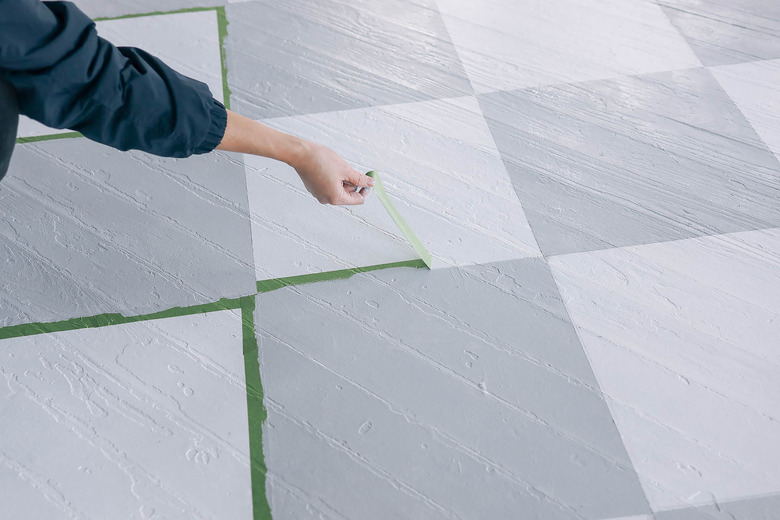
While the paint is still tacky, remove the tape. Be sure to only step in the base color squares since the painted ones will still be wet!
 Trisha Sprouse
Let the paint cure for at least 24 to 48 hours before walking on it or putting furniture back in the room. Then your beautiful checkerboard floors are ready to enjoy!
 Trisha Sprouse
 Trisha Sprouse
 Trisha Sprouse