How To Build A Swale To Improve Yard Drainage
We may receive a commission on purchases made from links.
In landscaping, the term "swale" refers to a method of contouring the ground with a shallow ditch to direct rainwater runoff where you want it to go. The goal can be to simply slow down and hold the runoff so the water can soak down through the soil and into groundwater aquifers, or the swale can be aimed at directing the runoff water away from the home foundation to a designated landscape feature or exit point.
Although building a swale serves a utilitarian purpose (to direct water away from the house or a flooded area in the yard), many homeowners construct these to abide by permaculture ethics, or design principles that are based on using or simulating features directly found in nature.
When to Build a Swale
When to Build a Swale
In modern eco-friendly landscape design, the purpose of a swale is often to prevent rainwater from draining into street storm sewers along with the nitrogen fertilizers and other unwanted chemicals and materials the water carries. Chemical lawn fertilizers flowing into storm sewers are especially problematic, as these chemicals can wreak havoc on the ecological balance of rivers and lakes. A swale helps slow down the rainwater runoff so it can soak into the ground or directs it to a location where it won't adversely affect the environment.
For example, a swale may be constructed to channel water from a roof gutter downspout to a rain garden or woodland area where the water can be absorbed. As the Environmental Protection Agency notes, a rain garden planted with native grasses and perennial flowers is an extremely cost-effective way to reduce rainfall runoff from your property. At the same time, the plants can provide food for pollinators and other wildlife. In many instances, building a rain garden goes hand in hand with constructing a swale to deliver water to that rain garden.
In a landscape that is terraced with retaining walls, swales can also help direct water away from them. This method of engineering prevents the soil behind the wall from becoming super saturated with water and placing dangerous structural pressure on the walls.
Anatomy of a Simple Swale
Anatomy of a Simple Swale
In its simplest form, a swale can be just a shallow, grass-bottomed ditch that helps hold or channel rainwater as it flows across your lawn. It is most commonly constructed in situations where a sloping landscape creates the possibility of serious erosion if the rain runoff flows unimpeded. A swale normally consists of a shallow but wide channel or ditch running laterally across a slope with a rounded mound constructed on the downhill side of the channel. This mound — called a "berm" — prevents runoff water from continuing its downhill flow.
When the rainfall is modest, the berm causes water to back up into the swale channel just long enough for it to be absorbed into the soil. In heavier rains, the water may begin to flow laterally to a targeted area where excess water poses no problem, such as a rain garden basin, a woodland area or a landscape pond or bog.
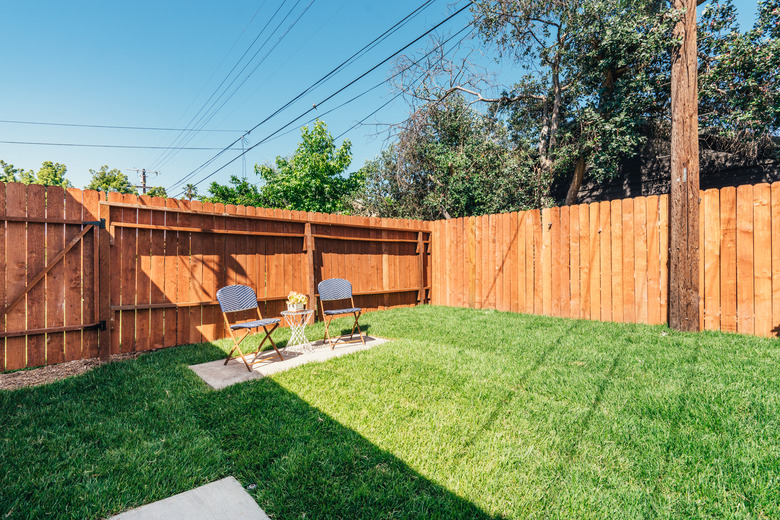
 John Keeble/Moment/GettyImages
Drainage Swale Variations
Drainage Swale Variations
A swale can take many forms. It can be a gentle, almost invisible sloped ditch in the yard, largely disguised by turfgrass that covers the surface of the lawn. The swale can also be an obvious ornamental landscape feature, such as a decorative dry creek or arroyo filled with smooth stones or gravel that fills up with water only during rainstorms.
In areas where frequent heavy rainfalls are common, the swale may require more sophisticated engineering. For example, the bottom of the swale may be engineered with a layer of gravel and porous drain tile tubing buried beneath the surface, which allows the water to be channeled off more quickly and efficiently. This version is sometimes known as a "French drain," and it is often entirely invisible as you look across the lawn since the drain tile is entirely buried beneath the surface and is covered with lawn grass. The only thing visible to the careful eye is a mild slope on either side of the swale that funnels rainwater to the hidden drain tile.
This kind of configuration is sometimes used when a home sits atop a slight hill where French drains carry roof runoff water from the lawn and downspouts to convenient exit points or catch basins. A variety of methods can be used to terminate the drain tile. When drainage is needed for a hillside behind a retaining wall, for example, the buried drain tile may terminate at a grate near the bottom or side of the wall, providing an easy avenue for rainwater to escape. The drain tile can run beneath the lawn to a pop-up fitting located in a rain garden or other low-lying area where the water is deposited.
One of the most common drainage swale applications is for directing runoff water across the lawn to a rain garden. Learning the steps for this simple project will make it possible to apply the same principles to a swale project of almost any scale.
Things Needed
-
Wooden stakes
-
Long 2x4
-
Decorative gravel or rock (as needed)
-
Drain tile and fittings (as needed)
-
Grass seed, sod or plants (as needed)
How to Build a Drainage Swale
1. Evaluate the Slope
Construction of a swale begins with analyzing the slope of the yard and water runoff patterns to plan the route for the swale ditch. One way to gauge this is by carefully watching the yard during a heavy rainfall, paying attention to where the water pools in your yard and the direction of its flow. If you are using the swale to direct runoff water to a rain garden, for example, the rain garden should be positioned at a low spot in the yard to serve as the termination point for the swale.
If you're constructing a rain garden and you have no natural low spot in the yard, you may need to first excavate a shallow depression in the yard for the planting area. This can be done by hand using a shovel, but larger rain gardens may require that you hire a contractor to move earth with power equipment. The contractor can also dig the ditch for the swale if you wish.
2. Lay Out the Swale
Once you have some understanding of the slope of your yard and the patterns of water flow, use wooden stakes to mark out a path for the swale ditch. The path will run from the entry point for the runoff water (for example, a lawn grate beneath a roof gutter downspout) to the termination point (in this case, the rain garden). The goal is for the funnel-shaped ditch to have a slight downward slope from beginning to end but not so steep that water flows fast enough to create erosion. On steep slopes, it's generally best to plan the swale so it runs laterally along the slope with a slight downhill pitch, which will create a slower flow of water.
If the rainwater runoff in your yard is usually light, you can probably get by with a simple shallow swale ditch that is only 1 to 2 feet wide. Heavier runoff requires a wider, deeper ditch that can hold more water, or it may require the use of a drain tile.
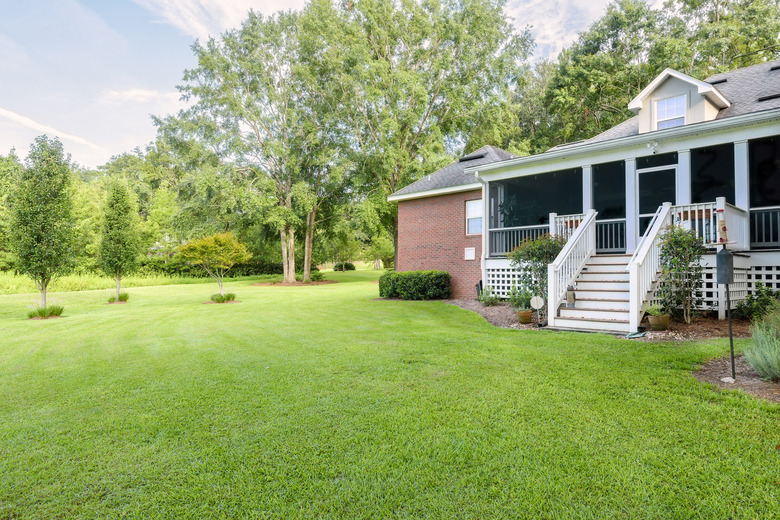 Ruth Peterkin/iStock/GettyImages
3. Excavate the Swale Ditch
Using a shovel, dig a wide, U-shaped ditch from the entry point for the runoff water to the termination point. If your swale is running laterally along the slope, pile up the excavated soil on the downhill side of the ditch, creating a gentle dam that will keep water from flowing past the ditch when it fills with water.
When running laterally along the slope, the ditch should have a slight downhill slope running continuously from beginning to end. Use a long 2x4 with a level to check the downward pitch of the ditch. A downward slope of 1/4 inch per foot is usually sufficient.
For a simple swale, use a rake to smooth and contour the berm and ditch, creating gentle, rounded curves over the top of the berm and across the bottom of the ditch. You can now move directly to laying new sod or decorative stone over the berm and ditch.
If your swale will be fitted with drain tile to carry substantial amounts of water, excavate the bottom of the ditch to create a deeper trench in the center, where a bed of gravel and the drain tile tubing will fit.
4. Lay Gravel and Drain Tile
If you have dug a trench in the bottom of the ditch for drain tile, now lay a bed of gravel into the bottom of the trench. Then, lay drain tile tubing in the trench over the gravel from beginning point to termination point. If you're installing a French drain, use perforated drain tubing. Fill in the trench around the tubing with additional gravel.
Depending on the nature of your layout, you may need to attach drain tile fittings to the beginning and end of the drain tile. For example, a drain tile grate is often attached to the beginning of the drain tile beneath the gutter downspout. The termination of the drain tile can be another grate fitting or a pop-up fitting in the center of the rain garden, which will open and allow water to flow whenever a rainfall occurs.
In swales without drain tile, it can also be a good idea to lay a few inches of gravel in the bottom of the ditch before covering it with a thin layer of topsoil and sod. This underlying layer of gravel can assist with water absorption.
5. Finish the Swale
Completing the swale is a matter of lining the bottom of the ditch and top of the berm with whatever landscaping materials you choose. In simplest form, the ditch and berm can be covered with lawn grass, either sodded or seeded. This may be the best solution for simple swales where you don't want to draw attention to the feature.
If you want to call attention to the swale as an ornamental landscape feature, you can line the ditch with decorative stone to look like a creek bed or arroyo, or you can use the swale itself as a rain garden, planting it with flowers and shrubs that are well-suited to your location. There are advantages to using the swale ditch and berm as a garden area since this will block and absorb water even better than a simple grass-covered swale. Native shrubs and flowers are typically the best choices for planting in rain garden swales since they are low maintenance and will encourage butterflies and other pollinators to visit your yard.
Be sure, however, to use plants that are adapted to periods of wet soil. The word "swamp" in common plant names is a clue to their affinity for wet soil, such as swamp hibiscus (Hibiscus coccineus) and swamp sunflower (Helianthus angustifolius). Both these plants are native species, which are perennials in USDA zones 5 through 9.
References
- Black & Decker The Complete Guide to Landscape Projects by Kristen Hampshire (Cool Springs Press, 2010)
- Tenth Acre Farm: How to Build a Swale in the Residential Lansdscape
- Permaculture Research Institute: How to Build a Swale on Contour Successfully
- Advanced Foundation Repair: How to Install a Foundation Drainage Swale
- United States Environmental Protection Agency: Soak Up the Rain: Rain Gardens