Create A Flower Press To Use Every Season
We may receive a commission on purchases made from links.
Preserve the fleeting beauty of your favorite florals with a DIY flower press. While you can certainly press flowers under a heavy book, a dedicated flower press will produce the prettiest petals with even more precision. Plus, you can press several layers of blooms at the same time. It's a simple project that takes less than an hour, and we love that you can freeze little snippets of each season to display any time of year.
Things Needed
-
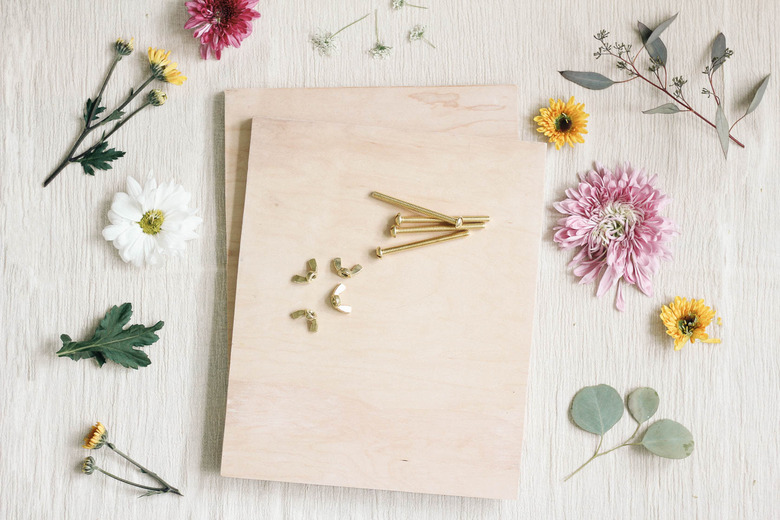
Wood plaques (2), or 1/4-inch plywood
-
Masking tape (optional)
 Trisha Sprouse
Make the Flower Press
Step 1
Start with either two wooden plaques, or have your hardware store cut 1/4-inch plywood into two boards of equal size (or cut your own with a saw, if you have one). We made ours 10 by 12 inches, but you can make them any size you like.
 Trisha Sprouse
Step 2
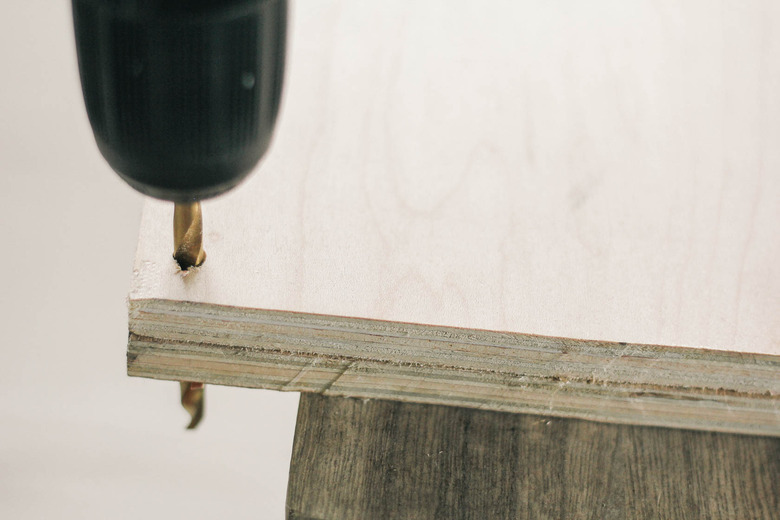
Stack the two wood boards together. Make a mark in each corner, about 1/4-inch in from the edges, and drill a hole at each mark through both boards. (If you find the boards slip apart while drilling, you can tape them together with masking tape.) Be sure to use a drill bit slightly larger than the size of your bolts. Sand any rough edges.
 Trisha Sprouse
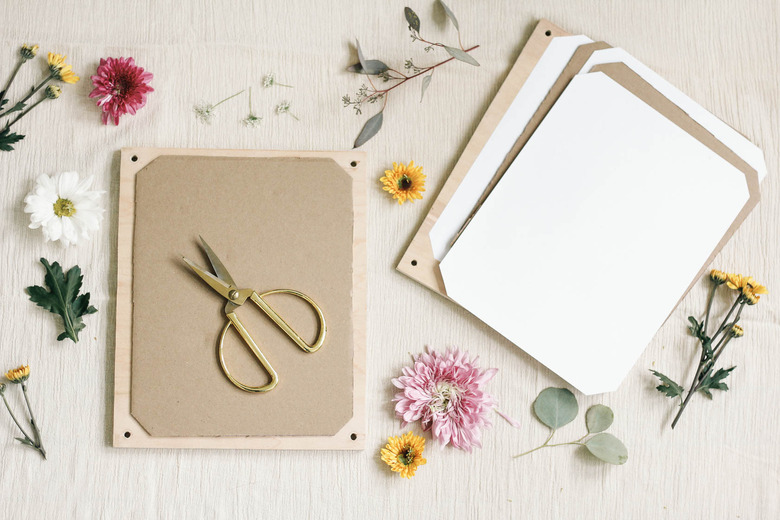
Step 3
Cut several pieces of cardboard slightly smaller than the wood pieces. We cut ours to 8 1/2 by 11 inches (the size of printer paper). Then snip off each corner of the cardboard diagonally, about 1/2-inch in from the edges. Do the same with several sheets of printer paper.
 Trisha Sprouse
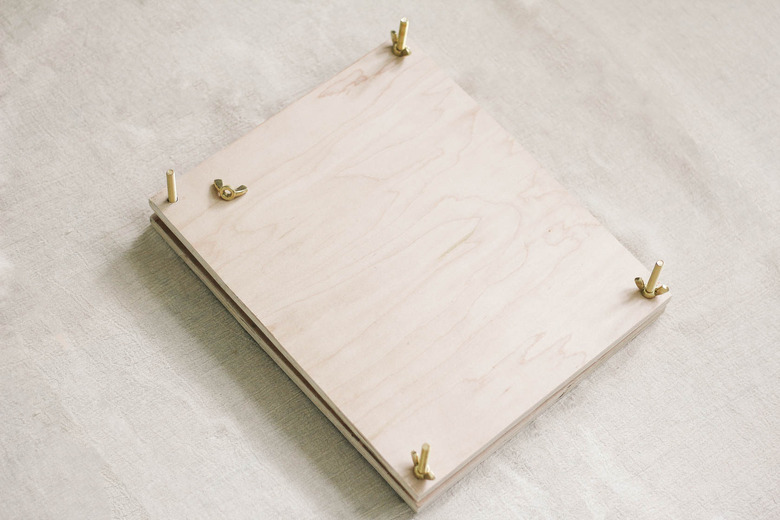
Step 4
Place the cardboard pieces in between the two wood boards, and layer two sheets of printer paper in between each cardboard layer. Insert a bolt through each of the corners, and twist a wing nut onto each bolt. Your flower press is ready to use!
 Trisha Sprouse
To Use the Flower Press
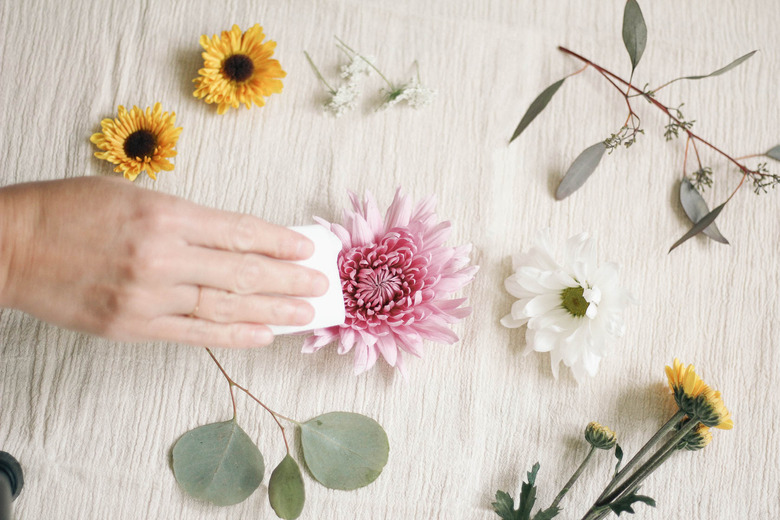
Step 1
Start with the freshest blooms possible. Gently blot each flower with a tissue or paper towel to remove any surface moisture.
 Trisha Sprouse
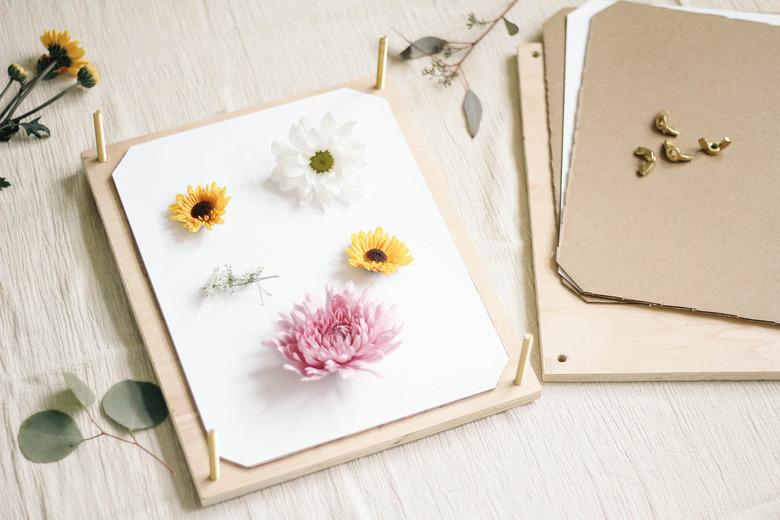
Step 2
Lay your florals in between two sheets of printer paper, and then place them between two pieces of cardboard. (The printer paper helps absorb excess moisture.)
 Trisha Sprouse
Step 3
Place the layers of flowers and cardboard (you can do several layers at once) between the wood boards, and tighten the wing nuts onto the bolts until you feel a firm enough pressure to flatten the florals.
 Trisha Sprouse
Allow the blooms to dry for two to four weeks in the press (up to six or eight weeks for larger florals). When ready, open the press, and gently peel back the layers to reveal your perfectly pressed flowers.
 Trisha Sprouse
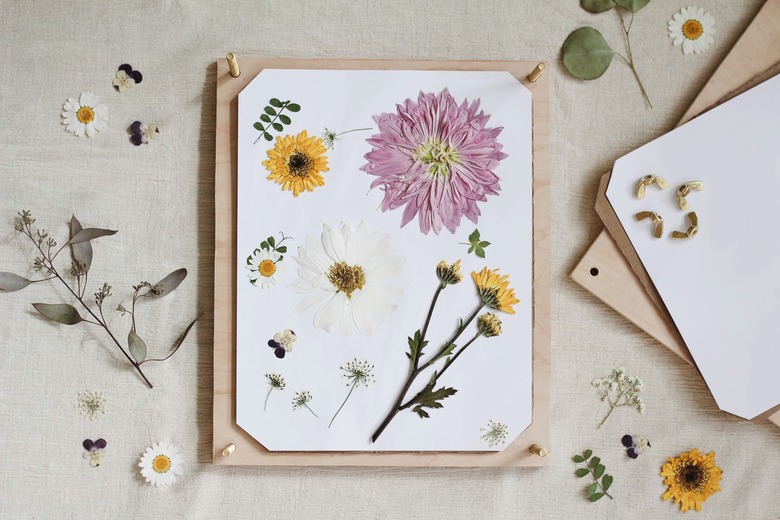
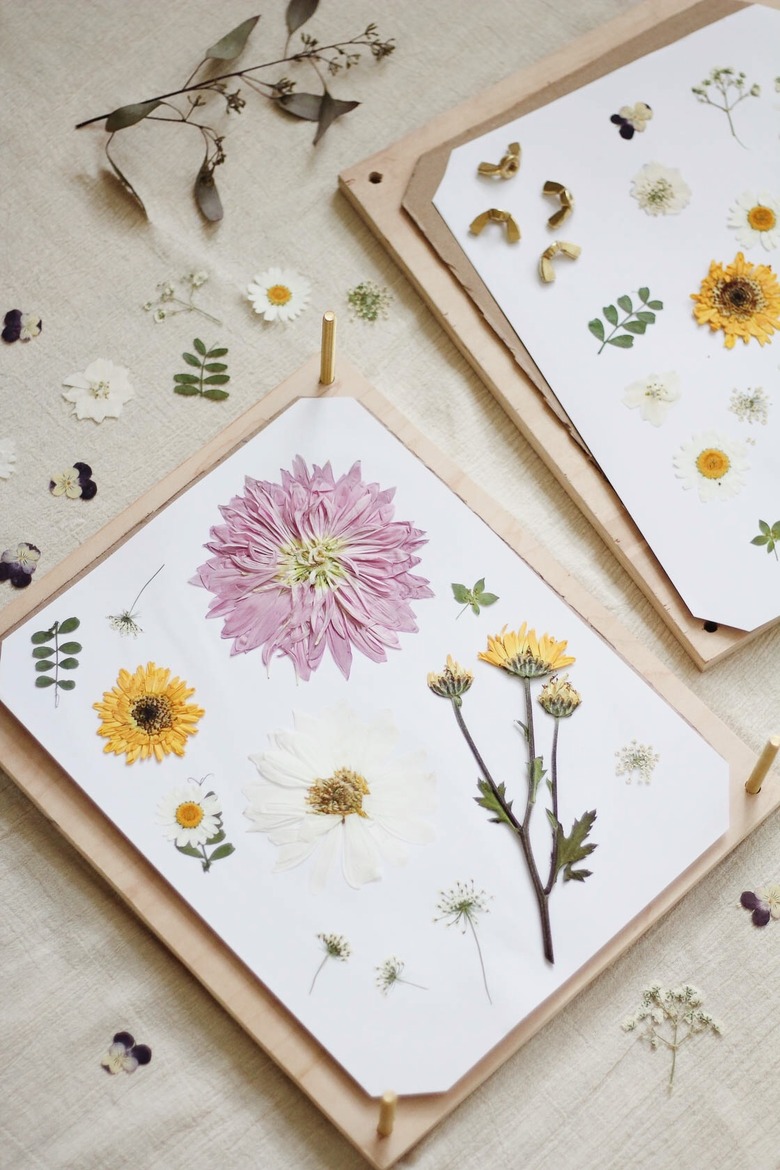
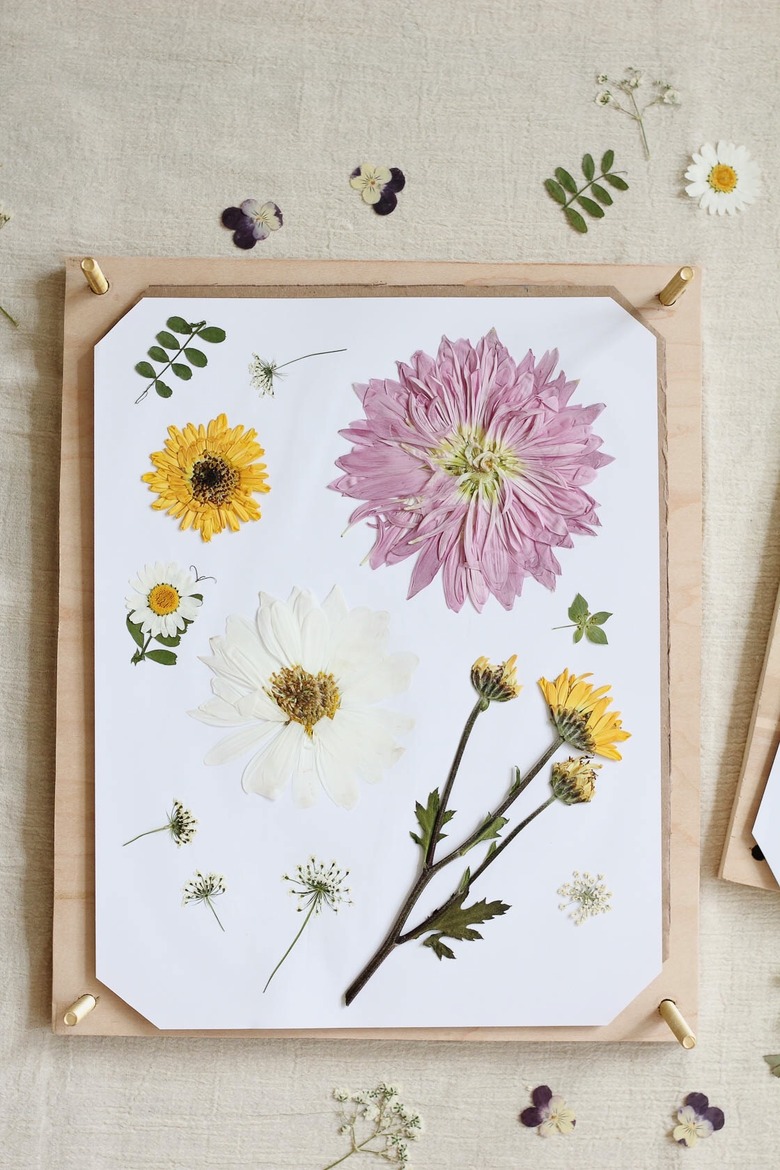
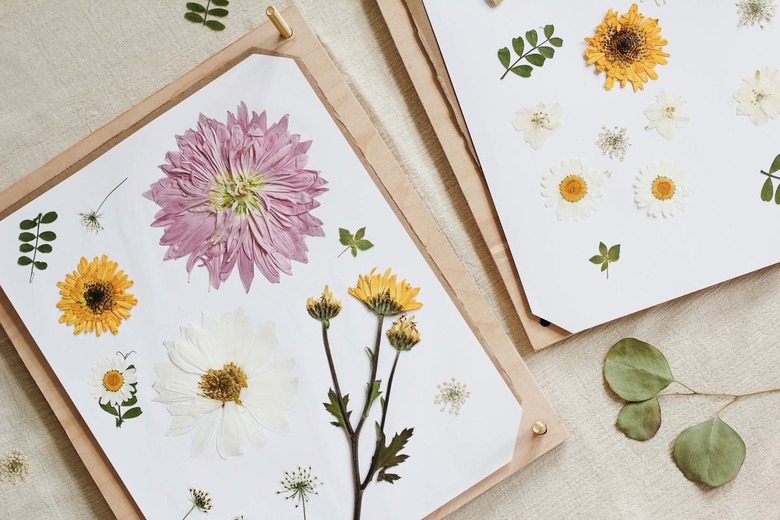
They make lovely artwork when framed, or you could also affix them to cards, stationery, or invitations. If you're a botany enthusiast, you could even create a flower journal, and catalog each specimen with the date and location you picked them. Imagine the fun family memories you could create if you were to embark on such a project with your little ones!
 Trisha Sprouse