How To Build A Fence For Your Landscape
We may receive a commission on purchases made from links.
If your next DIY project is to build a fence on your property, your first task is to determine what you want the fence to do. When you need to block highway noise or a nosy neighbor's wandering eye, you'll likely want a tall privacy fence. Keeping young children or small dogs contained in the yard, however, may allow you to opt for a shorter fence. Once you've formed a clear fencing goal, it's time to begin the fence-building process.
How to Build a Fence
1. Brush Up on Your Fence Etiquette
They say good fences make good neighbors, but this old adage holds true only if your fence itself doesn't create an issue. When you decide it's time for a fence, have a chat with your neighbor about it. At a bare minimum, you should make sure the two of you agree on where the property line is located so there are no misunderstandings (or legal ramifications).
Discuss anything else that could affect your neighbor as well. If you're planning a 6-foot privacy fence, for instance, talk to your neighbor about low-hanging branches from his tree that could need a trim rather than just hacking them off when installing your fence.
Although the final decision is yours, you may want to discuss fence styles with your neighbor as well. Since the fence will sit between your properties, both of you will have to live with it. It's best to find a style and design that you both like if you can. Either way, remember that the nicer side of the fence should face your neighbor.
Remember other neighbors whose property isn't adjacent to yours as well and think about the style of your neighborhood. A super-modern contemporary fence design might ruffle some feathers on a quaint street lined with classic white picket fences.
 in4mal/iStock/GettyImages
2. Plan Your DIY Project
Whether your new fence is a DIY project or you're working with a professional installer, you need to decide where your fence is going to go and how much fencing you need. Before you do anything else, contact your local city office and, if applicable, your HOA to learn the rules. Local building or zoning codes may dictate how far your fence must be from the property line, how tall the fence may be and even what fencing materials are allowed or disallowed.
Give yourself plenty of time to get any permits, variances or HOA approvals you may need to build a fence. You might be able to pull a city permit in a few days, but HOA approvals and code variance authorizations can easily take one to six weeks.
In addition to learning about code requirements, you'll need to determine where on your property you can safely dig. No matter what type of fence you choose, you'll need to install fence posts, and this means digging lots of holes. Call the national "Call Before You Dig" hotline (dial 8-1-1) to begin the process of having all underground utilities marked on your property. This is a free service, but it can take a few days. Do not dig in your yard before all lines are marked.
When you know where your fence can legally and safely be placed, grab a tape measure and start planning the specifics of the fence. Make a note of any obstacles around which you need to work and plan accordingly. You may, for example, have a steep hillside that requires stepping the fence. Consider too how many gates you'll want to put in the fence and where they'll work the best.
3. Choose Your Fence Style
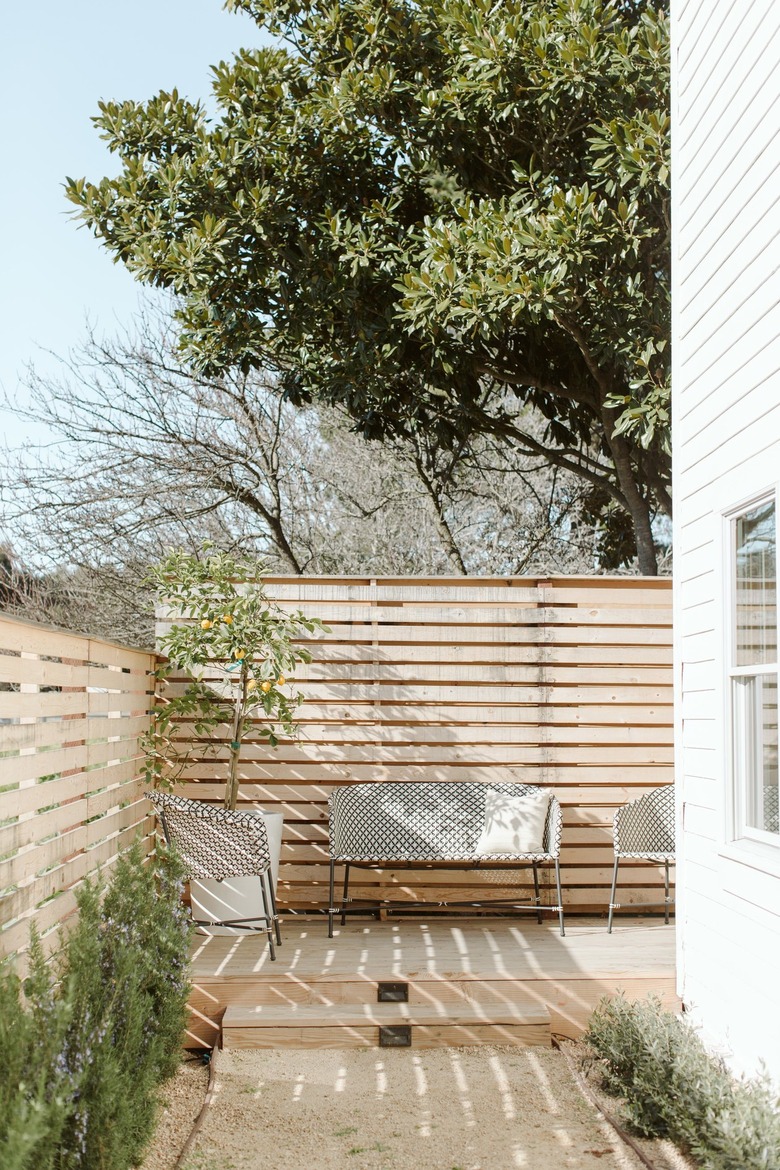
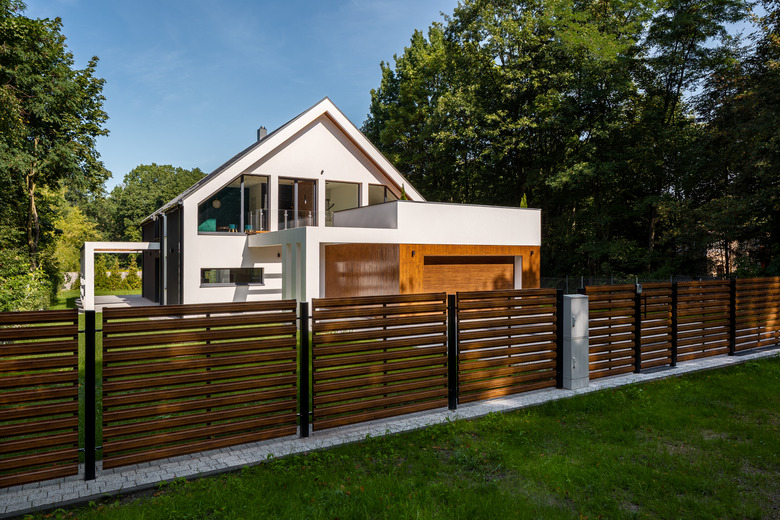
After planning where your fence will go, you can decide what type of fence you want. Many homeowners opt for privacy fences. Made from a variety of materials, these fences feature solid panels that block noise and sight lines. They can shield you from prying eyes, but they can also block scenic views and feel a bit claustrophobic around small yards. Keep in mind too that a privacy fence could block your neighbor's view as well as yours, which can cause some friction.
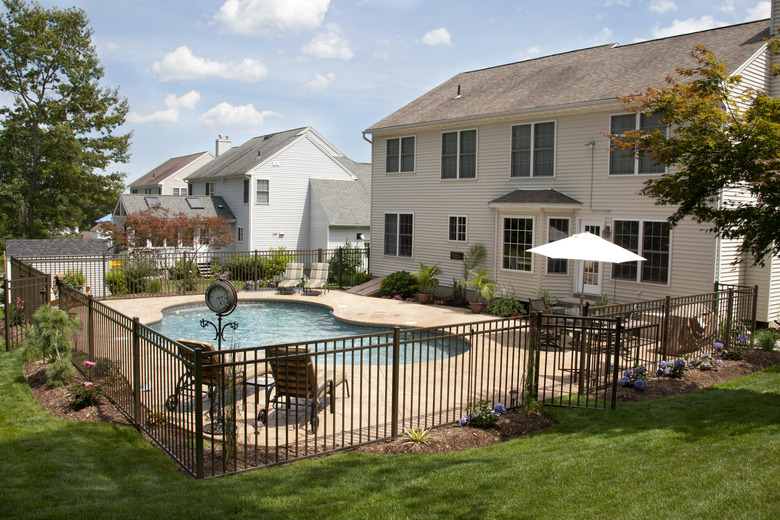
If you need a tall fence but don't want to block the views, consider a fence with a more open design. This may be the case, for instance, if local building codes require a 6-foot fence around a swimming pool, but you don't want to block an idyllic view. In this case, you can opt for a chain-link fence or an ornamental metal fence, both of which create barriers with primarily open spaces.
If you're looking for a more classic feel, consider post-and-rail fencing, also known as estate fencing. This type of fence features three horizontal rails between the upright posts. It's essentially a more formal take on old-fashioned split-rail fences that were used to corral livestock on old farmsteads.
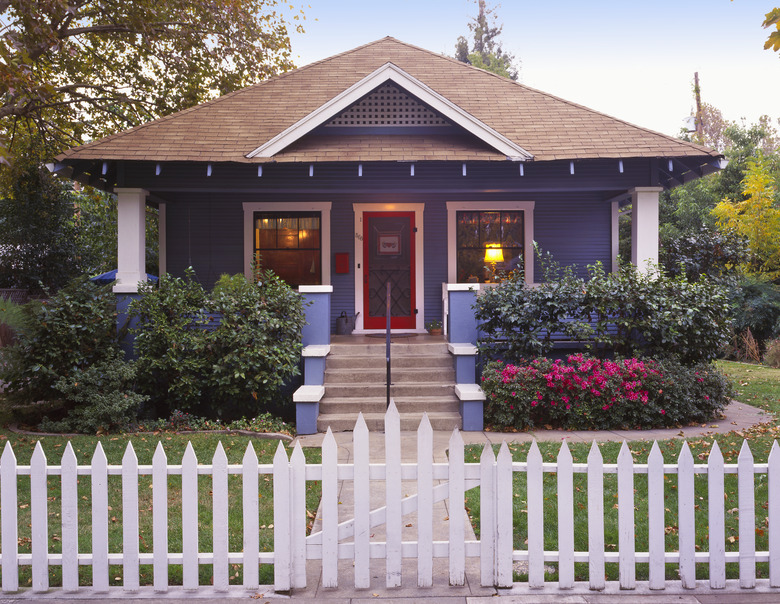
You can also opt for shorter fencing. According to Landscaping Network, 3- and 4-foot fences are popular with homeowners. Shorter fences can add both beauty and function to your yard without dominating the landscape. These fences are often made in a lattice pattern or in the classic white picket fence style. If you desire a more rustic setting, you can also opt for an old-fashioned split-rail fence made from rough-hewn logs. Like taller fences, shorter fences are also available in aluminum and other decorative metals.
 km406/iStock/GettyImages
4. Select a Fencing Material
Fences come in a wide array of materials, and each has pros and cons you must weigh. Wood is a classic fence material and works well in almost any landscape. Wood fencing requires periodic staining or painting, however, and is considered a fairly high-maintenance fencing material. Wood can also suffer damage if exposed to termites, insects or moisture.
Chain-link fencing is popular due to its low cost, and its open weave pattern won't block your view. It's also a low-maintenance option. It's not very attractive, though, unless decorated with climbing plants like ivy.
Steel fences are both extremely durable and attractive, but they're also incredibly heavy. Although steel fences can be stunningly beautiful, this fencing material can rust in damp or humid climates if not properly maintained. You'll need to be diligent about finding rust spots quickly and buffing or sanding them away.
Vinyl fencing is your best option for a low-maintenance fence. It comes in a wide variety of colors and lends itself well to DIY installation. It does cost more than other types of fencing up front, but it typically pays for itself over time with a lack of maintenance and excellent durability. Like vinyl, aluminum fencing is low maintenance and durable. It doesn't work well as privacy fencing, though, since it's often built with widely spaced bars.
Although wood and synthetic materials work well as fences, don't overlook Mother Nature. You can install a decorative rock wall or plant a privacy hedge to create natural fencing that blends perfectly with your landscape. The right plants can make a hedge that's almost impenetrable and that doesn't need a lot of trimming or attention.
5. Look at Your Budget
Steps 3 and 4 really work best when done in tandem. Both the amount of fencing you need and the fencing material you choose will affect your budget. According to HomeAdvisor, the average cost to install a fence in 2020 is between $1,642 and $3,998. Prices can vary greatly, however.
If you want a tall privacy fence made of wood, you can expect to pay $5 to $15 per linear foot for the fence alone. If you're hiring a pro to install your fence, labor costs add around $5 to $15 per linear foot. Vinyl fence materials cost between $16 and $30 per linear foot, and aluminum and metal fencing costs $30 to $40 per linear foot. Labor costs for these materials are $4 to $10 and $5 to $15, respectively.
If you're planning to DIY your fence installation, remember to budget not only for the fence materials themselves but also the additional costs of buying concrete mix at 10 cents to 50 cents per pound and renting a wheelbarrow to haul it. You may also wish to rent a post-hole digger or power auger to save yourself some time and effort.
 Douglas Keister/Corbis Documentary/GettyImages
6. Build a Fence
Now that you've figured out what you want and where you want it, it's time to gather your supplies and build a fence. Depending on how much fence you need, installing your fence will take about two days. Before work begins, remember to obtain any necessary building permits.
To make sure everything goes according to plan, map out your fence in the yard using wooden stakes and twine. This will show you exactly where your fence and its posts will go, giving you a detailed map for guidance. It also allows you to square your fence corners and make any adjustments easily before doing so involves moving a post.
The next step is to grab your post-hole digger and start setting your fence posts. Place each post so that about 1/3 of it is in the hole. Make sure the post is plumb and then set it in place with concrete. Allow the concrete to set before moving on.
Once the concrete is set, you can mount your horizontal supports, or stringers, along the fence. If you are using fence panels, you'll mount the panel brackets to the fence posts instead and then slide the panels into place. If you prefer, you can also attach the panels directly to the fence post using 3-inch decking screws. You'll continue installing fence panels or pickets along the fence, skipping over the areas where you will install gates.
To install a fence gate, lay the gate on the ground and install the hinges. Have a helper hold the gate in place and then attach the hinges to the fence post. You can then install the latch that will hold the gate closed.
References
- Landscaping Network: Fence Height
- HomeAdvisor: How Much Does It Cost To Build A Fence?
- Better Homes & Gardens: 13 Things to Know Before You Build a Fence
- MMC Fencing & Railing: Fence Etiquette 101
- MMC Fencing & Railing: Planning a Fence
- YouTube: Lowe's Home Improvement – How to Install a Chain Link Fence
- Home Depot: How to Plan a Fence
- YouTube: This Old House – How to Install a Fence Gate | Ask This Old House