Adding A Soap Dish To A Tile Shower
We may receive a commission on purchases made from links.
The humble soap dish: It's a simple device, but doing without one can be quite noticeable in your shower routine. If you're tired of the soap going missing, being out of reach or swimming in a mushy puddle, a soap dish can solve all of your problems. Fortunately, there are several DIY ways to add a soap dish to your tiled shower.
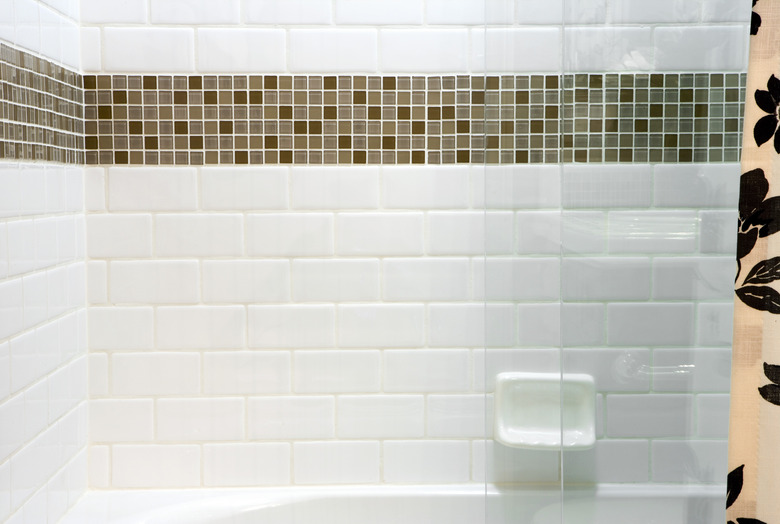
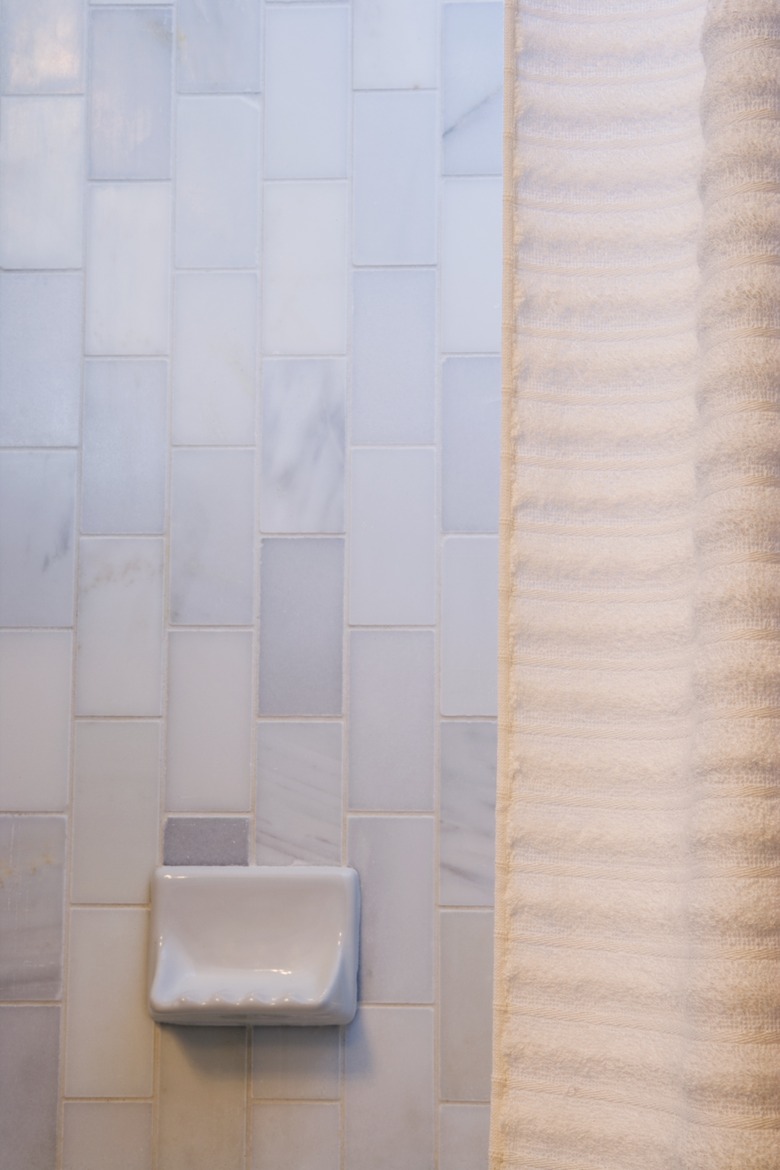
The Soap Dish Tile
The Soap Dish Tile
If your tile wall in the shower is missing a soap dish, you can fix the problem by removing a tile and replacing it with a soap dish tile that is the same size as your other tiles, creating continuity throughout your shower. The first step is to decide where you want to locate your soap dish. The best place is on the same wall as the showerhead so that it sits behind the shower spray rather than in it. Ideally, the dish should sit 16 to 20 inches to the left or right of your showerhead if you have the room — or as far as you can install it to one side of the showerhead.
The key for soap dish tile placement is to find a spot in the shower where you can easily reach the soap, but water won't collect in the dish and make a mushy mess. Once you've decided which wall tile to replace with your soap dish, you're ready to begin:
- Remove the grout around the tile with a grout saw.
- Place masking tape over the tile. The tape will help keep the drill bit from slipping and ruining an adjacent tile when you drill it.
- Using a hammer and nail, punch small divots into the tile in an "X" pattern.
- Install a 1/4-inch masonry bit in your drill and then drill holes through the tile where you marked your divots. Drill carefully, making sure you go through the tile but not the wall or backerboard behind it.
- Chip out pieces of the drilled tile with a hammer and a 1/4-inch-wide chisel. Work carefully, removing the tile and all adhesive or mortar. The chisel works best when held at a 45-degree angle.
- With a small putty knife, spread a layer of tile adhesive onto the wall and the back of your soap dish tile. Press the tile firmly into place.
- Secure the tile with duct or masking tape. This will support the weight of the soap dish while the tile adhesive dries.
- Remove the masking tape when the tile adhesive has set and grout around the soap dish tile. If your soap dish tile has a lip that overlaps the surrounding tile, caulk around the tile with waterproof caulk rather than grouting it.
Flat-Back Soap Dishes
Flat-Back Soap Dishes
If you don't want to rip an existing tile out of your wall, you can instead opt for a flat-back soap dish tile. Made to mount on tile and other surfaces, you essentially glue these tiles to your existing tile. To do so, clean the area where you'll mount the soap dish thoroughly with alcohol.
Spread a silicone adhesive on the back of the flat-back tile and then press it firmly onto the wall. As Eclectic-ware points out, it's imperative that the sealant you use is 100 percent waterproof. Water-resistant isn't good enough when mounting your soap dish in the shower.
Use duct tape or masking tape to hold the soap dish in place until the adhesive cures completely (typically 24 hours). It's best to avoid showering or running any water in the bathtub as it cures. When the adhesive has cured, you can remove the tape and enjoy your new soap dish.
 LOOK Photography/UpperCut Images/GettyImages
Bracket-Mounted Soap Dishes
Bracket-Mounted Soap Dishes
Some homeowners don't want to pull a tile out of their shower wall but are leery of trusting adhesive alone to support their soap dish. If you're one of them, a third option is a clip or bracket-mount soap dish. These soap dishes come with mounting hardware and are easy to install.
Begin by placing masking tape over your tile where you will drill into it. Kohler recommends installing the unit where there is a wall stud if you can. Hold the bracket against the tile and mark where you will drill the mounting holes. Drill the holes with a masonry bit. The size you need will depend on the size of the hardware that came with your soap dish.
Remove the masking tape and push the nylon anchors that came with your kit into the freshly drilled holes. Hold the mounting bracket against the wall and screw it into place, making sure your screws are going into the screw anchors. When you're done, mount the soap dish to the bracket as instructed. This will often involve sliding the soap dish over the mounting bracket and tightening a set screw to hold it in place.