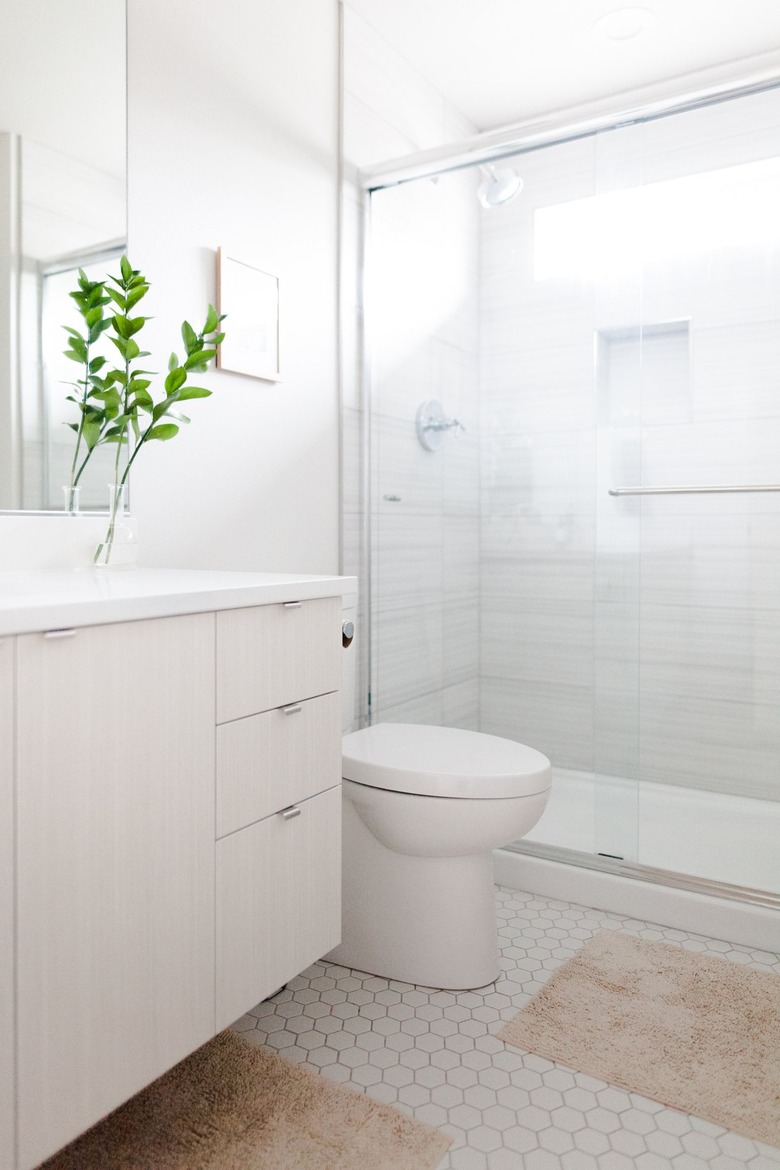
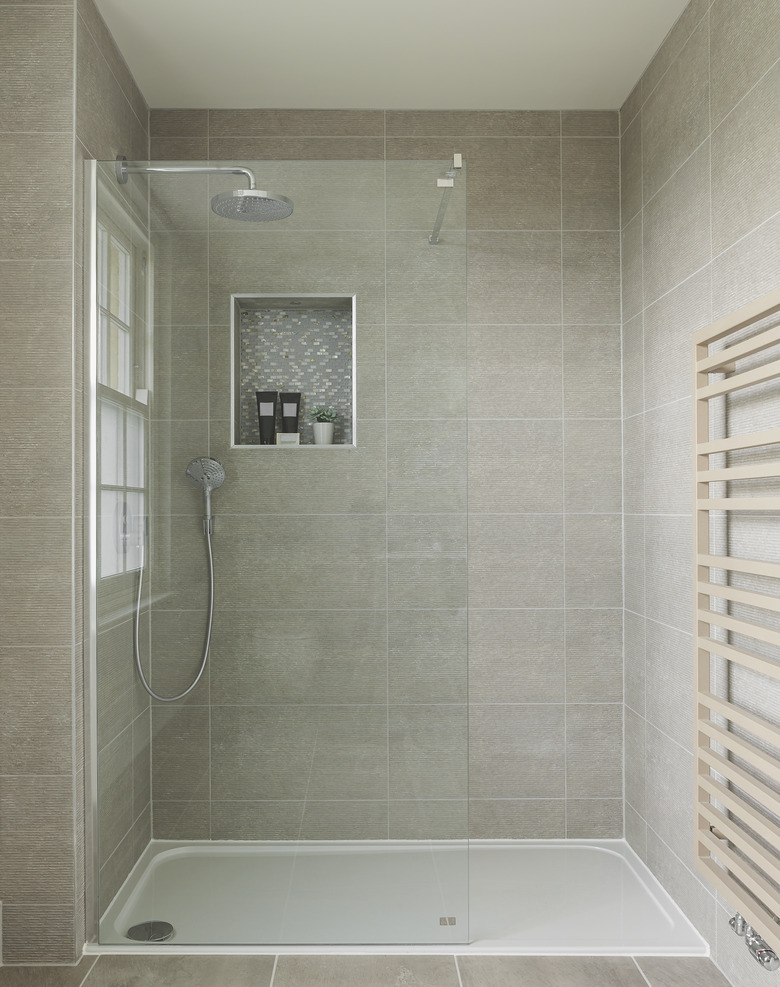
Shower Pan Installation: A DIY Guide
We may receive a commission on purchases made from links.
Shower pan installation can be unexpectedly tricky even for DIYers who have no trouble framing a shower alcove, running the plumbing lines and installing the faucet and showerhead. Custom ceramic tile shower pans are quite complicated to install, requiring installation of a waterproof membrane, metal lath and a carefully sloped mortar base. The process is so complex and time consuming that if you are hiring professionals, the custom tile shower pan alone can add thousands of dollars to the cost of the shower.
It's no wonder that homeowners are increasingly opting to install a prefabricated shower base in shower alcoves. A good-quality prefabricated shower pan makes an excellent base for any kind of shower, whether the walls will be finished with convenient surround panels or covered with high-end porcelain ceramic tiles. Prefabricated shower pans are now found in even the most luxurious homes.
Buying a Prefabricated Shower Pan
Buying a Prefabricated Shower Pan
Installation of a prefabricated shower pan assumes the alcove walls for your shower are already framed in and that the drain stubout pipe leading to the drain trap is already installed and extending up through the subfloor. Therefore, it is very important that you buy a prefabricated shower pan that exactly matches the dimensions of the alcove with a drain opening that exactly matches the location of the drain stubout pipe. It's best if the plumbing rough-in is done with the shower pan already purchased so that the plumber can match the rough-in to the shower pan you've purchased.
During installation, it's possible that some adjustments of the drain pipe might be necessary to ensure that it aligns with the shower pan. Often, DIYers are able to make these last-minute adjustments themselves, but it's also possible that it will require a visit from a plumber.
There are prefabricated shower pans to meet almost any alcove size or shape, including corner units. Shower pans are available in a variety of materials, including fiberglass, solid acrylic, ABS plastic capped with acrylic, cast iron and composite (a blend of plastic resins and finely ground glass or stone). Acrylic offers the broadest selection of shower pans and a great combination of performance and affordable cost. Prices range from about $200 to $1,000 or more for acrylic shower pans, and they can weigh as little as 30 pounds, making for very easy DIY installation. By comparison, top-end cast iron shower pans start at about $1,000 and can weigh 200 pounds or more.
Preparation for Shower Pan Installation
Preparation for Shower Pan Installation
Before beginning installation, it's crucial that the subfloor of the shower alcove be structurally sound and in good shape. If you are reusing the same alcove that previously held an old shower or bathtub, it's possible that the subfloor suffered some water damage, especially around the drain fitting. Examine the subfloor carefully for signs of softness or sagging. Damaged areas should be cut away and replaced with new plywood rated for subfloor use. Some plumbers like to cover the subfloor area under a shower pan with a layer of 1/4-inch or 1/2-inch cement board, which creates a good base for the mortar that will be used to bed the new shower pan.
If joists show any signs of damage, these too should be repaired before installing a new shower. Structure reinforcement of damaged joists can usually be accomplished by installing sister joists, which are additional joists attached directly alongside the damaged joists.
Finally, it's very important that the rough-in drain pipes be correctly installed before you begin. The drain trap and branch lines will be difficult to access once the shower pan is installed, so make sure they are correctly installed before you begin. New plumbing work should be reviewed by a building inspector before you begin work on finishing the shower since they will not have access to review the installation once the shower pan is in place.
Shower Pan Installation Overview
Shower Pan Installation Overview
In an alcove shower installation, the shower pan is generally installed after the plumbing drain lines and water supply pipes are run but before the shower walls and other finish work has been done. In a full bathroom remodel, shower pan installation happens before bathroom flooring is laid, at the conclusion of any framing work and after electrical and plumbing lines are run.
Shower pans made of acrylic or other synthetic materials have ribbed bottoms to give the floor of the shower good support underfoot, but it is still standard practice to pour a thin layer of mortar onto the subfloor in the shower floor area before setting the shower pan. The ribs on the bottom of the shower pan, which radiate out from the drain opening, are anchored and supported by the mortar. An acrylic shower pan is much more secure and sturdy when it is set into a mortar bed troweled over the subfloor.
Some shower pan manufacturers such as DreamLine specify that the shower pan must be installed by a professional plumber. If you install such a shower pan yourself, make sure to follow both the manufacturer's specifications and local code requirements to the letter. Failure to do so may void the warranty.
When installing the shower drain kit, make sure to follow the shower pan manufacturer's instructions for the drain connections. A shower drain kit is sometimes included with the shower pan, but with other shower pans, you will need to buy the drain kit separately. Installation methods vary, but typically, it involves attaching a drain body to the shower pan by means of a mounting nut that tightens down over a threaded tailpiece, compressing washers or gaskets to seal the drain body. When the shower pan is lowered onto the drain pipe, the drain body is sealed to the drain pipe with either solvent glue or by means of a tightly fitting gasket.
Things Needed
-
Acrylic shower pan
-
Shims or spacers (if needed)
-
Shower drain kit
-
Mortar
-
Thinset adhesive (if needed)
-
Roofing nails
-
Silicone caulk
-
Hacksaw or reciprocating saw (if needed)
-
Level
-
Channel-lock pliers or spud wrench
-
Mortar mixing tub
-
Trowel
-
Hammer
-
Drill (if needed)
-
Caulk gun
 contrastaddict/iStock/GettyImages
How To Install a Shower Pan
1. Trim the Drain Stubout Pipe
When a plumber roughs in the drain pipes for a shower, he generally leaves the stubout pipe extending upward from the drain trap so that it extends a few inches through the subfloor. When it comes time to install the shower pan, this stubout must be trimmed off at whatever height is specified by the manufacturer. Usually, this means trimming off the pipe flush with the subfloor. The stubout can be trimmed with a hacksaw or with a reciprocating saw. Take care to make the cut as flat as possible.
2. Test Fit the Shower Pan
Position the shower pan in the alcove tight against the framed walls. Use a level to make sure it is level front to back and side to side. If necessary, add shims or spacers under the shower pan to level it. When the shower pan is perfectly level, outline the top edge of the shower pan on the studs around the perimeter of the alcove. Remove the pan from the alcove.
3. Attach the Drain Body
Following the manufacturer's directions, attach the shower drain body to the shower pan. Installation methods vary, but it generally involves placing a rubber or fiber gasket (or a liquid sealant) under the rim of the drain body, inserting the drain body tailpiece through the opening in the shower pan and threading another washer and mounting nut onto the drain tailpiece from the bottom of the shower pan. Tighten the nut securely with large channel-lock pliers or a spud wrench. The drain body must be secure at this point since adjustments will be difficult once you install the shower pan.
4. Mix and Pour the Mortar Base
In a mortar mixing tray, mix a batch of cement mortar to a texture that is pourable but thick enough to stay in place when troweled. Trowel a layer of mortar over the floor of the shower alcove where the shower pan will sit but make sure to keep the mortar away from the hole in the subfloor where the drain pipe is located.
Some shower pan manufacturers may recommend bedding the shower pan in a layer of thinset adhesive — the same adhesive used to set ceramic tile to cement board.
5. Position and Level the Shower Pan
While the mortar is still wet and workable, position the shower pan into the alcove so that the drain body slides over the drain stubout pipe in the floor. Press down on the shower pan until the edges of the shower pan are flush with the reference lines you marked on the studs. You may need to apply some downward pressure on the shower pan to press it down into the mortar. Check the edges of the shower pan with a level again to make sure it is level from side to side and back to front.
6. Anchor the Shower Pan
When the shower pan is perfectly level, anchor the outer flange of the shower pan to the studs with roofing nails driven through the flange and into the studs. You may need to drill pilot holes through the flange to drive the nails. This edge flange and the nails holding the shower pan to the studs will be fully covered with the wall surfaces when they are installed. Allow the mortar to dry overnight.
7. Complete the Drain Hookup
Most shower drain kits seal by means of a compression gasket that fits down into the gap between the outer edge of the drain stubout pipe and the tailpiece on the drain fitting. After this gasket is installed, a compression nut is threaded down into the drain opening and tightened, which further compresses the gasket and seals the drain.
Complete the installation by installing the drain grate over the drain opening using the mounting screws included with the drain kit.
With the shower pan and drain now installed, you can move on to the installation of the wall surfaces and then the faucet and showerhead. Make sure to protect the shower pan while you work on the walls and faucet valves since acrylic surfaces are easily scratched.
8. Caulk the Finished Shower
When the shower walls are fully finished, caulk the gap where the bottom of the walls meet the shower pan using silicone caulk as specified by the shower pan manufacturer.