Freestanding Tub Installation: A DIY Guide
While freestanding tub installation often means a call to a favorite plumber, it's not impossible to install the bathtub yourself. Aside from carting the tub into your home, installation is usually just a matter of making a few plumbing connections and ensuring the tub is level and free from leaks as it drains. The tub can be installed atop any type of flooring, provided that the location can handle the weight of the tub. You will need access to the drain area in the floor as well as the hot and cold water lines to connect to the tub.
Water and Drain Line Location for Tub Installation
Water and Drain Line Location for Tub Installation
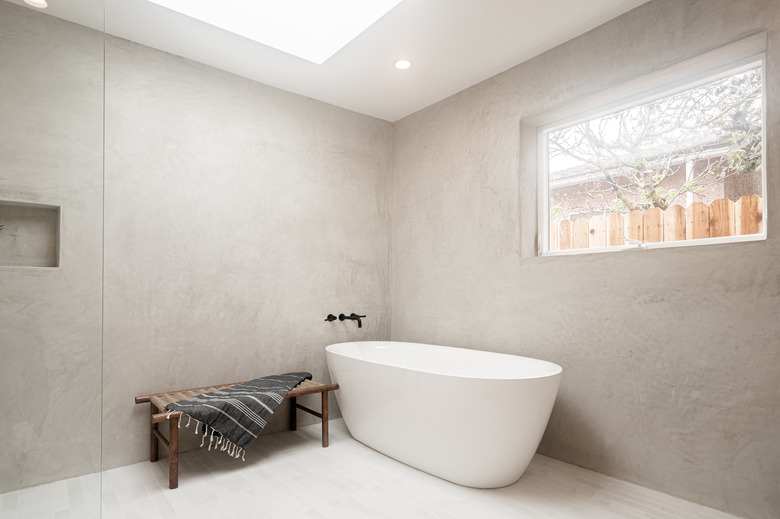
Much like a drop-in tub or an alcove tub, a freestanding tub installation goes smoothest with the water and drain lines already in place near the tub. For most freestanding tub installations, the lines for hot and cold water are stubbed out in the floor unless the tub is located next to a wall and uses a wall-mount faucet. Floor-based water lines are used on any freestanding tub that isn't near a wall regardless of where the faucet mounts on the tub or if the faucet itself is a freestanding model.
If the tub has an overflow hole, the overflow plumbing has to connect with the drain pipes under the tub or in the floor, which is true even for alcove and drop-in tubs with an overflow hole. With or without the overflow hole, the drain on the bathtub must line up with the drain pipe in the floor. This may help you decide on the size of the tub and its positioning in the bathroom.
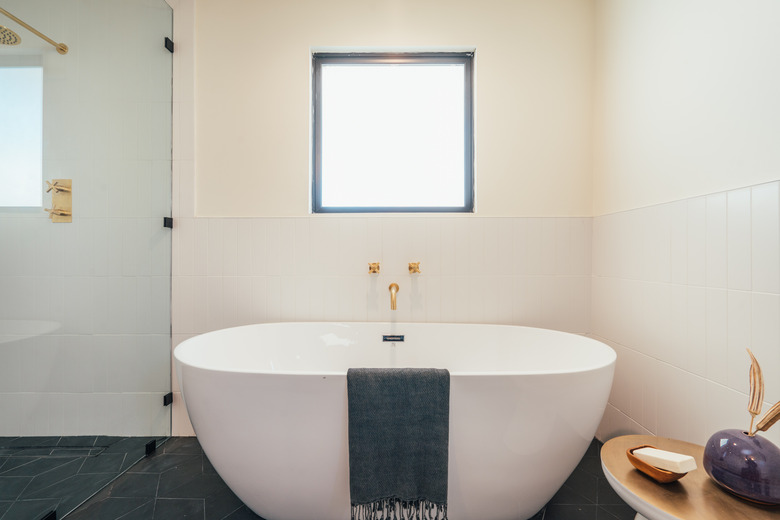
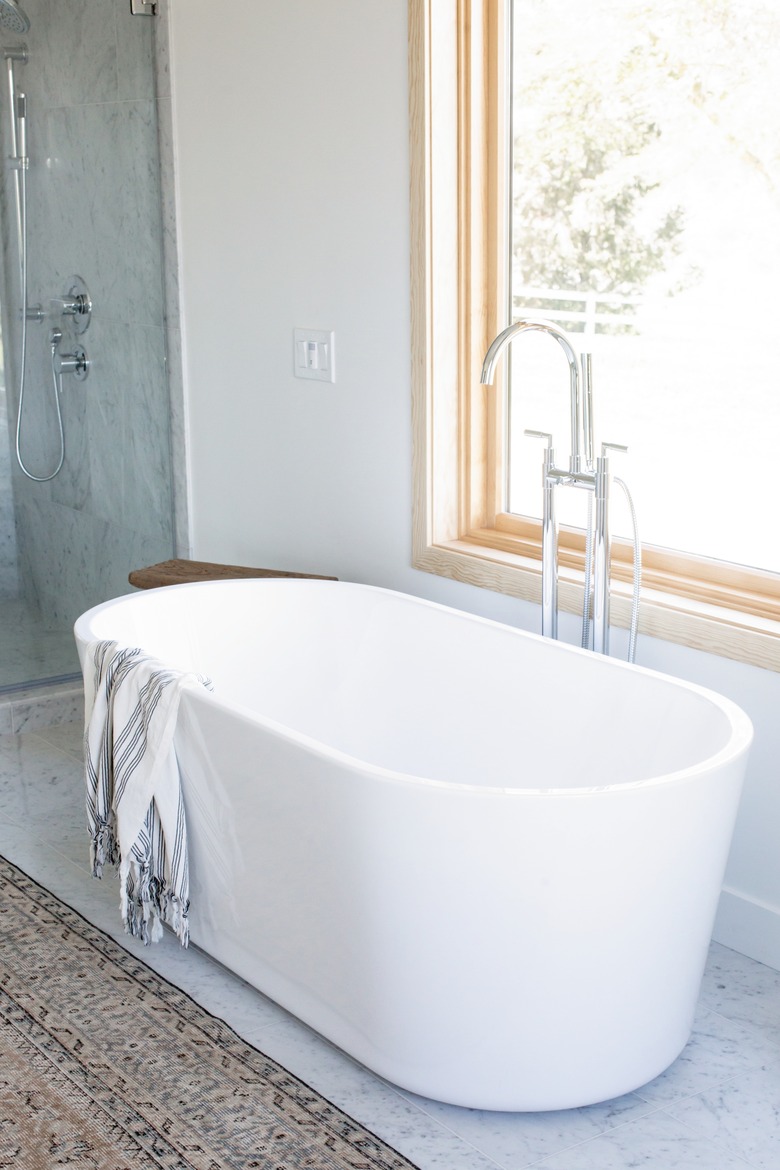
Choosing and Positioning a Faucet for a Freestanding Tub
Choosing and Positioning a Faucet for a Freestanding Tub
If your freestanding tub doesn't come with faucet holes, you'll need space outside the tub to install the faucet, such as a freestanding floor faucet. If the tub already has faucet holes, this requires a faucet that fits the hole spacing, measured from center to center. In either case, the faucet position should be within easy connection access to the hot and cold water lines.
For freestanding faucet styles, the faucet can fill the tub from any of its sides rather than from a set predrilled location. This offers a bit more flexibility for how the tub is positioned in relation to the faucet itself as long as the faucet spout reaches far enough over and into the tub so water won't splash outside the tub.
 Hunker in Partnership with Acme Real Estate
Preparation for Freestanding Bathtub Installation
Preparation for Freestanding Bathtub Installation
A little time spent ensuring you have everything you need before installation can help make the process much easier. Before even bringing the tub into your home, make sure it will fit through doorways, around corners, through hallways and up the stairs (if you're not installing it on the main floor).
Measure all of these areas to ensure you'll have at least a few inches of clearance around the tub as it's hauled into the bathroom. Even the lightest tubs weigh more than 70 pounds, so it'll save a lot of trouble to make sure you won't get stuck turning a corner to go up stairs while hauling a heavy tub. Many tub manufacturers recommend carrying the tub upside down, so read the manufacturer's installation guide before moving the tub.
Once the tub is in your home, make sure all the parts that should have been included in the box are on hand. Some parts may be preinstalled, such as a drain assembly. Make sure any nuts are tight and all the pieces are where they belong. This information should be listed in the tub installation guide, as it will vary based on tub brand and model. In some cases, you'll have to attach these pieces to the tub yourself before installing the tub.
Make sure all the tools and supplies you'll need are also handy, such as a level, an adjustable wrench and sometimes tub caulk and plumbers' putty. The manufacturer's installation guide generally details all the work, tools and supplies involved in the project.
Readying the Freestanding Tub
Readying the Freestanding Tub
To get your freestanding tub ready for complete installation, set two 4x4s in place in the desired tub location to hold up the bathtub; this allows you to see the leveling feet (if any) and the connection points for the plumbing. Align the 4x4s so one is near the head of the tub, spanning its width, and the other is near the foot of the tub parallel to the first.
Make sure the lumber is in good shape and level so the tub is level atop it. The 4x4s also must be positioned so they won't block the tub's feet or drain hole. If the tub manufacturer suggests that the tub can be set on its side atop a blanket, do this instead of the 4x4 method, as it will be easier to connect the tailpiece assembly.
- Enlist the help of a friend or two to set the tub in position atop the 4x4s. Make sure the final alignment has the tub drain hole directly above the drain line or as indicated in the bathtub installation paperwork. This may vary a bit based on brand.
- Place a shallow plastic tub beneath the bathtub's drain and close the drain. Pour a small amount of water in the tub to ensure the drain cover seals properly and doesn't drip beneath the tub. If it does, tighten the drain assembly as indicated in the tub paperwork. This varies based on design.
- Once you're certain the tub doesn't leak, open the tub drain to release the water into the pan beneath the tub and then dump the water into the sink. Remove the plastic pan.
- Note the positions of the leveling feet and mark them on the ground where they belong using a pencil. Also mark the general outline of the tub and any other features that may be difficult to locate once the tub is in place and off the 4x4s.
- Inspect the manual that came with the tub to ensure proper assembly of the drain body and its tailpiece.
 Sanford Creative
Connecting the Drain
Connecting the Drain
Clean the floor thoroughly before setting the tub over the drain opening in the floor, as this helps ensure that the tub will rest properly atop the floor once installed. Be sure to move any tools or parts out of the way for when you're ready to lower the tub into its final position.
Connecting the tub's drain assembly to the drain line is done by aligning the tub tailpiece over the drain pipe in the floor and then lowering the tub straight down so the tailpiece slips into the drain pipe. Tub manufacturers often have their own proprietary drain setups designed to make installing specific tub models easier. For instance, MAAX Bath has the F2 drain designed for some of the company's freestanding tubs, while Badeloft offers the EZ drop in drain.
Other third-party drain pieces are also available; these may require separate purchase of a 2 x 1 1/2-inch reducer bushing if the drain tailpiece is 2 inch and the drain pipe in the floor is 1 1/2 inch. Some drain systems include a large conical flange that attaches to the drain pipe and is fastened to the subfloor. The tub tailpiece slips into the flange when the tub is set.
Setting the Freestanding Tub
Setting the Freestanding Tub
Final installation methods vary by manufacturer and model, but most freestanding tubs are simply set in place and sealed with silicone caulk, which provides a watertight seal where the tub meets the floor and helps keep the tub in place. The tub is not otherwise fastened to the floor. With some tubs, you apply a continuous bead of caulk along the bottom edge around the perimeter of the tub. Other tubs have hidden leveling feet that receive a dab of caulk.
Once the underside of the tub is caulked, it takes two or more people to lift the tub, center it over the tub drain and then carefully lower it to the floor while fitting the tailpiece into the drain pipe or flange. The tub is checked for correct positioning and then a final bead of caulk may be applied along the joint where the tub meets the floor. The tub is ready to use after 24 hours when the caulk has fully cured.
References
- Lowe's: Aquatica: Typical Freestanding Bathtub Installation Procedure
- Badeloft: How to Install a Freestanding Bathtub Using the Badeloft EZ-Drop in Drain
- Woodbridge Bath: Woodbridge Freestanding Bathtub Installation and Care Guide
- Badeloft: Planning a Freestanding Tub Installation
- The Tub Connection: Where Does Water Come From: Or Placement Of A Freestanding Tub
- P.J. Fitzpatrick: How to Install a Freestanding Bathtub
- MAAX Bath: F2 Drain