How To Install Over-The-Toilet Storage: A DIY Guide
If you're struggling to find adequate storage in your small bathroom (or maybe even your not-so-small bathroom), embrace the DIY spirit and consider hanging a wall-mounted storage unit above your toilet. This space often goes to waste in bathrooms, but there's good opportunity to create storage space that will also double as visual interest. Over-the-toilet storage is an easy DIY project and makes for an excellent place to stash toiletries, extra toilet paper, wet wipes, feminine hygiene products and other items you'll want handy when using the facilities.
Why Hanging Toilet Storage?
Why Hanging Toilet Storage?
You've likely seen freestanding bathroom storage shelves that fit over the toilet in many homes. These shelving units seem like a simple toilet storage solution, but they have several drawbacks. One is that they often sit uncomfortably close to the top of the toilet tank. If the rack doesn't leave adequate space between the toilet tank and the bottom shelf, you'll have trouble removing the tank lid when you need to do so.
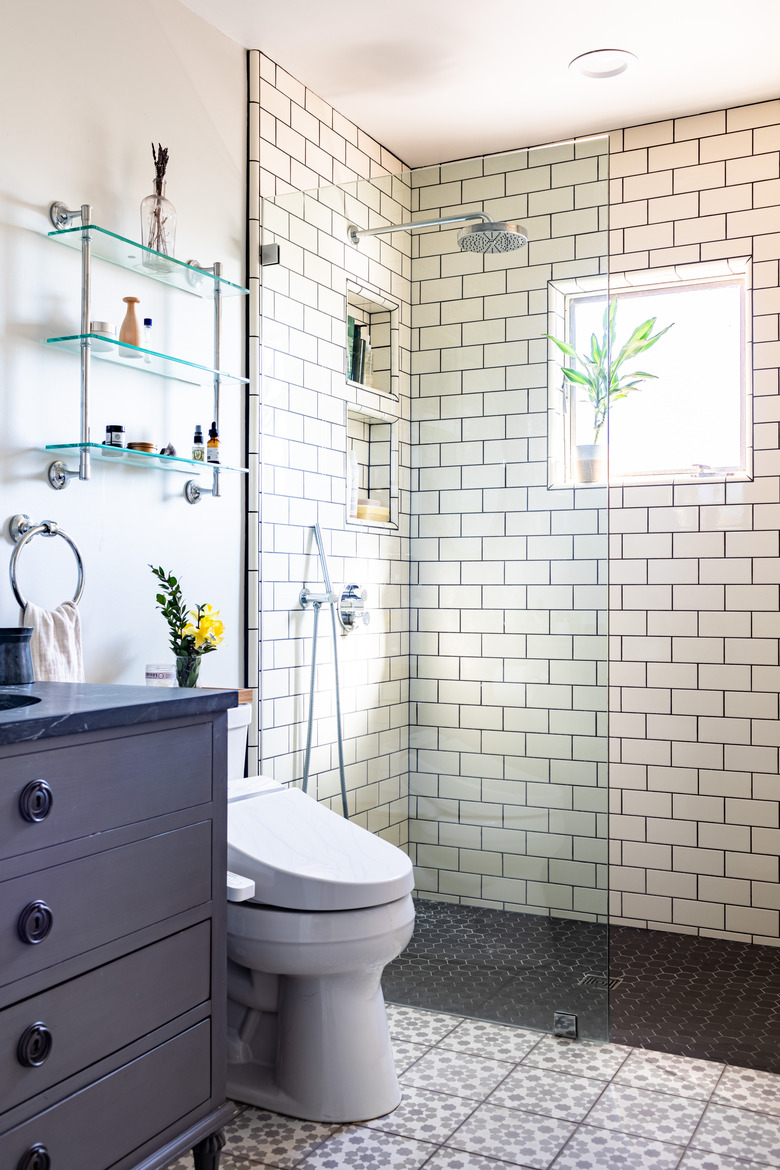
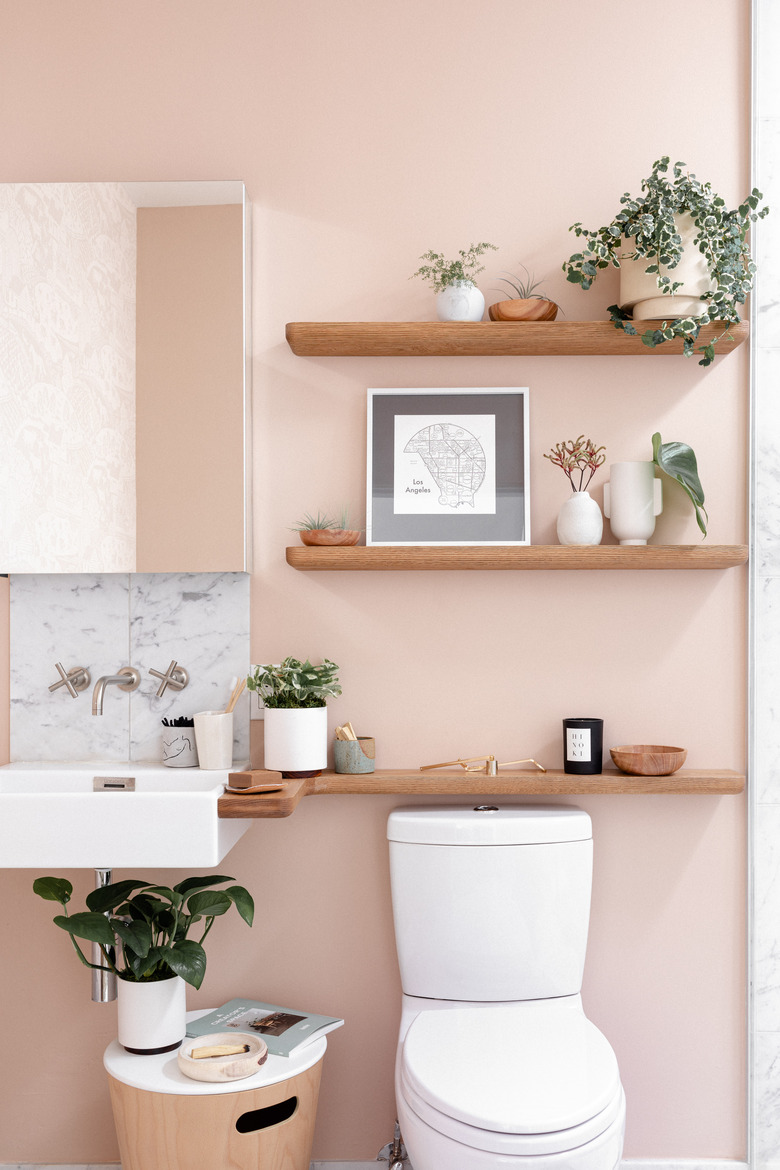 Stephen Paul for Hunker
Another is that these units typically contain open shelves. That works if you plan to store extra toilet paper or towels, but you may want more privacy. Your guests may appreciate the high visibility of extra TP, but they don't want to see your hemorrhoid cream any more than you want to show it to them. A hanging storage unit is much more likely to have drawers or cabinet doors to help with discretion.
Things Needed
-
Newspaper
-
(2 to 4) 2- or 3-inch wood screws
-
(2 to 4) 3/8-inch toggle bolts (optional)
-
Washer
-
Level
-
Pencil
-
Stud finder
-
Drill
-
Phillips-head screwdriver
How to Install Over-the-Toilet Storage
1. Mark the Unit Placement
The first step is deciding exactly where you want your storage unit or cabinet to sit. Have a helper hold the storage unit above the toilet to help you determine the correct height. When you have it, use a level to make sure the unit is straight and then draw a pencil line where the bottom will go. Make additional pencil marks at the mounting holes in your storage unit.
If your storage unit is heavy, make a template of it out of newspaper and use that to determine the best position.
2. Check for Studs
Ideally, your new wall cabinet or storage unit will mount to the studs inside your wall. If you're mounting a cabinet without predrilled mounting holes, you can make sure that you hit studs by measuring carefully and drilling the holes where you want them. This may prove impossible, however, with storage units consisting of more open shelving patterns with predrilled mounting holes from the factory.
To make sure you've hit studs, use a stud finder for verification.
- Grab a stud finder and turn it on. You'll need a stud finder for a lot of DIY projects, so consider buying one if you don't own one already.
- Run the stud finder along the wall and verify that your mounting marks fall on a stud.
- If your marks miss a stud, take note that you will need toggle bolts rather than screws to hang your storage unit.
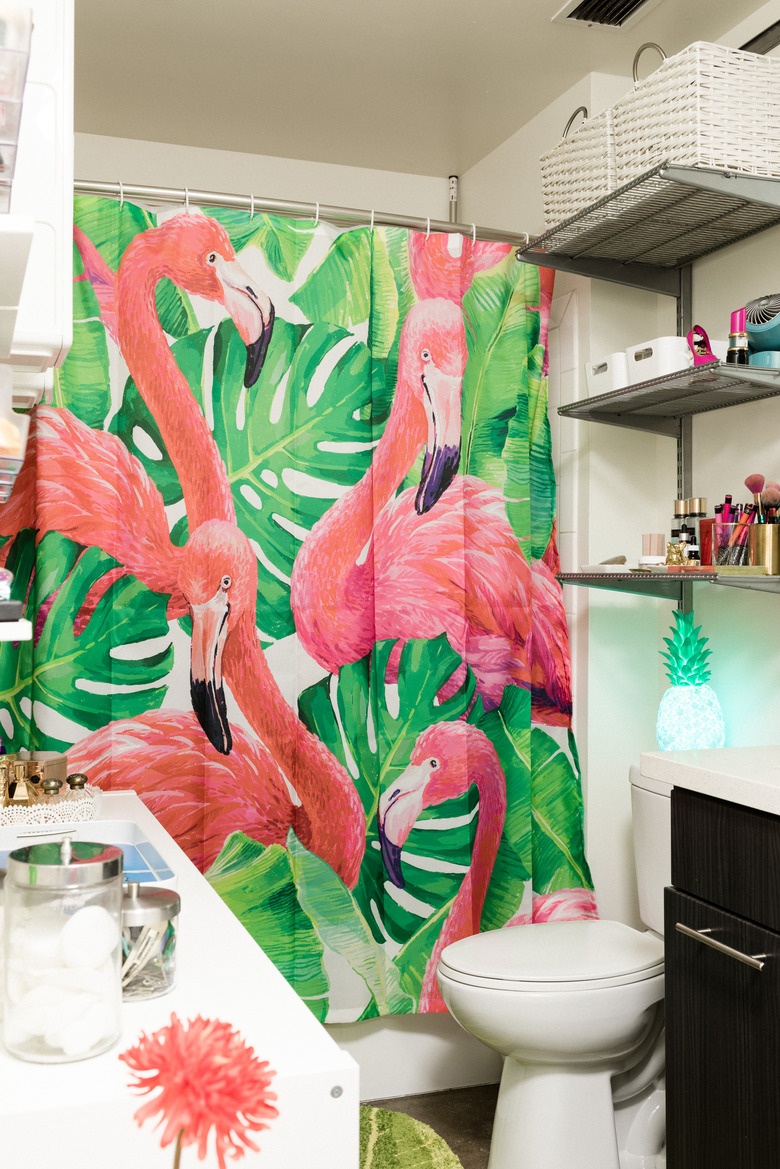 Stephen Paul
3. Mount Your Toilet Storage
To make mounting your toilet storage easier, drill pilot holes in your wall first. After drilling the holes, hold your cabinet or storage unit in place and secure it. Make sure it lines up with the mark you made earlier so that it sits level and stays at the correct height. For a secure fit into wall studs, mount the unit with 2- to 3-inch wood screws.
If you're hanging your storage unit on drywall without studs, use heavy-duty drywall anchors rather than screws to secure your cabinet. According to All Points Fasteners, a 3/8-inch toggle bolt can hold up to 50 pounds when installed in 1/2-inch drywall.
- Place a washer in the inside of the cabinet or storage unit. This is the side that faces you.
- Collapse the anchor bolt and feed it through the mounting hole in the storage unit and then into the wall. You'll hear a click when it makes it through the wall and opens on the other side.
- Screw the anchor bolt into place, gently pulling the bolt toward you to ensure that the anchor is flush against the inside of the wall.