Luxury Vinyl Flooring In The Bathroom
Luxury vinyl tile is an excellent choice for a bathroom floor, as it resists moisture and looks similar to ceramic tile while feeling warmer and softer underfoot. This type of tile is incredibly durable and is available in a wide variety of colors and styles, much like ceramic and stone tile and at a similar price point. If tile isn't your style, luxury vinyl planks are also a great option, emulating the look of wood but also with the benefits of being waterproof. To be successful on a vinyl tile or plank install, test-fit the tile or planks first before you begin making your cuts.
Luxury Vinyl for a Bathroom
Luxury Vinyl for a Bathroom
Luxury vinyl tile has several unique features that make it an excellent choice for a bathroom. Certain styles look so much like ceramic tile once installed that it can be hard to tell the difference. Vinyl tile is far less likely to crack or chip, as it has some flexibility. This means that dropping a heavy object on it likely won't cause damage, whereas ceramic or stone tile may crack or chip. It's also easier to remove vinyl tile should you decide you'd like to replace a piece or install a new style of vinyl tile flooring.
Many other types of bathroom flooring, such as wood, aren't as waterproof, which makes luxury vinyl tile or planks an excellent alternative. Some brands, such as Hallmark Floors, even offer an anti-microbial, anti-fungal finish on their flooring, which is a great option for a damp environment, such as the main bathroom in a home. When walked upon, luxury vinyl in plank or tile form is also quieter than its wood, ceramic or stone counterpart.
In many cases, luxury vinyl tile and planks are also less expensive than ceramic and stone tile or hardwood planks, and vinyl lasts as long or possibly longer, according to Ferma Flooring. Quality luxury vinyl planks may last up to 50 years with proper care.
Luxury vinyl flooring is easier to manipulate and cut than stone, ceramic or wood. Both vinyl tiles and planks can be cut with a sharp utility knife and a straightedge. Cutting vinyl is far less messy than cutting stone, ceramic or wood, as vinyl doesn't create fine particles or sawdust. Stone and ceramic particles could irritate the airways if you cut such materials without wearing a dust mask. It's far easier to cut vinyl to fit unusual angles or curves compared to stone and ceramic tile, which could chip or break during the cutting process.
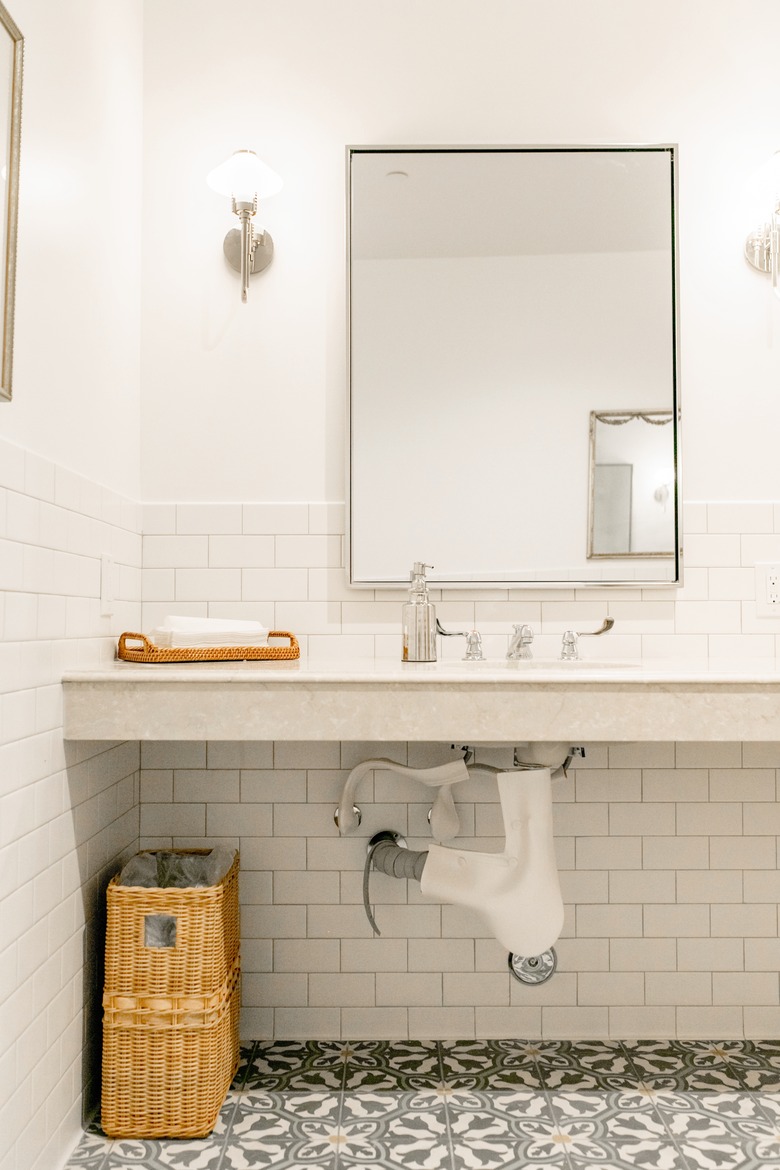
 Sanford Creative
Luxury Vinyl: Tile Versus Planks
Luxury Vinyl: Tile Versus Planks
Luxury vinyl tile is a great choice if you wish to create a patterned floor or if you want a bathroom floor that looks like stone tile. Much like stone or ceramic tile, some luxury vinyl tile requires grout between the tile pieces, while others have a peel-and-stick backing that makes the installation process slightly easier. If you find a type of vinyl tile that you like, read the installation information before purchase to determine just how difficult and time-consuming the installation process may be, as these factors can vary greatly depending on the methods and materials used.
Luxury vinyl planks are designed to look like wood flooring planks and are available in a vast array of colors and finishes. The planks interlock on their sides much like laminate flooring, except they're thin enough to flex into place, making them easier to manipulate.
Many types of luxury vinyl plank flooring already have an underlayment in place as the bottom layer, allowing you to install the planks as a floating floor. Installing a floating floor is a bit more forgiving than installing floors that use adhesives, as you're free to remove planks and reposition them as often as necessary to achieve a proper fit. For this reason, vinyl planks may be easier to install than some types of vinyl tile.
Both luxury vinyl tile and luxury vinyl planks require a completely smooth subfloor since things like old globs of hardened adhesive or protruding staples, nails or screw heads can damage the new vinyl or cause a noticeable bump in the flooring.
How to Test-Fit and Install Vinyl Tiles
How to Test-Fit and Install Vinyl Tiles
Before the vinyl tile installation, you'll need to ensure everything fits together in a visually pleasing way, which means spending time on test-fitting the materials. When test-fitting tiles on the floor, the goal is a layout that does not have narrow rows of tile along any wall or near the tub or vanity. You may need to shift your layout to keep those end rows of tile fairly wide. This may mean trimming a couple inches off a starting row to accomplish this. After you've determined a good tile layout, the installation process will go a lot more smoothly.
- Trace any narrow tiles on their respective locations on the underlayment and also plot a sheet of graph paper so you know which tiles go where. If this throws off your chalk grid on the floor, remark it with chalk of another color.
- Apply the adhesive recommended by the manufacturer using a trowel at the side of the room farthest from the door. If the tiles are the peel-and-stick type, skip the adhesive information.
- Start setting the tile into the adhesive from the door side of the room, working your way into the room and being careful not to step in the adhesive. If the tiles are peel-and-stick tiles, note the arrow on the back side indicating orientation, peel the backing off and then smooth down the tiles onto the floor. Make sure they land directly where you want them, as they cannot be repositioned. For areas where cuts are required, dry-fit the piece and cut it as needed before removing the backing.
- Once you've set all the tile, smooth it into the adhesive using a 100-pound roller.
- If you are working with tile that requires grout, use the type of grout recommended by the tile manufacturer. Apply the grout with a rubber float, coating the edge areas of the vinyl rather than the center. Wipe off excess with a slightly damp sponge.
- Once complete, wait a day or so to walk atop the tile and to clean up the grout lines a bit more.
How to Install Vinyl Tile with an Underlayment
How to Install Vinyl Tile with an Underlayment
If the subfloor is in great condition, you may be able to adhere the vinyl tile directly to it. If not, a vinyl underlayment allows you to stick the tiles to the underlayment, and the underlayment itself acts more like a floating floor. For this reason, you'll have to leave a gap of 1/4 inch or so around the perimeter of the room to allow for expansion.
Check the tile manufacturer's recommendations regarding vinyl underlayment to ensure the products you purchase are compatible with one another. Also test-fit the underlayment and a tile under the door jamb area to determine whether you need to cut the jambs with an oscillating tool or undercut saw so the tile has room to slide beneath them.
- Lay down the vinyl underlayment pieces and cut them to fit the room with scissors or a utility knife, leaving a 1/4-inch gap around the room's perimeter.
- Secure the underlayment pieces together with packing tape.
- Once the underlayment is down, measure the length of the wall at floor level near the entry door and mark the halfway point on the floor.
- Snap a chalk line connecting the points from one wall to its opposite.
- Repeat the process, finding the halfway points on the adjacent wall and the wall across from it and again chalking a line between the points. This divides the room into four sections. The intersecting point of the lines is the center of the room.
- Test-fit a couple tiles in front of the entry door, placing them on either side of the chalk line first to determine the layout that looks the best from the bathroom's entrance. If you are using tile that requires grout, use the recommended spacers to ensure accurate spacing between tiles.
- Set a full row of tiles in place along the first as a dry run, making a mark on the floor at the end of the tile on either end of the room. Snap a chalk line there as well.
- Repeat the process with additional chalk lines to make a series of lines, each the size of a tile, across the width of the room.
- Repeat the process along another wall to snap perpendicular chalk lines as well. Make sure the lines stay perpendicular to one another by using a carpenters' square to ensure the correct angle. Otherwise, the tile layout will appear off.
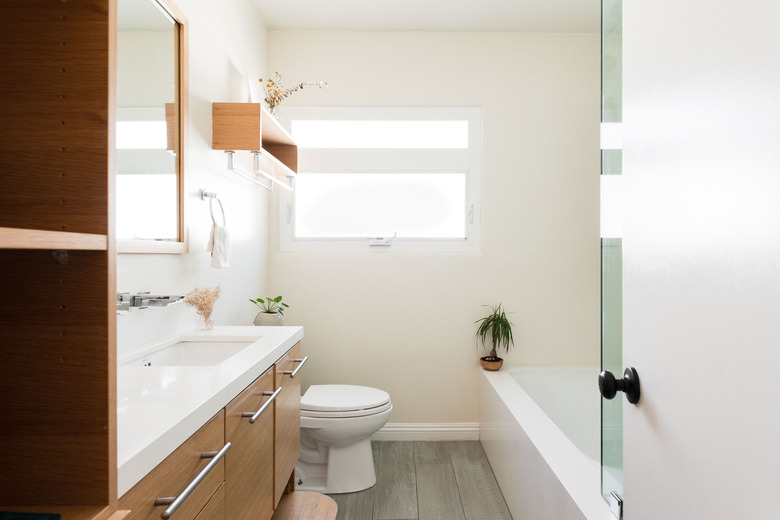 Stephen Paul
How to Install Luxury Vinyl Planks
How to Install Luxury Vinyl Planks
Vinyl planks do not require an adhesive or an underlayment and simply snap together. With planks, start plotting the layout along the longest wall rather than in front of the door. Use narrow shims around the room's perimeter to create an expansion gap; follow the size guidelines offered by the flooring manufacturer.
As with tile, some planks must be cut to fit; doing so requires only scissors or a utility knife. To avoid ending with a thin strip of vinyl along a wall, test-fit the planks side by side across the width of the room to determine how the final row will turn out if no planks are trimmed. If necessary, shave 1/2 inch or so off the first row's planks to make the final row fairly wide.
Snap the ends of the first row's planks together until the row is complete. It is easier to start the second row and each subsequent row by sliding the long side of the new piece into the long side of the piece above it in the previous row. Snap the short ends of the new pieces together, flexing the vinyl as needed to interlock the pieces.
Stagger the seams of the planks row by row, which can be done by cutting some planks in half or quarters vertically. The goal is to emulate the look of an actual wood floor. For ends that are difficult to fit together, use a tapping block and a hammer. A vinyl plank installation kit offers tapping blocks, pull bars and other materials that help make stubborn pieces easier to fit together.
References
- BuildDirect: Should You Install Vinyl Flooring In Your Bathroom?
- Hallmark Floors: Can Vinyl Flooring Be Used in a Bathroom?
- Ferma Flooring: Luxury Vinyl Tile Installation – Professional or DIY
- Ferma Flooring: Solid Hardwood vs. Engineered Hardwood vs. Luxury Vinyl Planks
- Parterre: Vinyl Tile vs. Ceramic Tile: Cutting Edge Beauty is Not Set in Stone