How To Choose And Install Bathroom Sheet Vinyl Flooring
Sheet vinyl flooring has come a long way in the last few decades in terms of its durability and its appearance. With options from faux wood planks to stone and numerous other looks, modern sheet vinyl may be stylish and durable enough for virtually any room of the house at a fraction of the cost of real wood planks or stone. In the bathroom, sheet vinyl flooring is an excellent option since it is water resistant and is easy to maintain. Should you choose to go the DIY route for the installation, know that the process involves detailed and exact measurements.
Sheet Vinyl Flooring Basics
Sheet Vinyl Flooring Basics
As with other types of flooring, sheet vinyl flooring isn't all of the same quality or even the same thickness. In many cases, the higher the vinyl quality, the higher the price and the longer the warranty offered on the flooring. Some sheet vinyl flooring manufacturers such as Armstrong Flooring offer warranties of 25 years or even a lifetime. Budget rolls can be found for less than $1 per square foot, while quality sheet vinyl can cost $4 per square foot. By comparison, quality vinyl in tile form costs up to $8 per square foot, while vinyl planks average $5 per square foot.
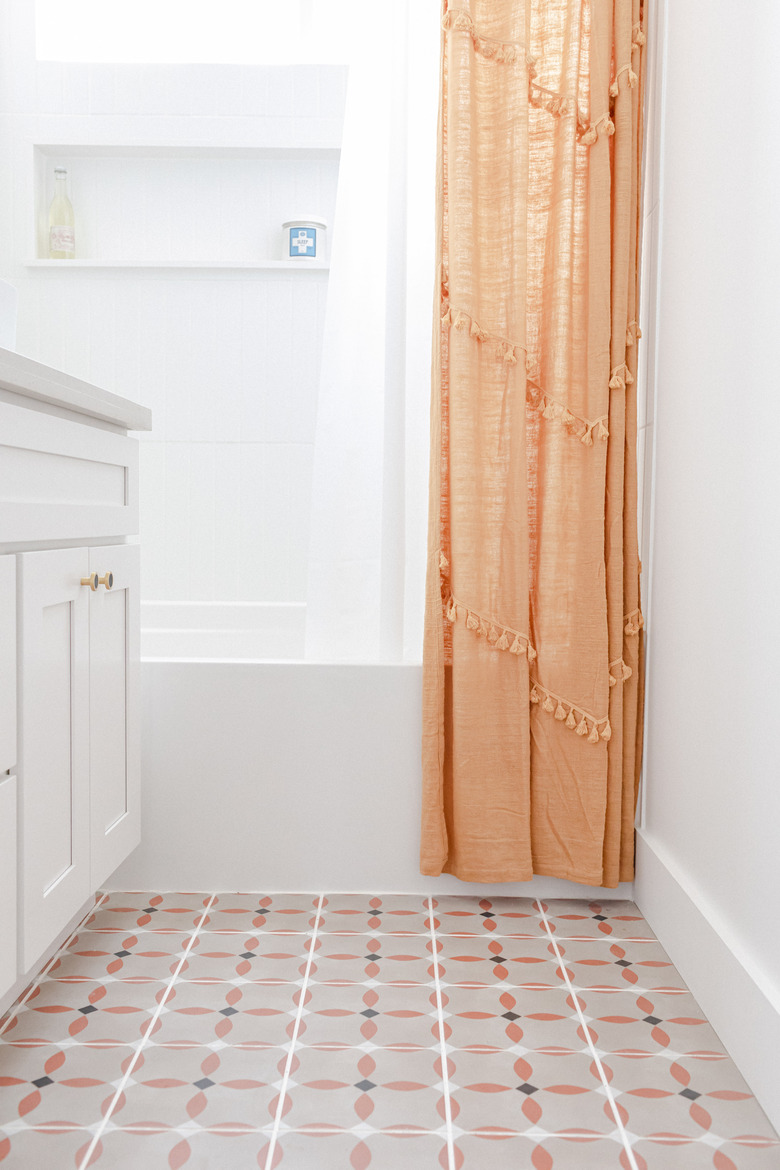
Sheet vinyl flooring is sold on rolls that are typically 12 feet wide, with a 6 foot width also fairly common. Some companies offer sheets up to 15 1/2 feet wide. The wider the roll, the heavier it is, so it can be quite unwieldy if you are carting it up to a second-floor bathroom. While narrow rolls may sound like a good idea as far as portability goes before installation, once installed, every seam is a potential point for water to seep through if the liquid isn't wiped up right away, making it less water resistant than it could be. For a small bathroom, installing the vinyl as a single piece is the best option, as this offers a completely seamless look while also eliminating potential water seepage issues.
While sheet vinyl costs less than vinyl tiles or planks, it does have a few drawbacks. If part of a sheet vinyl floor tears, you'll have to cut it out and replace it with an exact matching piece in order to repair it compared to simply replacing individual damaged tiles or planks. Sheet vinyl is less stable and durable over time compared to vinyl tiles or planks due to how it is manufactured. While this isn't a major issue in a bathroom, it could wear prematurely in areas such as a kitchen or dining room due to chair legs dragging over its surface. Sheet vinyl is also significantly harder to install correctly since it's quite unforgiving if measurements are not correct, so many homeowners hire professionals to do the work.
 Sanford Creative
Options for Sheet Vinyl Flooring Adhesives
Options for Sheet Vinyl Flooring Adhesives
Sheet vinyl flooring is unique in that it doesn't necessarily require an adhesive over its entire underside. Some types may be glued around the perimeter, and others require only double-sided tape around the perimeter to keep the flooring down. The weight of the vinyl is enough to keep it from curling up in many cases even with minimal adhesive materials.
Ultimately, the perimeter of each sheet of vinyl is where some form of adhesive is most important, as the adhesive prevents the vinyl from curling. Once vinyl curls, it could become a tripping hazard or could allow dirt, debris and moisture to get underneath the vinyl, which could damage the floor over time.
Before purchasing any type or brand of sheet vinyl, read its installation literature to determine the recommended adhesive type and application method. For instance, many felt-backed vinyl sheets require a permanent adhesive on the complete underside of the flooring, while fiberglass-backed or composite-backed vinyl sheets offer more flexibility with the types of adhesives that can be used. Read the information on the adhesive labels beforehand as well to determine the working "wet" time and any safety precautions needed regarding ventilation.
 Peter Schweitzer
Preparing for Sheet Vinyl Flooring Installation
Preparing for Sheet Vinyl Flooring Installation
Getting ready for installation is a bit of a project in itself, as even the toilet has to be removed to prepare the floor for new vinyl. The vanity can stay in place if it isn't easy to remove and if you don't plan to replace it anytime soon. Remove the baseboards and take the bathroom door off the hinges if the door opens inward because it could be in your way as you install the vinyl.
Once you've removed the toilet and anything else on the floor, inspect the entire floor to make sure it is flat and in relatively good shape, as your new flooring requires a smooth, flat surface. If the current flooring isn't flat, remove damaged or protruding floor pieces and use an embossing leveler to fill dips or missing pieces.
Unless your new sheet vinyl flooring installation instructions say it can be installed directly atop whatever type of flooring is currently in your bathroom, you'll have to install underlayment atop a subfloor that is smooth, flat and free of flaws. Another possibility is installing underlayment atop the old floor if it's soft enough for staples to penetrate. If you decide to tear out the floor, this also means chipping out old adhesives and then cleaning and leveling the subsurface. For best results, choose 1/4-inch plywood underlayment that is designed specifically for vinyl flooring. Measure the square footage of the bathroom to know how much underlayment you'll need.
Making a Template for Installation
Making a Template for Installation
Creating a paper template of the shape of the floor is the best way to recreate that same shape on the new sheet vinyl. Tape sheets of thick paper such as Kraft paper onto the floor and tape those sheets together to create one large sheet of paper. Trim the large paper to the approximate shape of the room; it's OK if it is 1/2 inch short or so around the perimeter. Cut out the hole for the toilet as well.
Place a carpenter's square or sturdy straightedge along one wall, starting at an edge or corner. Trace the shape of the wall onto the paper with a pencil, following the inside edge of the straightedge or square. Keep sliding along the square or straightedge and tracing the wall shape until you've made a template of the entire room's perimeter. Lift the template off the floor as well as any remaining tape stuck to the floor.
 Sanford Creative
Installing the Underlayment
Installing the Underlayment
You may have to cut the bottoms of the door jambs to slide the underlayment in place. To find out, hold a piece of the plywood along the door jamb and see if it fits beneath the jamb. Any cuts made in the jambs will also make it easier to install the vinyl.
Spread out the plywood in a nearby larger room, staggering the seams and taping the plywood sheets together to emulate the bathroom floor layout. Center and tape the paper template on top of the plywood so the amount of plywood showing around every edge of the paper is thicker than the width of the straightedge or carpenter's square you used to create the template.
Place the inside edge of the same straightedge along one edge of the template so its outer edge hangs over the exposed plywood. Hold down the straightedge firmly with one hand and then slide a pencil tip along the outer side of the straightedge to mark the plywood to size for the room. Continue around the entire perimeter. Also trace the cutout areas, such as the spot for the toilet. Mark each piece of plywood sequentially so you know where it fits in the bathroom and then remove the paper template without destroying it because you'll need it again for the vinyl.
Cart the plywood outdoors or to the garage to cut it with a circular saw or a jigsaw for curved areas. Set the plywood pieces where they belong in the bathroom and then use an underlayment stapler and 7/8-inch staples to secure it in place. Install the staples every 4 inches near the center of the plywood and every 2 inches along seams and edges. Hammer down any protruding staples and then fill in any dents or gaps with a floor filler applied with a trowel. Once it dries, sand away any high spots and vacuum all the dust.
Preparing the Sheet Vinyl Flooring
Preparing the Sheet Vinyl Flooring
Some manufacturers recommend letting the sheet vinyl acclimate to the room's temperature and humidity level for a day or so before cutting it. If it is not possible to leave it in the project bathroom, leave it in the nearby hallway.
Unroll the vinyl atop large sheets of corrugated cardboard taped together in a room with plenty of working space. Another option is to use one sheet of corrugated cardboard, sliding it under the edge of the vinyl and moving it along as a safe cutting surface beneath the vinyl for each cut you make. Center the template over the vinyl so the amount of vinyl showing around every edge of the paper is thicker than the width of the straightedge or carpenter's square you used to create the template. Tape the paper onto the vinyl so it doesn't move.
Place the inside edge of the same straightedge along one edge of the template so its outer edge hangs over the vinyl. While holding down the straightedge, slide a utility knife along the outer side of the straightedge to cut the vinyl to the exact wall contour. Continue sliding the straightedge along until you've cut the entire vinyl sheet to the size of the room.
Installing the Sheet Vinyl Flooring
Installing the Sheet Vinyl Flooring
Double-check the vinyl's installation guidelines for the recommended type of adhesive as well as the notch size required for the trowel for a sufficient application. Some adhesives may emit harmful fumes, so work with the window open if that is the case. Dry-fit the vinyl in place to ensure it fits and use a utility knife to make minor cuts as needed. Once you're happy with the fit, roll the vinyl back halfway and spread the adhesive on the underlayment, holding the trowel at about a 60-degree angle.
Spread adhesive around the perimeter as close to the edges of the room as possible. If your vinyl's installation guidelines suggest a full coat over the entire floor, then fully coat the entire subfloor area. Work with half the vinyl sheet at a time, rolling the vinyl back out atop the adhesive once the glue is on the floor. Roll up the other side of the vinyl to apply adhesive to the other half of the underlayment. As you apply adhesive, make sure there are no thick globs; the layer of adhesive must be an even thickness, or it will cause a bump to form under the vinyl.
Use a rolling pin or a rented roller to smooth down the vinyl into the glue. If you are using tape instead of a spread-on adhesive, purchase the type of double-sided tape recommended by the vinyl manufacturer, applying it around the perimeter of the vinyl sheet as suggested. Smooth the vinyl with a rolling pin over the taped areas.