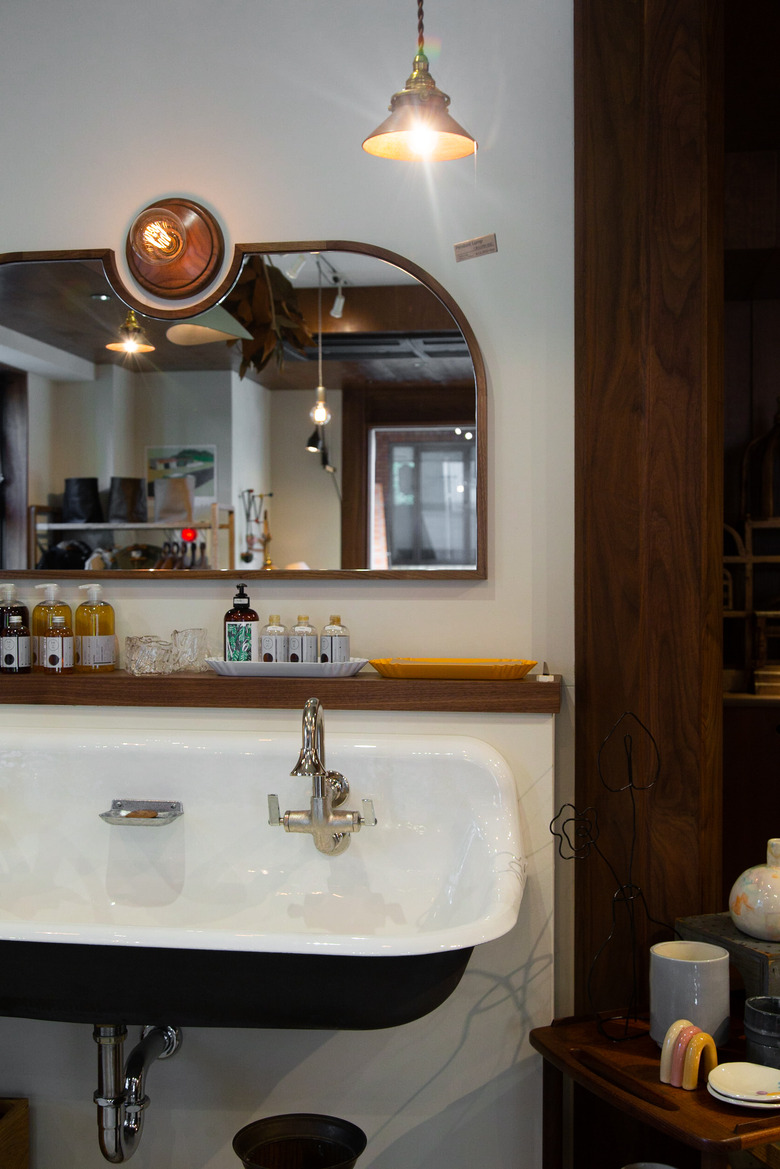
How To Install A Wall-Mount Sink In Your Kitchen
Wall-mount kitchen sinks are attractive options — but don't confuse them with the wall-mounted sinks you find in bathrooms. Bathroom sinks are typically smaller and can literally be hung from the wall when installed properly. When it comes to heavier kitchen sinks, however, you typically need to support the weight of the sink with the cabinet and countertop underneath it rather than simply mounting the sink on the wall.
Before you can install your wall-mount sink, you'll need to decide how you want the finished installation to look. There are three basic options. You can enclose the sink completely within your countertop using a standard drop-in installation. This means the apron front of the sink will not be exposed.
If you prefer to expose the apron front, you can install the wall-mount sink so the apron is recessed from the front edge of the countertop, or it can project slightly forward from the countertop. In either of these cases, you will likely have to modify the cabinet front by removing the drawers or false drawer fronts and cutting out the top portion of the cabinet face to fit snugly around the sink apron.
How to Install a Wall-Mount Kitchen Sink (Drop-In Style)
1. Measure and Cut
The first step is to accurately measure your new kitchen sink. Make sure you measure the dimensions of the sink beneath the flange. After taking your measurements, draw them on your kitchen counter and cut away the countertop where the sink will sit. You'll want a tight fit when you install the sink, so measure precisely and don't add any wiggle room thinking it will make the sink installation easier.
2. Build a Support Frame
The next step is to build a wooden support frame beneath your countertop. When completed, the frame will essentially look like a table on which your kitchen sink will sit. Don't take any shortcuts here: According to Kohler, your sink support will need to hold 300 pounds. (Keep in mind that sinks are even heavier when full of water).
Start your frame by cutting a 2x4 horizontal support for each side of the sink. Mount each support to the cabinet side panel with glue and screws. Next, cut and install two vertical 2x4 legs to fit under each horizontal support.
Finally, cut a piece of 1/2-inch plywood to span across the entire width of the cabinet interior and rest on the horizontal supports. Cut out a hole in the center of the plywood to accommodate the sink drain opening. Install the plywood on top of the supports with glue and screws.
3. Test-Fit the Sink
With the help of at least one other person, lift the sink and set it into place so it rests on the countertop and the plywood. Align the sink so it is parallel with the countertop edge. Confirm that the water supply lines and drain will work with the sink's position and that the sink is level from side to side and front to back. If all is well, make a pencil mark along the edge of the sink to indicate where the silicone sealant will go. Lift out the sink and set it aside.
4. Apply Masking Tape and Silicone
The next step in your sink installation is to apply sealant under the sink. This is where things can get messy. To minimize the mess, run a line of masking tape on your countertop. According to American Standard, your masking tape lines should sit about 1/8 inch away from the sink outline you marked on the countertop. Apply a generous amount of silicone sealant along the inside edges of the masking tape.
5. Install the Sink
Grab your helper and lift the sink into place again, this time for good. Place the sink in the proper position and press firmly on it, making sure it's sitting properly on the plywood and is nestled into the silicone sealant. Verify that the sink is level and properly aligned with the countertop.
Dampen your finger with a bit of water and then run it through the sealant along the edge of the sink to make a smooth finish. Remove the masking tape and run your finger along the sealant one more time. Finally, caulk along the wall-mount portion of the sink and smooth it with your finger. Let the caulk cure overnight.
6. Connect the Plumbing
Install your faucet following the manufacturer's instructions. Install a sink strainer or garbage disposer fitting in the sink drain opening. Connect the water supply lines to the faucet hoses. Complete the sink drain assembly to connect the sink or disposer to the branch drain line. Note: You may need some new hoses (faucets on wall-mounted sinks often need long water supply hoses) and a basic drain kit to get everything hooked up, all of which are readily available at any home center or hardware store.
