How To Install Post-Form Laminate Countertops
Laminate countertops are durable and serve their purpose well, but they're rigid and can be difficult to work with. Although it has a fancy name, laminate is actually a simple product made by gluing layers of paper together and bonding them with resin. The finished laminate sheet is then adhered to a wooden countertop or installed over an existing countertop surface when it's feasible to do so.
Post-form laminate is a bit different. After the laminate surface is made, post-form fabricators attach it to particleboard. According to Delorie Countertops & Doors, the particleboard is then heated to 300 degrees Fahrenheit while being shaped by more than 751 psi of pressure. The result is a solid-surface countertop with a built-in front edge and backsplash.
Because the edge and backsplash are all part of one piece, there are no seams between them to catch and hold dirt and grease. Dealing with one piece makes installation easier, too. Give yourself plenty of time to complete the install, however. Although post-form countertops are the easiest to install, they're quite unforgiving when it comes to hiding mistakes. Take your time and work carefully.
Choose Your Laminate Countertop
Choose Your Laminate Countertop
The first step to installing a countertop is, of course, to choose one. Post-form laminate counters come in 8-, 10- and 12-foot lengths, according to Norfolk Kitchen and Bath, so you'll have to measure your kitchen and figure out how much countertop you'll need.
Plan your installation so you'll only need to make straight cuts where you need the counter to end so it can accommodate a dishwasher or other appliances. The only seams in the counter should fall in the corners. For the most-accurate measurements, measure along the wall rather than along your existing countertop.
When you know how much counter you need, you can visit your local home store. Post-form countertops are readily available at large chains like Lowe's and Home Depot. You can grab what you need off the shelf or special order a specific color or pattern. Stock colors can be somewhat limited, so don't be surprised if you need to place a special order.
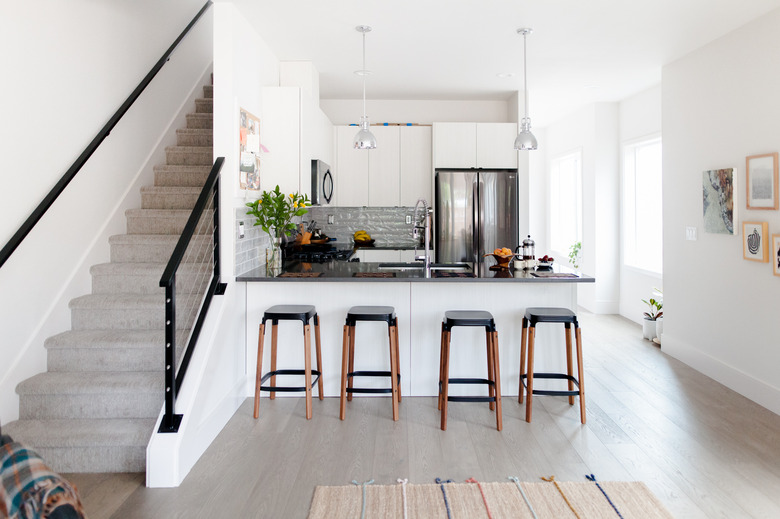
 Chloe Berk and Lisa Diederich
Be aware that when buying or ordering post-form laminate countertops, you'll need to know how many corners you need. Corners require mitered cuts at precise 45-degree angles that are impossible to cut well with home tools. To make your life much easier, verify that your corner pieces will come precut and will already contain the T-slots you'll need for mitered bolts during your install.
Prepare Your Cabinets
Prepare Your Cabinets
When installing your countertop, you need a way to attach it to your cabinets that will preserve them if you decide to change your countertop later. You also want to make sure that your counters sit high enough that they don't prevent you from opening your drawers. To that end, you'll want to install build-up strips along the back and sides of your cabinets.
Build-up strips are simply pieces of plywood that you attach to the cabinets using 1 1/4-inch drywall screws. Exactly how thick your build-up strips need to be depends, of course, on how much clearance you need to open the drawers under your counter. Generally, however, 3/4-inch plywood will do the trick.
Cut the Counter to Size
Cut the Counter to Size
Start at the end of your countertop and measure how long the counter needs to be. Allow an overhang of 1 inch on the end of the counter and leave a 1/8-inch gap where appliances like a dishwasher will be so you have room to install them. Flip the countertop upside down and use a jigsaw to cut it to the correct length. Always insert your saw into the back of the material first and tip the saw downward when cutting the backsplash.
If you need to cut a hole for a sink or stove, do so now. The easiest way to size the hole correctly is to make a paper template of it and transfer the template to the countertop. New appliances often come with precise paper templates, but you'll have to make your own if you're reinstalling used appliances. To start your cut, drill a hole inside the part of the countertop you're removing and use it to get your jigsaw into position and make the cut.
If you remove your old countertop carefully, you can use it as the template for your new counter and know you'll get a perfect fit.
Fit the Countertop
Fit the Countertop
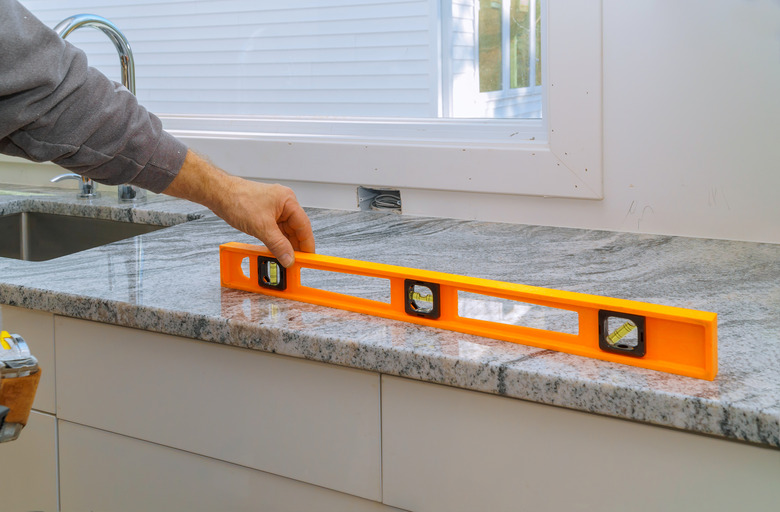
Before permanently installing the countertop, test fit it first. Begin by test fitting the mitered corners, taking the time to install the miter bolts during your test fit. Because the walls in your home aren't perfectly square, you may have areas where the backsplash won't fit flush against the wall. If so, mark these areas with a pencil and sand them down with a belt sander and 80-grit sandpaper.
When sanding your backsplash, sand the back of the countertop starting at the top of the backsplash and moving the sander down. An upward motion may catch and peel the laminate away from the particleboard.
Install the Countertop
Install the Countertop
When you're satisfied with the fit, slide the countertop into place and screw it fast. Start with the corner pieces and work your way out, remembering to tighten the miter bolts beneath the counter. Screw the countertop into the wooden build-up strips you added to your cabinets, inserting the screws at a 45-degree angle so you don't drill through your new countertop.
 photovs/iStock/GettyImages
If you prefer, you can also use 1 1/2-inch steel angles to hold the countertop in place. If you do, use 5/8-inch number 8 screws and plan on placing an angle bracket every 3 to 4 feet.
Wrapping Up Loose Ends
Wrapping Up Loose Ends
Now that your countertops are in place, it's time to deal with the exposed unfinished edges you'll see at either end. Post-form laminate countertops usually come with end-cap kits for this purpose. The first step is to attach the build-up strip so your end cap has plenty of surface area to which it can stick. You'll then need to prepare the adhesive on the back of the laminate end cap, which may require a clothes iron or a heat gun.
When the glue is ready, firmly press the end cap into place, going over the piece several times to ensure proper adhesion. It's best to attach the end cap in the middle first and smooth the laminate out toward the edges. Once the laminate is firmly and properly in place, wipe it down with a cool cloth to help cool and set the glue.
After the glue has set, use a router to trim away any areas where the end cap is taller than the countertop. You can also use a file to remove any areas where the end piece creeps up over the countertop surface, but file only toward the countertop so you don't pull the end piece away from the counter.
Now all that's left to do is caulk the seams between the backsplash and the wall. You may also wish to caulk around the sink or stove to create a smooth, finished look.