Rubber Floor Seal: A How-To Guide To Caring For Your Floors
Rubber flooring isn't just for commercial buildings and home gyms; it's also a great option for garage flooring, bathrooms, kitchens and children's bedrooms. Much like other types of flooring, some rubber floors are best off sealed, while others do not require a sealer. Before opting to seal your rubber floor, read the manufacturer's recommendations to ensure your specific floor needs a sealer. If it does, in most cases, the manufacturer also recommends specific brands or types of sealant that are best suited to the floor.
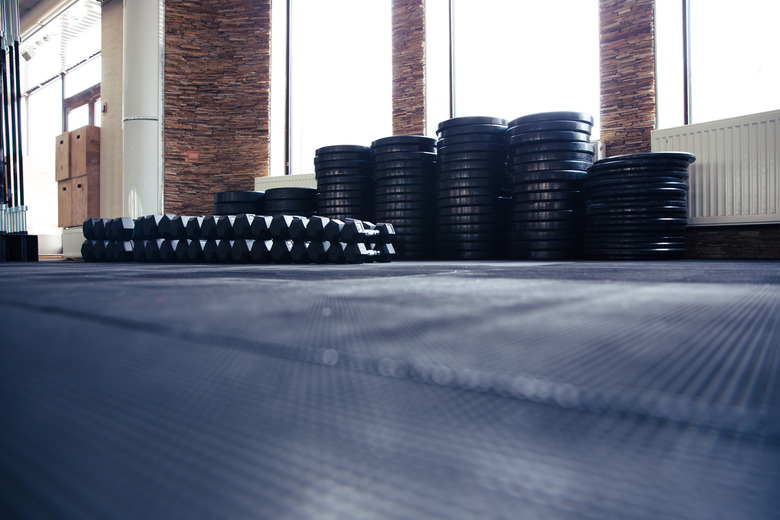
Multiple Options for Rubber Flooring
Multiple Options for Rubber Flooring
Much like flooring materials made at least partially of wood, some rubber flooring is more processed than others. Virgin rubber flooring is made largely from natural rubber and does not contain recycled materials, although synthetic rubber polymers are sometimes used in the manufacturing process, according to Iron Company. Some virgin rubber is vulcanized or heat treated to make it a bit harder. Virgin rubber flooring, especially the vulcanized variety, tends to be nonporous, so it usually does not require a sealer. Virgin rubber also tends to maintain its color throughout and usually does not fade.
Recycled rubber flooring is made largely from recycled tires and other discarded rubber materials. Some recycled rubber flooring is porous. Ideally, it's best to avoid porous rubber for home flooring unless you plan to seal it, as it may trap bits of dirt. In some cases, recycled rubber flooring smells a bit like car tires, which may be a bit off-putting in a poorly ventilated area. All rubber flooring smells a bit, especially when it is first installed, but the smell fades over time.
 sergeyryzhov/iStock/GettyImages
Tiles and Rolled-Rubber Flooring
Tiles and Rolled-Rubber Flooring
Rubber flooring is sold primarily in tiles or rolls. In many cases, tiles interlock like pieces of a puzzle, making it simple to install the floor yourself. The tiles are also lightweight and easy to replace if one gets damaged. While a sealer isn't needed on many residential rubber-tile floors, a polyurethane seam sealer protects areas that are heavily used by pets or are prone to spills, therefore preventing the subfloor from getting wet.
Rolled-rubber flooring is sold by the roll, much like carpeting. It's quite heavy, so manipulating and maneuvering it for installation in your home improvement job shouldn't be left to one person. While there are seams on a rolled-rubber floor, these aren't easily noticed after the typical correct installation. A caulk-like polyurethane seam sealer comes in handy in rooms where moisture and spills could be an issue. While sealing a rolled-rubber floor is more common than sealing rubber tiles, it still isn't a necessity for most household applications.
No matter which type of rubber flooring you have, read the manufacturer's recommendations carefully to determine whether the floor should be sealed. Some rubber-floor retailers note that a sealant isn't a necessity in many cases yet suggest that it can be used to offer extra protection for the floor. A sealer may change the appearance of your rubber floor's finish, making it look wet and glossy.
Rubber Floor Sealer Benefits
Rubber Floor Sealer Benefits
Much like a floor wax used on unfinished cork, concrete, linoleum or wood, a sealant gives rubber floors an added shine while also sealing pores and seams. It also helps protect the floor from moisture, mold and bacteria while prolonging the flexibility and useful life of the rubber. The sealant also helps keep the floor looking its best because spilled items that may otherwise stain or degrade the floor won't reach the actual rubber provided you promptly clean up the spills.
 ppengcreative/iStock/GettyImages
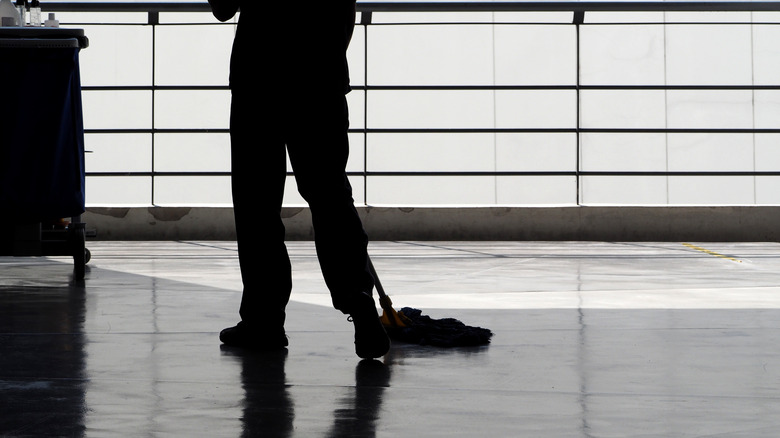
Clean Before Sealing
Clean Before Sealing
Rubber flooring must be completely clean before adding a sealant, otherwise you'll be sealing the dirt too. Use only neutral-pH cleaning products or floor cleaning/degreasing liquids designed specifically for rubber floors. The degreasing variety comes in handy for removing waxy buildup and residues if the floor was previously sealed. Never use harsh chemicals and petroleum-based cleaning solvents to clean the floor, as these can damage the rubber.
- Clean debris off the floor with a dust mop, broom or vacuum cleaner designed for hard floor surfaces.
- Mop the floor with a neutral-pH floor cleaner, following the dilution recommendations on the cleaning product's label. Some rubber-specific cleaners are applied without diluting.
- Rinse the mop, wring it out and mop the floor again with only water. If you are using a rubber cleaner/degreaser, allow the product to sit for five to 10 minutes or as recommended on the product label before rinsing. This allows time for the product to lift residues from the flooring.
- Allow the floor to dry completely before sealing.
Sealing the Rubber Floor
Sealing the Rubber Floor
Sealing the floor is best done in thin coats, otherwise the end result will look hazy or dull. Plot your floor-sealing path in advance, starting at the end of the room farthest from the door so you don't have to walk through the wet sealant. You may wish to work in socks, slippers or clean-soled shoes to prevent leaving footprints as you're sealing the floor.
To ensure you purchase enough sealer to complete the job, measure the room's square footage and then read the floor sealer's product label to determine how much surface area is covered per gallon. The coverage range may vary from the first coat to the next and from one brand to another. Purchase enough for four coats; you may not need four coats to reach the desired sheen level, but it's better to have too much than too little. More than four coats often results in a hazy finish.
- Pour some of the rubber floor sealer into a paint tray.
- Dip a clean sponge mop into the sealer, allowing some of the excess to drip back into the tray.
- Apply the sealer to the floor in a thin coat, dipping the mop back into the tray as needed.
- Allow the first coat to dry completely, following the manufacturer's recommendations. In some cases, this takes eight to 24 hours in non-humid, room-temperature conditions.
- Apply a second coat of sealant, again allowing it to dry per the manufacturer's recommendations.
- Apply a third coat if you feel it is necessary. If you wish to apply yet another coat after the third coat dries, do so, but do not exceed four coats.
References
- Flooring Inc.:Rubber Flooring: 5 Myths Busted
- Real Homes: Choosing Rubber Flooring
- Rubber Flooring Inc.: Rubber Floor Tiles Buying Guide
- Iron Company: Virgin Rubber Interlocking Weight Room Flooring Tiles
- Greatmats: Rubber Gym Flooring: Recycled, Plyometric & Virgin Rubber
- Rubber Flooring Inc.: Rubber Flooring Rolls Buying Guide
- Wolfe Flooring: Residential Rubber Flooring Maintenance
- BuildDirect: How to Clean Rubber Flooring
- MatsMatsMats: Rubber Flooring Sealant, Cleaning and Disinfecting