Rubber Kitchen Flooring: A Homeowner's Comprehensive Flooring Guide
Because of its many benefits, rubber flooring is a staple in gyms, day care centers and commercial kitchens. Homeowners too are discovering the advantages of rubber tiles and are starting to utilize this versatile kitchen flooring in their homes. Of course, no flooring material is perfect, and rubber does have a few drawbacks you need to know. Many agree, however, that this flooring option's positives far outweigh its negatives.
What Is Rubber Flooring?
What Is Rubber Flooring?
Rubber flooring is, of course, flooring that is made from rubber. Natural rubber is made from the sap of rubber trees, which are found primarily in Asia and South America. Synthetic rubber is a man-made polymer that resembles natural rubber but generally lasts longer. Many synthetic rubber floors utilize recycled rubber such as that from used tires. These recycled-rubber floors are often more durable and less expensive than those made from natural rubber.
Rubber floor manufacturers make rubber flooring in large, rolled sheets or in tiles. Most homeowners prefer to use rubber tiles because large rolls of rubber are very heavy and hard with which to work. Tiles also prove advantageous because they make it possible to replace damaged or stained sections of the floor without redoing the entire surface. Because rubber is a naturally grippy, slip-resistant material, tiles aren't glued in place but instead interlock with each other and grip the subfloor beneath them.
Most manufacturers make their rubber floors with commercial applications in mind, so rubber floors are typically very sturdy and can easily last 20 years or longer. There are several brands available, but Dalsouple is one of the most popular and offers several different indoor finishes. They'll even make you a custom color if you meet their quantity requirements. Other popular brands include Expanko, Mohawk and ACTIVA.
Rubber Flooring Pros
Rubber Flooring Pros
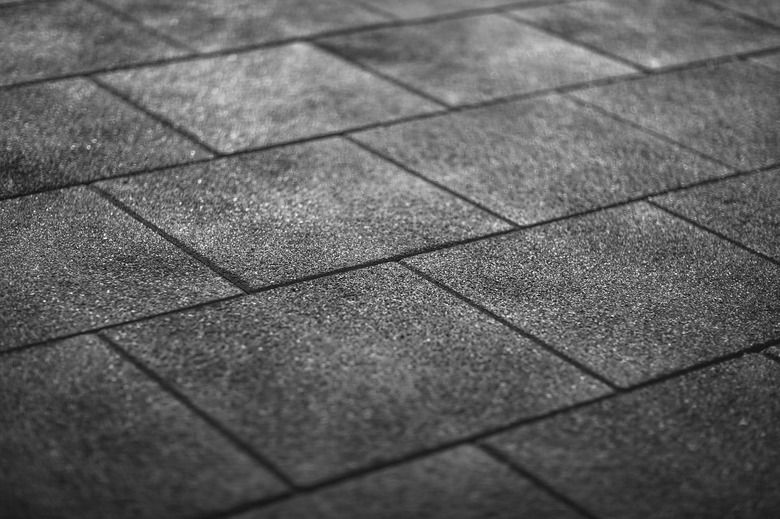
If rubber flooring makes you think of the ugly black flooring at your gym, you're not likely enthused about putting it in your kitchen. Fortunately, rubber flooring is available in a wide variety of colors and patterns. You will, however, have to shop for it at a flooring specialty store since most home centers carry only utilitarian rubber flooring options rather than decorative ones.
 BanksPhotos/iStock/GettyImages
In addition to offering many style choices, rubber flooring is easy to install as a DIY project. Tiles are simply laid on the subfloor and locked together without the need for adhesive. Their slip-resistant qualities will allow them to stick to the floor on their own and help prevent slips and falls while you're working in the kitchen. Rubber also provides a cushioned surface that is easier on your back and knees when you're in the kitchen for long periods of time, and it's also easier on dropped glasses and dishes.
Rubber flooring is also very easy to clean with a vacuum cleaner, a mild cleanser and a mop. Choose flooring with a smooth finish, however. Textured finishes add depth but make rubber floors much more difficult to mop. If you do find a damaged or stained tile, you can simply remove it and replace it with a new one.
Rubber Flooring Cons
Rubber Flooring Cons
Rubber flooring is an excellent, low-maintenance flooring material, but it's also a heavy one. According to Iron Company, a 1/2-inch-thick rubber floor weighs 2 1/2 pounds per square foot. Make sure your subfloor can handle the weight before installing new rubber kitchen flooring.
Know too that new rubber flooring may have a mild odor. Your kitchen won't suddenly smell like a tire shop, but there will likely be a slight rubber smell that may bother some people more than others. This odor will fade with time and aeration.
Rubber resists water, and wet areas won't get slippery, but water isn't the only thing that may drip onto your kitchen floor. Fats like oil, butter and grease can stain rubber. It's important that you clean up these spills promptly. If they sit long enough to stain, the spot may be difficult or even impossible to remove.
Cost and Installation
Cost and Installation
According to HomeAdvisor, interlocking rubber flooring tiles cost between $3 and $8 per square foot as of 2020. Rolled-rubber floors are cheaper at $1 to $5 per square foot, but rolls are heavier with which to work and don't allow you to easily remove and replace damaged floor tiles later. Professional installation adds $1 to $4 per square foot, but laying rubber floors is a very DIY-friendly job.
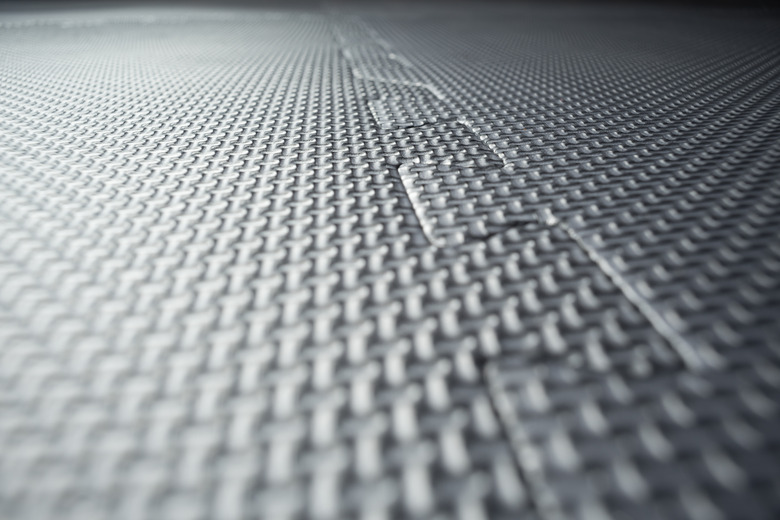 Rupert Weidemann/iStock/GettyImages
Like all flooring jobs, you'll need to start by making sure you have a solid, flat subfloor. When you do, find the center of each wall and mark it with a chalk line, creating a giant plus sign on your floor. Starting at the center of the room where your chalk lines intersect, begin setting your tile one row at a time, locking each tile into those adjacent to it. When you get to the edges of the room or obstacles like floor vents, cut the tile to size before laying it. Because you don't need to glue down rubber tiles, fixing any errors and making changes is as easy as lifting erroneously laid tiles and repositioning or replacing them as needed.
If you opt for rubber on a roll, create a paper template of your kitchen floor. Unroll the rubber mat in a large, open area and use your template to cut the mat to shape. You can then roll up the flooring, carry it into the kitchen and unroll it again. If it is well cut, the rubber mat should stay in place. If you feel the floor is shifting, however, you can opt to roll up the floor, apply an adhesive and then roll out the floor again, this time pressing it firmly into the adhesive as you go.
Care and Maintenance
Care and Maintenance
Once installed, you'll find that your rubber flooring is easy to live with. Clean up spills as quickly as possible to avoid staining the floor or allowing water to seep into the subfloor through the small seams between tiles.
About once a week, vacuum the floor so gritty dirt doesn't dig into the tile and damage it. After you vacuum, mop the floor with a mild detergent and water. Always ring your mop well so it's damp rather than sopping wet. Avoid harsh chemicals and abrasive cleaners.
References
- Iron Company: 1/2" Black Rubber Sports Roll 4' Wide x 12.7mm Thick – Iron Company (ROLL-BLACK-1/2)
- HomeAdvisor: How Much Does Rubber Flooring Cost?
- Home Flooring Pros: Foam Flooring Vs Rubber Flooring: Options, Pros & Cons and Prices
- BuildDirect: How to Clean Rubber Flooring
- Restoration Master: Cleaning and Maintenance Tips for Rubber Flooring