Painting A Bedroom Door Tutorial: Everything You Need To Know
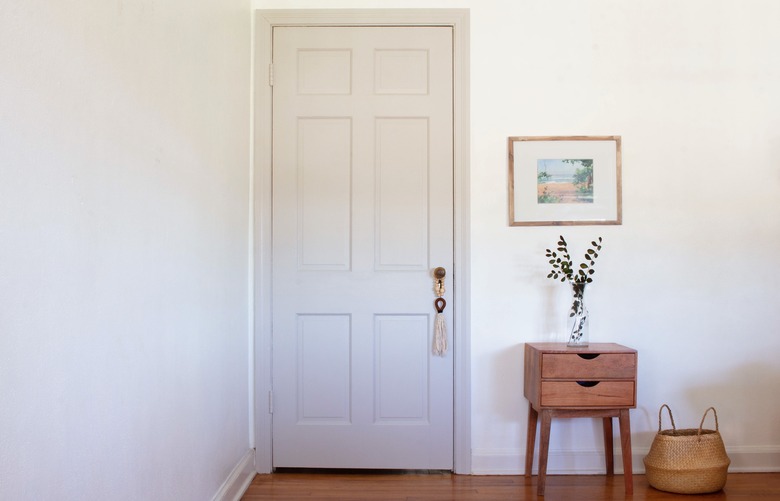
Bedroom need a refresh? Consider painting your door. It's a subtle change but packs substantial style — for fairly little effort. We're walking you through the whole process from the best type of paint to use to how to prep the surface and which team we're on in the paint roller versus brush debate. You'll have everything you need to take your door from boring to beautiful, so let's paint!
Things Needed
-
Drop cloth
-
Clean rags
-
Multi-surface household cleaner
-
Wood filler + putty knife (optional)
-
Sandpaper, 80-grit or 220-grit (optional)
-
Liquid sandpaper/deglosser (optional)
-
Painter's tape
-
1-1/2-inch or 2-inch paintbrush
-
Primer (we like this one)
-
Satin or semi-gloss enamel paint
Tip
This tutorial demonstrates how to paint a door without taking it off its hinges, but if you're planning to replace the hinges anyway, you could certainly remove the door first and lay it flat for painting (preferably across sawhorses). In this case, you won't have to worry as much about drip marks. Lucky you! But be sure to wait 24 hours before flipping and painting the other side.
Step 1: Pick Your Paint
The most fun part of the job is picking the color, of course. But what kind of paint — and what sheen? All great questions, friends. To attain the smoothest finish, choose a paint that's labeled enamel or door/trim (we used this water-based alkyd enamel in the color Cotton Grey), as it will cure to a harder, more durable finish than regular latex paint. Not only that, but its self-leveling properties will ensure a nice, smooth finish. As for the sheen, you can't go wrong with either satin or semi-gloss. A flat/matte finish is hard to keep clean, especially for a high-traffic area like a door, and a high-gloss finish shows more imperfections.
 Trisha Sprouse
Step 2: Pick Your Brush
While a paint sprayer will technically give you the smoothest finish, we're assuming most of you are debating between using a mini foam roller or a paintbrush. Our humble opinion is that even though foam rollers are widely used because they don't leave brush strokes, they still leave some kind of stippled texture. For this reason, we prefer to use a quality paintbrush, which does leave subtle brush strokes — but when paired with a quality self-leveling enamel paint, it is minimal and more tolerable than a stipple texture.
 Trisha Sprouse
Step 3: Clean the Door
A beautiful paint job always starts with a clean surface. Most household surface cleaners that are designed to cut grease, or even plain old soap and water, will work just fine. Be sure to protect your floors with a drop cloth first, and wipe the door dry after cleaning.
 Trisha Sprouse
Step 4: Fill the Holes
Our door didn't have any holes, but if there are any in your door (for instance, from an old hook), you'll need to fill them first with wood filler. Smooth the wood filler into the holes with a putty knife, let dry, then sand smooth once dry.
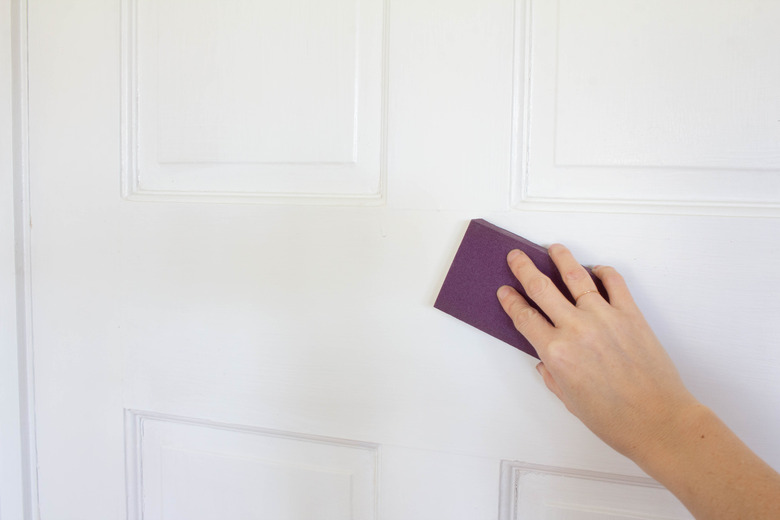
Step 5: Sand or Degloss
You have the option of either sanding the door or applying a liquid sandpaper/deglosser. Instances when you should sand are when your door has chipped paint or a lot of imperfections that need smoothing. Use an 80-grit sandpaper to smooth rough areas; use 200-grit for doors in good condition.
If you are painting a door in a house older than 1978, or you just really hate sanding, we recommend skipping sanding altogether (to avoid lead exposure) and wiping the door down with a liquid sandpaper/deglosser instead. No need to rinse it off afterward.
 Trisha Sprouse
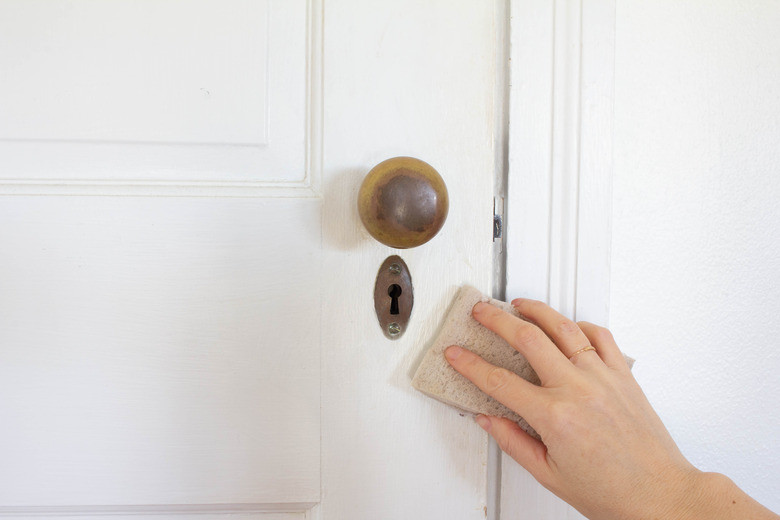
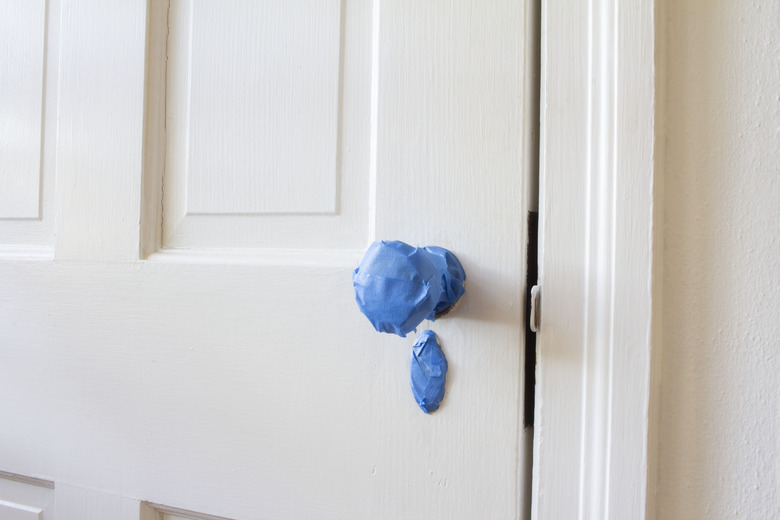
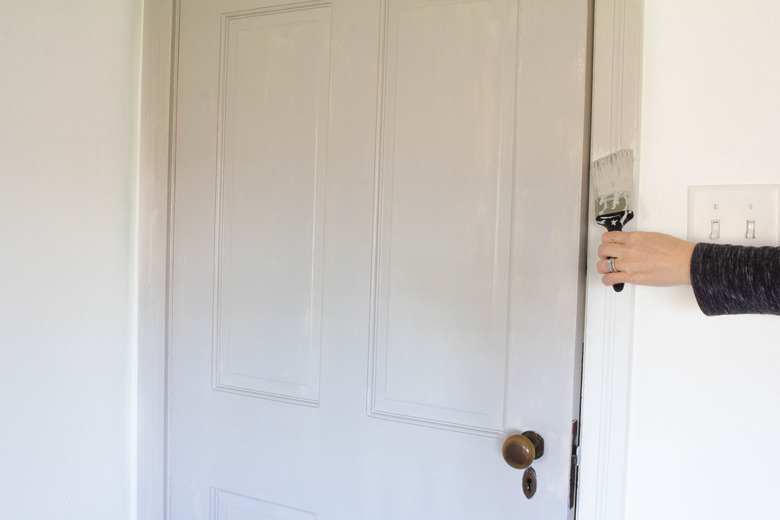
Step 6: Tape or Remove Knob
You can either remove the door knob prior to painting, or simply wrap it with painter's tape. Our door had a little keyhole that we taped off as well. It's a good idea to tape off the hinges, too.
 Trisha Sprouse
Step 7: Prime
Even if your paint has primer in it, if you are painting bare wood, stained wood, going from a darker paint color to a lighter one, or are painting latex over oil-based paint, then you should absolutely prime first. You can get away with skipping primer if you are painting latex over latex, or oil over oil, and the surface is already in good condition. How to tell if existing paint is oil-based or latex? Dip a cotton ball in denatured alcohol and wipe a small spot. If paint comes off, it's latex.
Paint the door with a coat of primer (two coats if your door surface isn't in great condition). Apply it in the same manner as outlined below for the paint, and let it dry completely.
 Trisha Sprouse
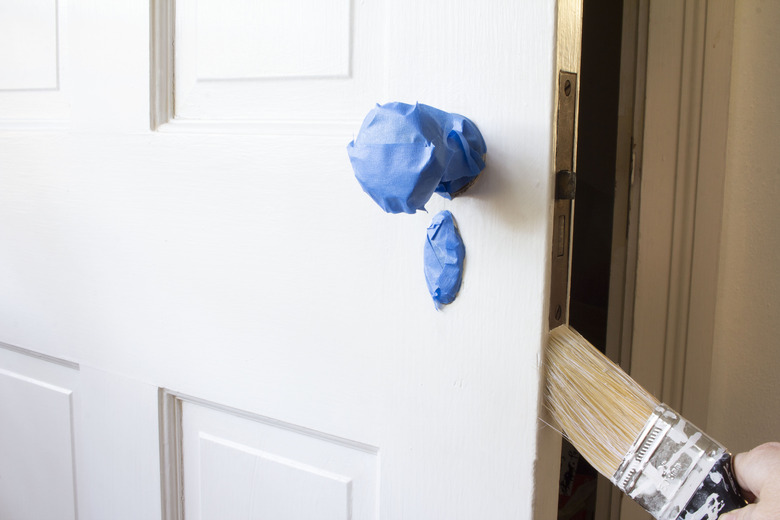
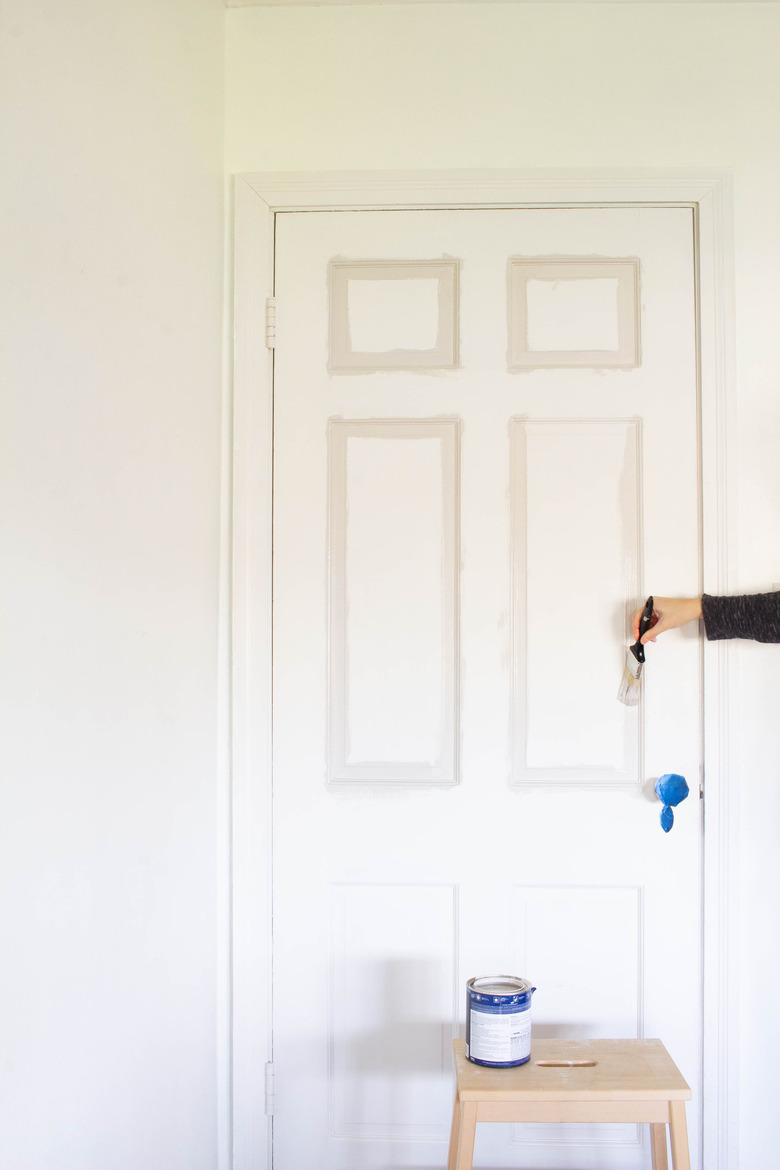
Step 8: Paint the Edges
It's best to paint the edges of the door first, as some paint will inevitably end up getting slopped onto the face of the door, and this allows you the chance to wipe it clean as you go. If you're just painting one side of the door, you'll only need to paint the edges that are visible when the door swings open into the room.
 Trisha Sprouse
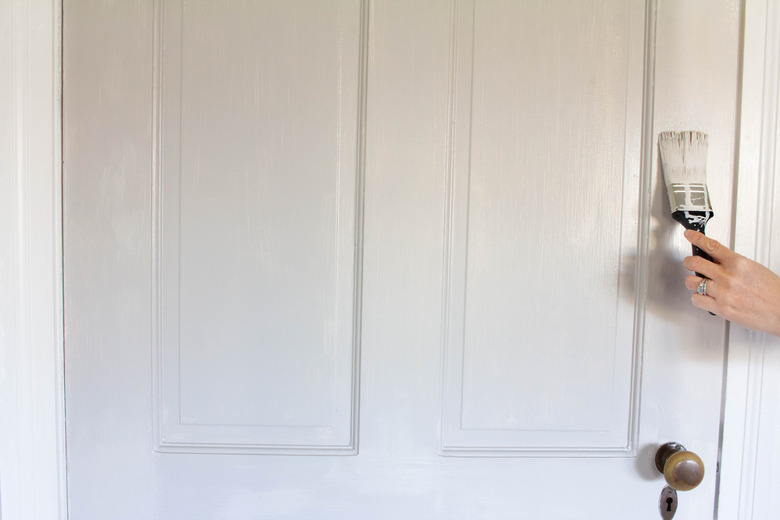
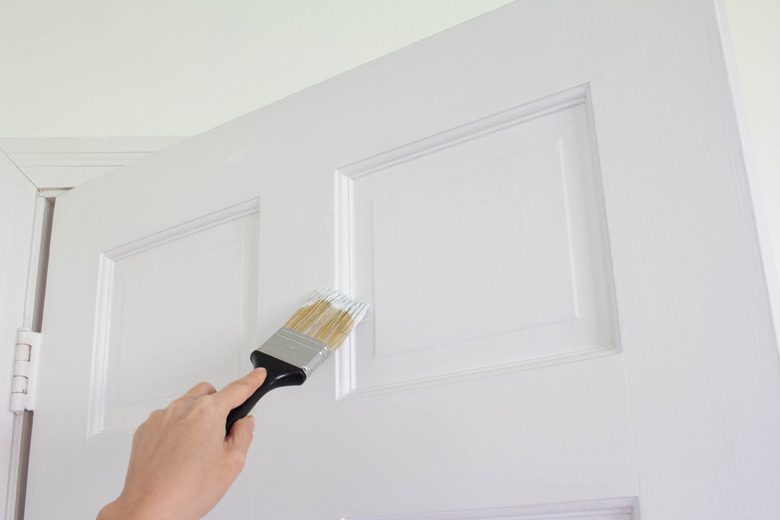
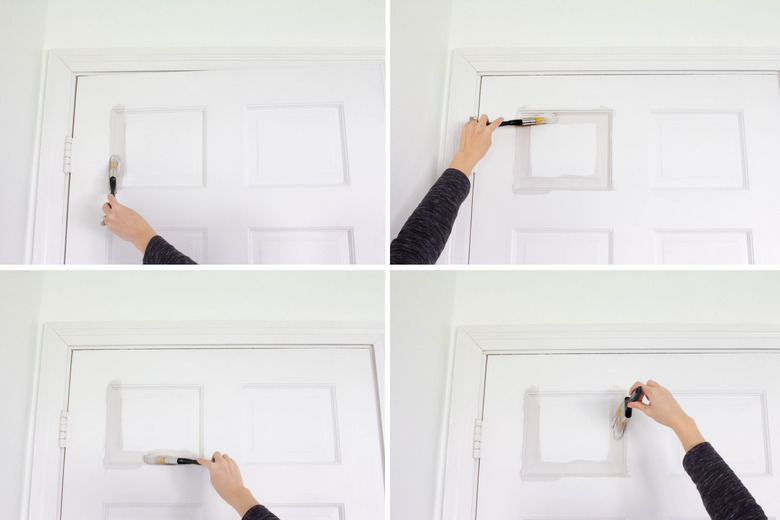
Step 9: Paint the Panels
For paneled doors, start by painting the recessed portions of the panels. For the smoothest finish, start at the top left corner of the panel and paint in a downward direction, then horizontally, then upward, then horizontally — so basically, painting a square. Smooth out any drips or runs as you go.
 Trisha Sprouse
Continue painting in this manner until all of the inset portions are painted.
 Trisha Sprouse
Then move onto painting the faces of the panels. Paint these in downward strokes.
 Trisha Sprouse
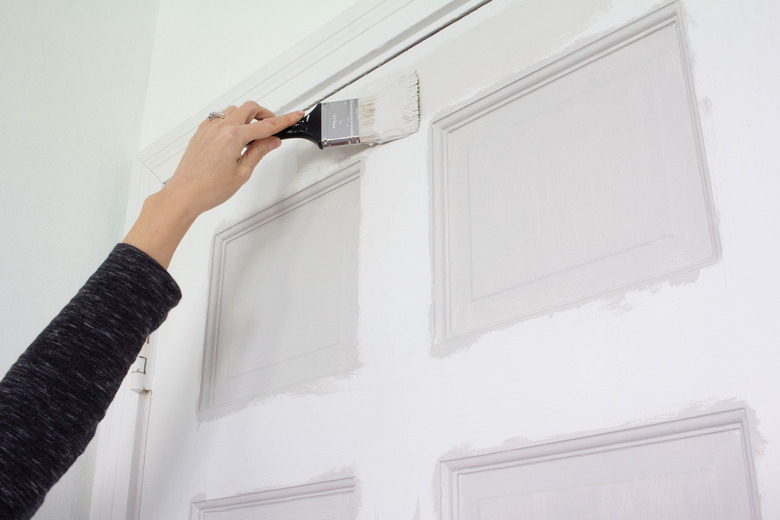
Step 10: Paint the Door
When you're painting a door still on its hinges, it's best to start at the top and work downward to catch any drip marks as you go. Start by painting across the top horizontal rail first. Then paint down the center vertical stile, feathering any paint overlap while it's still wet. Next, paint across the remaining horizontal rails. Finish by painting down the left and right vertical stiles.
Once the entire door is dry, preferably after two hours, paint a second coat in the same manner.
 Trisha Sprouse
Step 11: Paint the Door Trim (Optional)
Some folks prefer to leave the door trim unpainted to match the rest of the room's trim. Others (us included) like to go bold and paint the trim to match the door. We love the added oomph it gives to the door's overall presence, but you do you.
 Trisha Sprouse
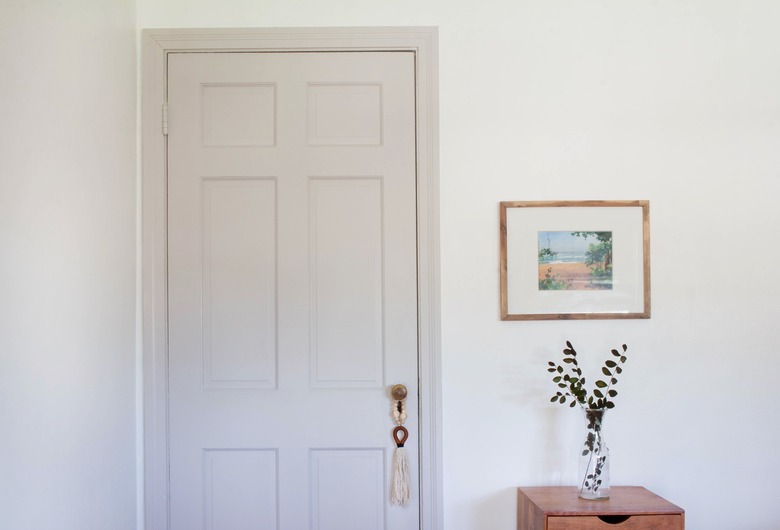
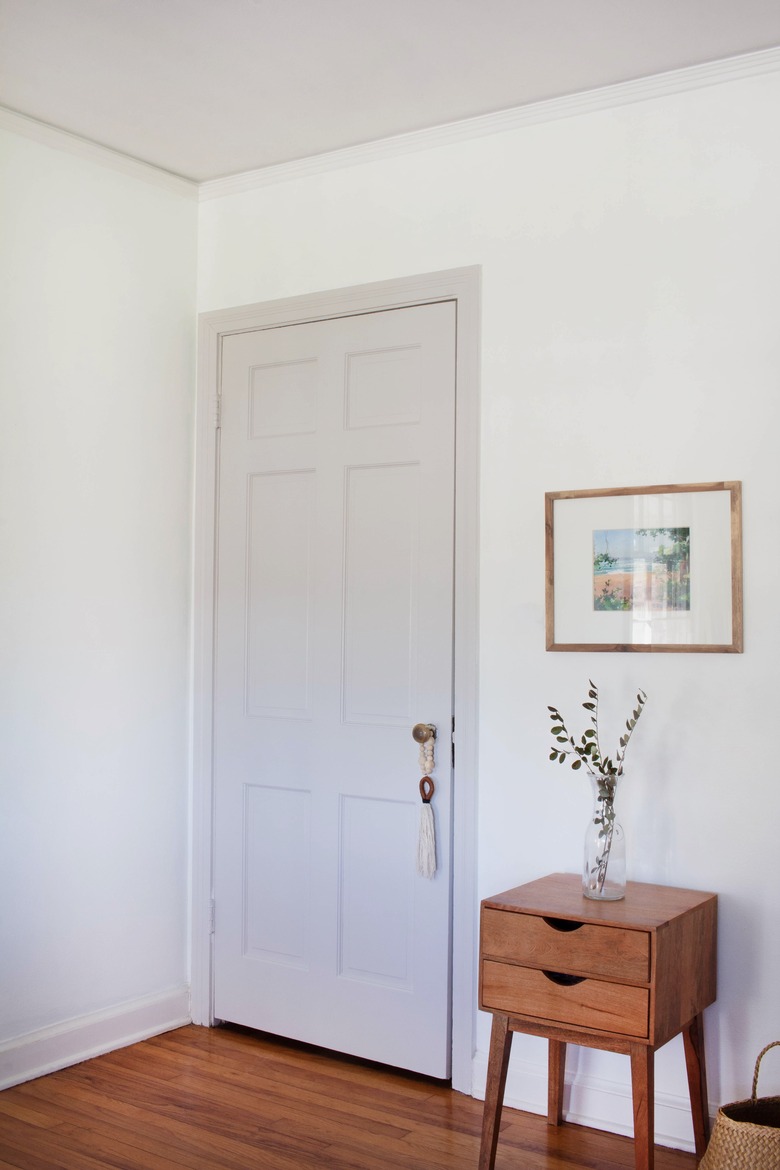
And there you have it — a beautifully painted door with a gorgeous, durable finish that gives your bedroom some extra eye candy.
 Trisha Sprouse
Trisha Sprouse
Trisha Sprouse