Installing Vinyl Tile Over Existing Vinyl Floor
If you're looking to upgrade your kitchen or bathroom flooring, an easy fix that can help you get there is to install vinyl tile. Quick to apply and simple to execute, vinyl tiles are a great way to offer your old floor a chic, updated look for a relatively low cost when compared to other types of flooring. Vinyl tile can be installed directly over your existing vinyl flooring as long as the floor is in good condition. To install vinyl tile over your vinyl flooring, you'll only need a few tools, some time and a bit of planning.
What Is Vinyl Floor Tile?
What Is Vinyl Floor Tile?
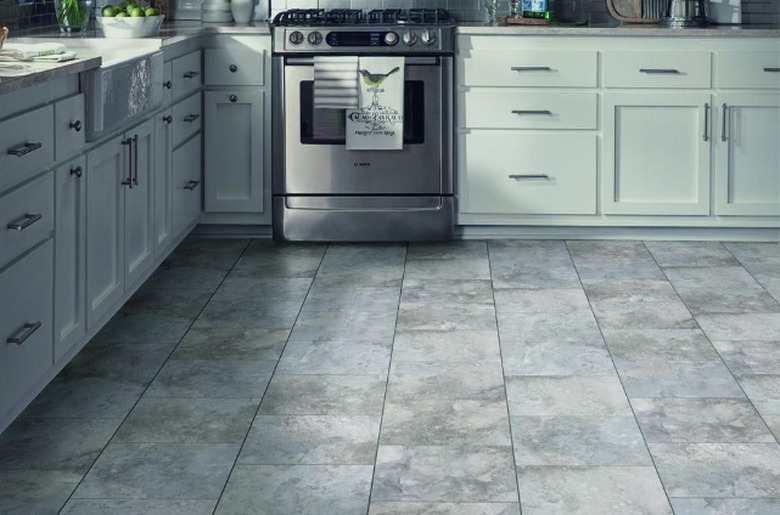
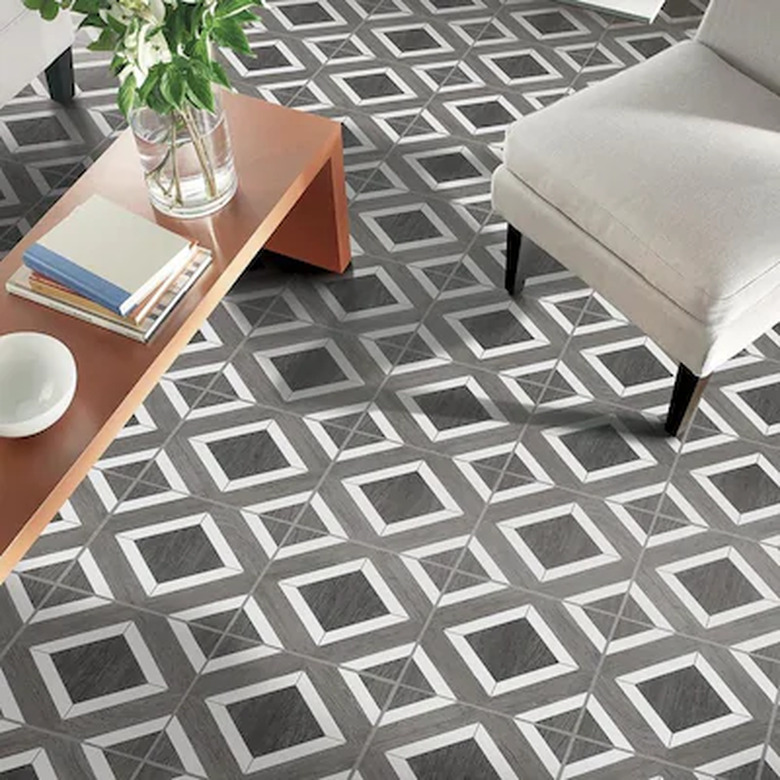
Vinyl floor tile is synthetic linoleum and is celebrated for being inexpensive, waterproof, durable and stain resistant. Vinyl also offers a variety of stylish looks and can be a great way to elevate the aesthetic of a room while keeping renovation costs low. Luxury vinyl is a type of flooring that is made to closely resemble more high-end types of tile like marble, stone or ceramic designs.
Sold either as sheets or in tiles, vinyl is easy to install and usually requires only a few basic tools to do so. Vinyl tile can be purchased as a peel-and-stick variety to make home improvement quick and easy, or it can be adhered to flooring using tile adhesive as you would with most traditional tile.
Read more: Vinyl Flooring: What You Need to Know
Prepping Your Floor
Prepping Your Floor
Before you begin installing your new floor tiles, you'll need to make sure your existing floor is in good condition. Vinyl is typically laid over a solid subfloor, which is ideally sturdy enough to keep from sagging under weight, should lay straight all the way across when measured with a leveler and shouldn't creak or sag in spots when you walk across it. The subfloor and vinyl over it should also be free of cracks, grime and anything else that might prevent the new flooring from sticking to it properly.
While you don't have to remove your vinyl sheet flooring to install a new tile floor over it, the Tile Council of North America recommends that old sheet flooring be cleaned of wax or bond breakers and new tile should only be laid over one well-attached layer of vinyl.
Read more: A Homeowner's Guide to Floor Underlayments
Additionally, excessive tears in your old vinyl may prevent your new vinyl from sticking, so you may need to patch the tears before installing new tiles. To patch your torn vinyl, use a utility knife to remove the faulty piece and place a piece of vinyl over the hole. Then, use vinyl glue to stick the patch onto the flooring over the tear and finish the repair with a seam sealer after the glue has dried. For floors in really bad shape, you can lay a plywood, particleboard or vinyl underlayment on top of the flooring and then apply your vinyl tiles to that surface, although you will need to account for this slight bit of added height to your flooring when laying your new vinyl tiles.
Read more: How to Replace Vinyl Floor Tiles (LVT)
 Lowe's
Things Needed
-
leveling tool
-
chalk line
-
tile spacers (as needed)
-
oscillating tool (as needed)
-
pencil
-
heat gun
-
utility knife
-
vinyl tile glue (as needed)
-
notched trowel
-
a 100-pound floor roller
-
vinyl tile grout
-
rubber float
How To Install Vinyl Tile
How To Install Vinyl Tile
Once your existing vinyl flooring is clean and free of buildup and cracks, you can begin installing your new vinyl tile. Installation does require a bit of preparation, however, which includes removing any fixtures and planning where your tile will lay.
1. Remove Any Fixtures
Before you begin laying your tile, remove anything around which you will need to apply tile. This can include anything from portable kitchen islands and toilets to baseboards around the perimeter of your room.
2. Trim Doorjambs (If Necessary)
Because you're applying a new layer to your existing flooring, the height of the flooring may raise, so you may need to adjust any fixtures that touch the floor, like doorjambs or casing. This will allow you to slide your new tiles underneath for a seamless finish. To do so, use an oscillating tool or undercut saw to trim the bottom of your jambs or casing, sanding the fixture down to create just enough of a gap for the tile to fit.
For smooth transitions between your vinyl tiles and other types of flooring in adjacent rooms, like hard wood or carpeting, a transition strip can help create a seamless finish while minimizing any height discrepancies between the two surfaces.
3. Arrange Your Layout
Even if you're working with simple peel-and-stick vinyl tiles, you'll need to plan your arrangement before you start laying down your flooring. Find the center point of two opposing walls and use a chalk line to snap a marker onto the floor. Do the same with the adjacent walls so that the two chalk lines form a "T," which will mark the center of your room.
4. Lay the Tile
Now that your center is located and your room is marked, you can begin laying your tile. It is recommended at this point that you place your tiles without the use of adhesive to see how it looks before you begin installing the flooring. Some people prefer to start in the center, working their way outward until they reach the walls. Others like to start by the door and work their way to the opposite end. The choice will be up to you and will likely depend on the size and shape of the room you're renovating. If you wish to leave grout lines between your tiles, be sure to account for this extra space while planning your layout, which usually measures 1/8 to 1/4 inch between each tile on either side.
5. Cut Tiles That Need to be Fitted
You will most likely need to trim at least a few tiles to fit in your room or rest around curved fixtures. You can trim your tiles by measuring your tile to fit a particular space and then mark the tile with a pencil. Then, use a heat gun to soften your tile before cutting it along the pencil line with a utility knife.
6. Adhere Your Tiles
Once you are sure of your tile pattern, adhere the tiles to the floor one at a time. The method of application will depend on the type of tile with which you are working. Peel-and-stick tiles are applied just the way they sound — peel the protective coating off the back of your tile and carefully push downward to help it stick. Other tiles will require a tile adhesive to keep them in place. To glue your tiles, start in a far corner of the room away from the door and apply vinyl tile glue with a notched trowel. Allow the glue to dry for about 30 minutes or until it reaches a light color and sticky consistency. Then, lay your tiles one by one, following your layout pattern. If you're adding grout lines, use spacers to set your tiles in place.
7. Set Your Tiles
Once your tiles are all laid, use a 100-pound roller, which can be rented at most home improvement stores for around $20 per day, to press your tiles onto your floor. If you left space for grout, remove your spacers and use a rubber float to spread vinyl tile grout between the tiles. Allow your grout to set for several minutes before gently scrubbing the excess grout from your tile surface.