Using Dowels, We Gave This Popular IKEA Table A Beautiful New Look
We may receive a commission on purchases made from links.
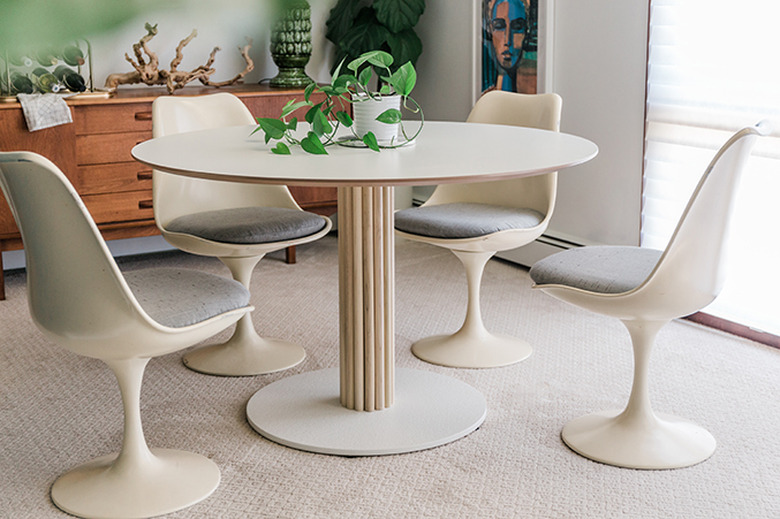
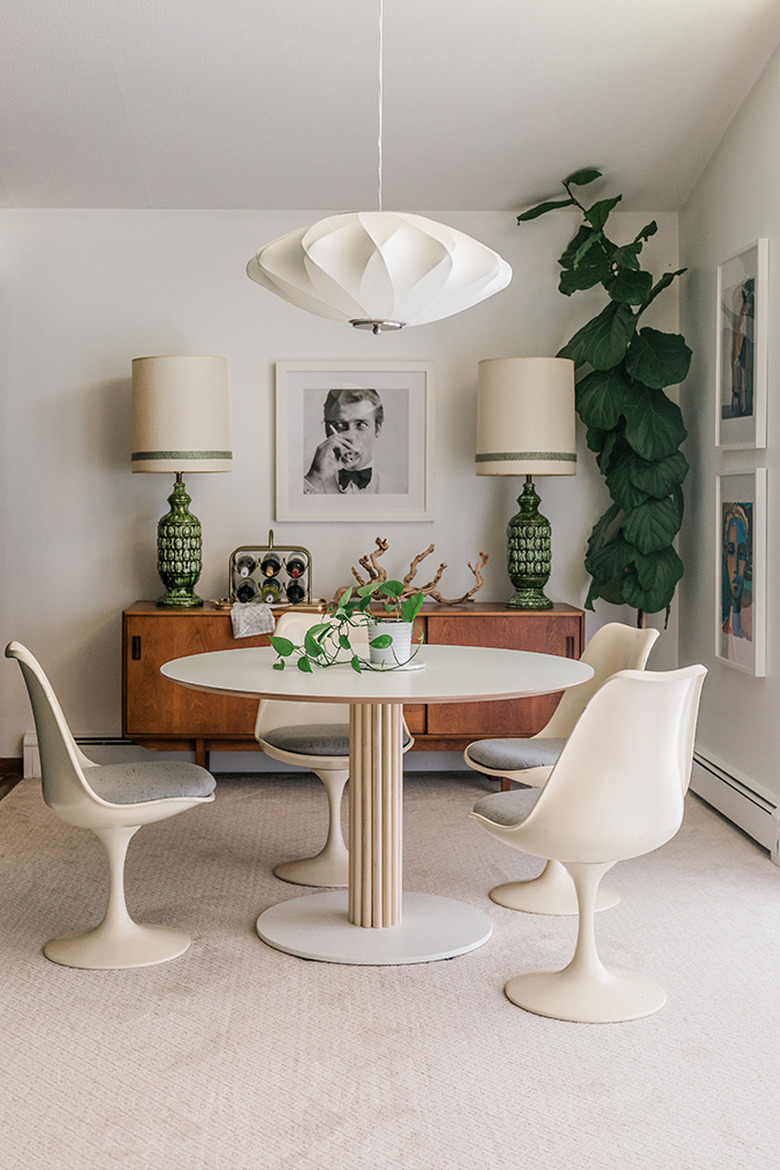
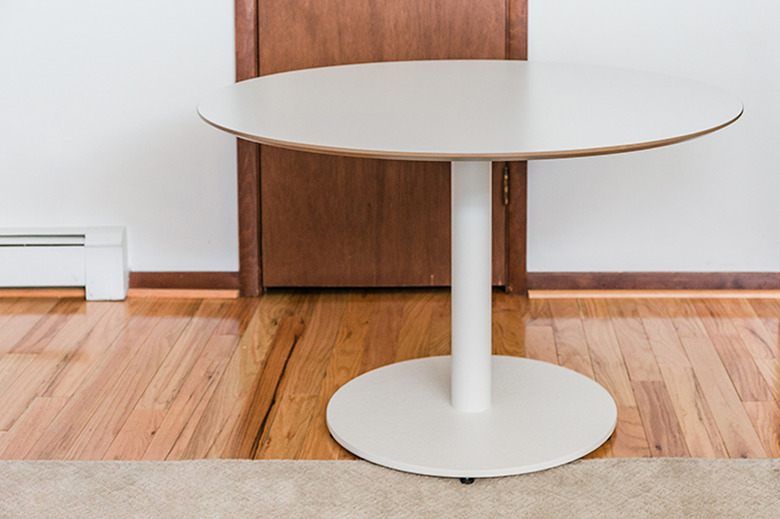
We've been eyeballing IKEA's beloved Billsta table for a while, thinking it could be the perfect piece for a fun DIY hack. While simple and sweet on its own (we love that trendy round shape and bright white finish), we wanted to add a pop of personality. Enter one of our favorite materials to use: wooden dowels. Scroll onward to find out how we made this new design ... and how you can undo it if you feel like it later on.
 Carrie Waller
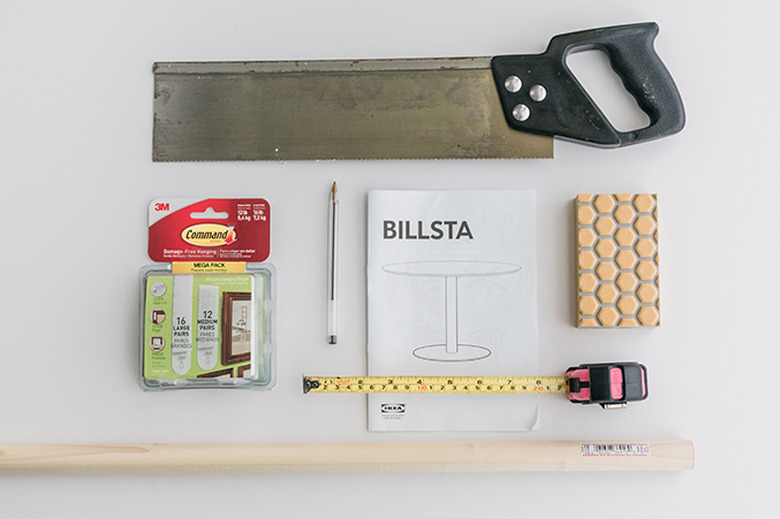
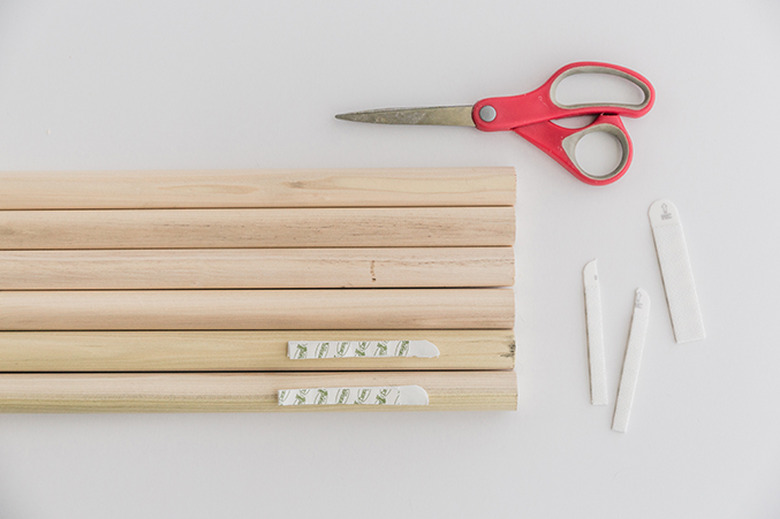
Things Needed
 Carrie Waller
Step 1
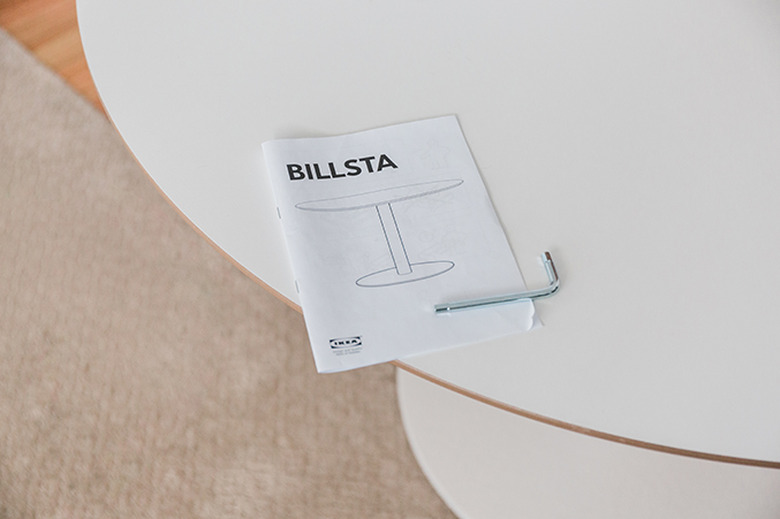
Unpack and lay out all of the parts that come with your IKEA Billsta table. Assemble according to the package instructions.
 Carrie Waller
 Carrie Waller
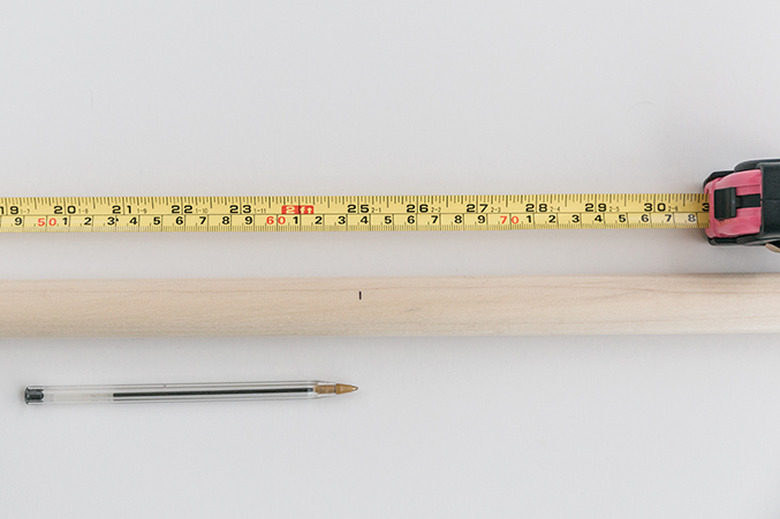
Step 2
Measure the height of the Billsta pedestal (you should measure roughly 25 inches), and mark each of your 1-inch-by-48-inch wooden dowels to the same height with a pen.
 Carrie Waller
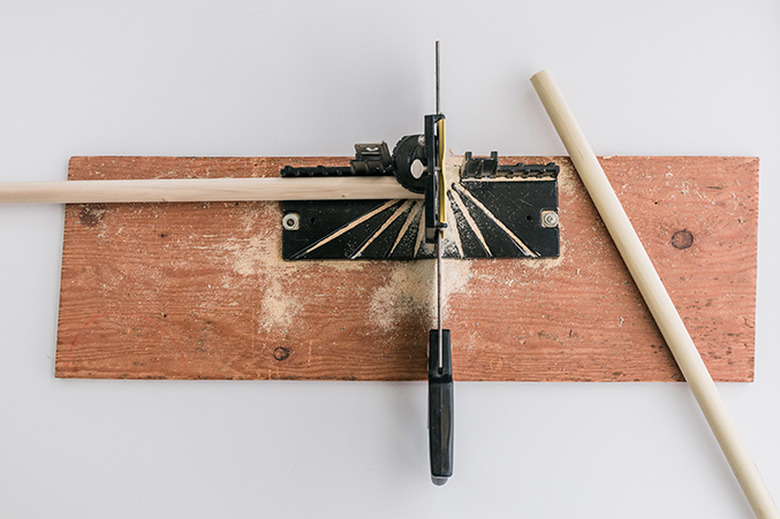
Step 3
Cut the dowels to size right at the mark you made using a mitre box and saw. (Or, feel free to ask your local hardware store to cut them for you.)
 Carrie Waller
Step 4
Sand away any rough spots or splinters that might have shown up on the ends of the dowels after sawing.
 Carrie Waller
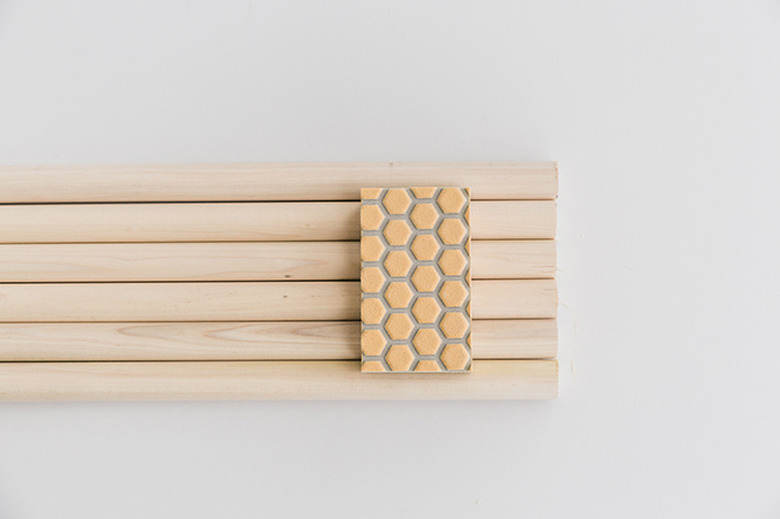
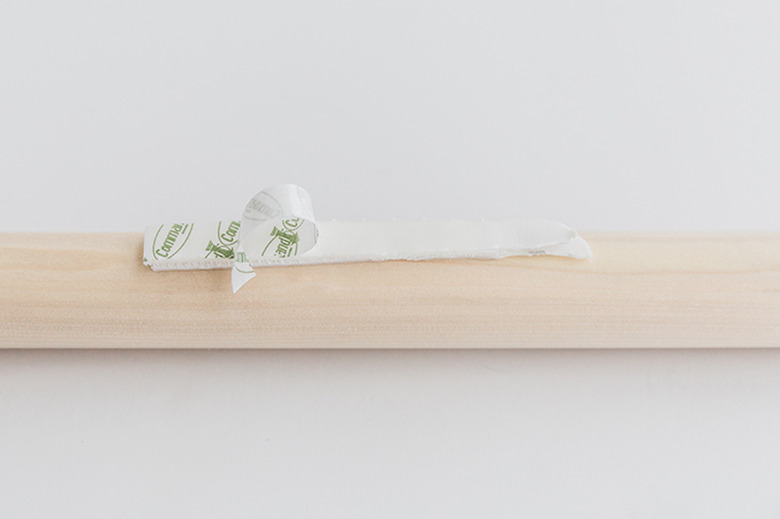
Step 5
Sandwich together pairs of picture hanging strips and slowly cut them in half using scissors. Remove the backer paper on one of the tabs, and press the sticky side of the sandwiched pair of strips down on a spot toward the top end of one dowel. Repeat and place toward the lower end of the same dowel. Continue sandwiching, cutting, and sticking the strips to the dowels so that each dowel is outfitted with two pairs of sandwiched picture hanging strips — one toward the top, and another toward the bottom.
 Carrie Waller
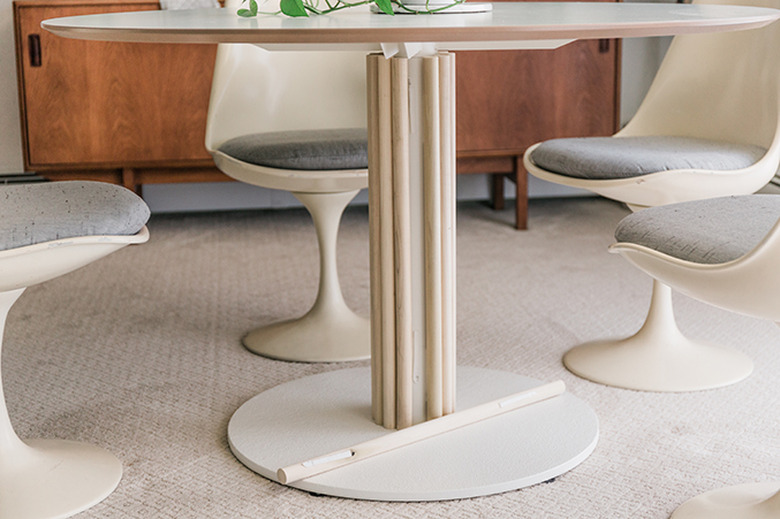
Step 6
Remove the paper backing on the outside tabs of the picture hanging strips now, and press the dowel (sticky side out) onto the table pedestal one at a time until you've covered the original white pedestal of the table underneath.
NOTE: You might end up with a small gap at the end, depending on how level and evenly you placed your dowels. If this happens, the gap can be filled using the same method with a slightly smaller dowel.
 Carrie Waller
 Carrie Waller
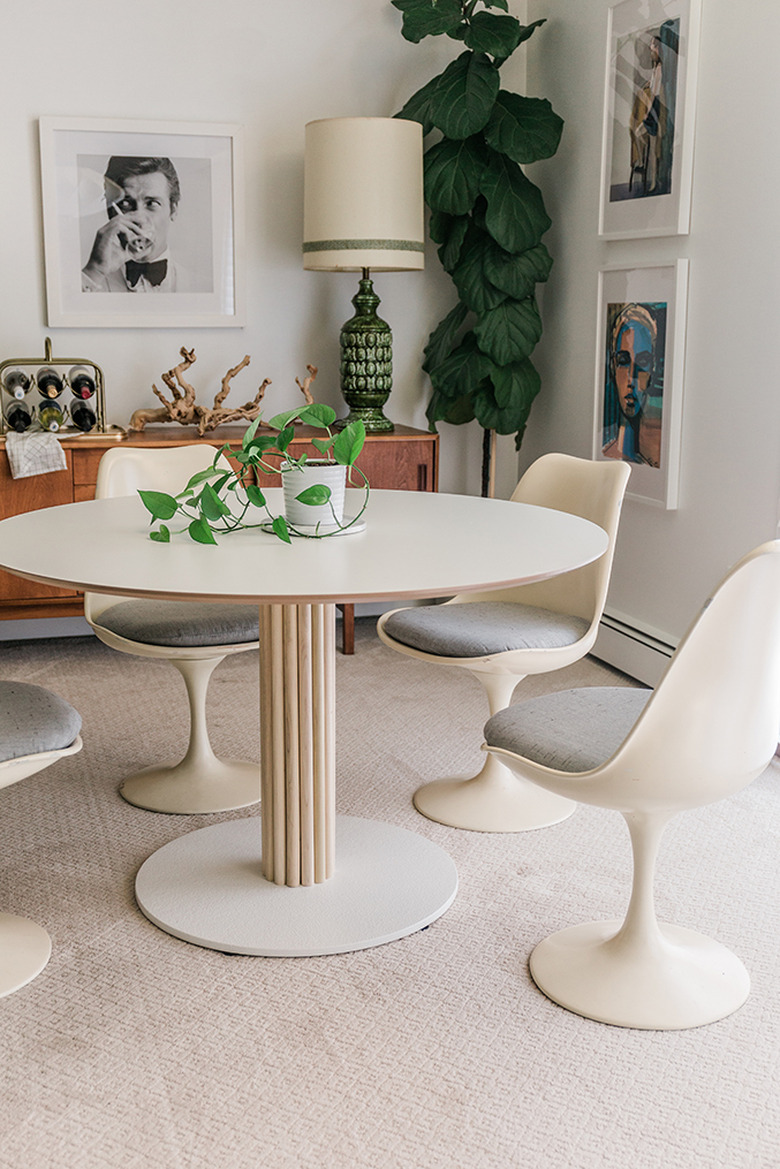
Step 7
Set your customized table up in your space and enjoy! If, later on down the line, you get tired of the look of your wooden dowels, you can simply pull them off the pedestal, remove the damage-free strips, and discard for a clean white look once more.
 Carrie Waller