How To Remove A Drop-In Sink
A kitchen or bathroom remodel often calls for a new sink to match the upgraded decor, and you can't install a new sink until you remove the old one. If the sink you're removing is a drop-in sink, the job of removing it involves three broad procedures, and the most difficult task is usually cutting through and removing the caulk holding the sink to the countertop. The three procedures are:
- Disconnecting the faucet
- Disconnecting the drain
- Lifting out the sink
You don't have to completely remove the faucet to get the sink out, and because it's so much more difficult to get the faucet off when the sink is in place, it's best to wait until after you've lifted it out. If the mounting nuts holding the faucet's tailpieces are rusted, you'll be glad you waited. There's nothing quite as frustrating as trying to loosen rusted nuts in the limited, narrow space between a sink and the wall. If you have to do it, be sure to use a basin wrench, which is designed to reach and grip nuts in tight spaces.
Tip
If the sink has a garbage disposal, be sure to unplug it or shut off its circuit breaker, then remove the disposal before removing the sink.
How to Remove a Drop-In Sink
How to Remove a Drop-In Sink
Things Needed
-
Basin wrench
-
Adjustable wrench
-
Tongue-and-groove pliers
-
Bucket
-
Rag
-
Screwdriver
-
Utility knife
-
Pry bar
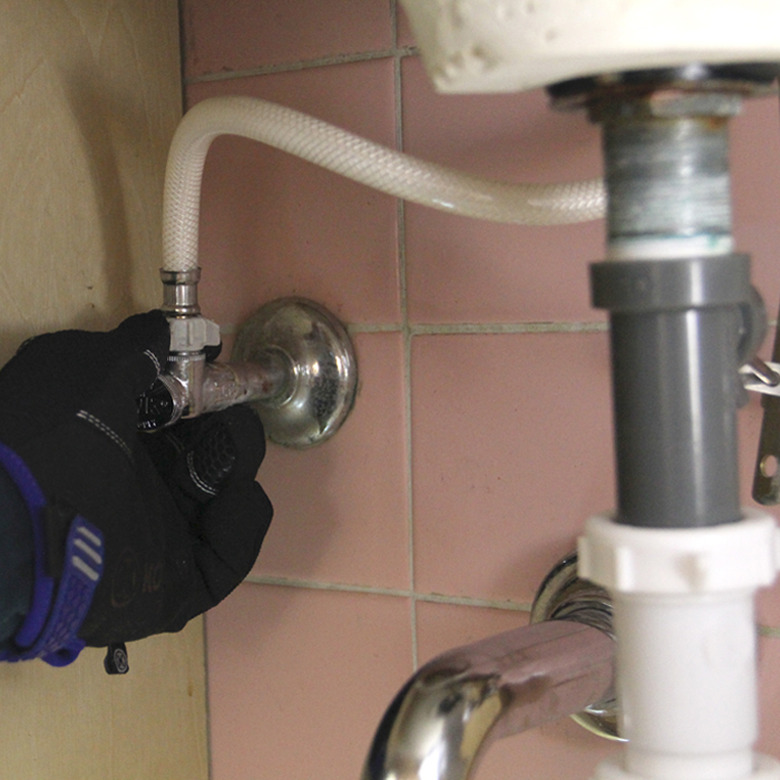
1. Disconnect the Faucet
- Remove everything from the sink cabinet and take out the shelves, if they are removable, to give yourself room to work.
- Turn off the hot and cold fixture shutoff valves located under the sink by rotating the handles clockwise until they stop. Lever-type handles should be perpendicular to the direction of the water flow.
- Open the faucet to relieve pressure, then loosen the flexible supply tubes attached to the shutoff valves, using a wrench, and disconnect the hoses from the valves.
You can usually get the sink out if you leave the supply tubes attached to the faucet tailpieces (the easiest solution), but if the supply tubes get in the way, you can also detach them from the faucet, using a basin wrench.
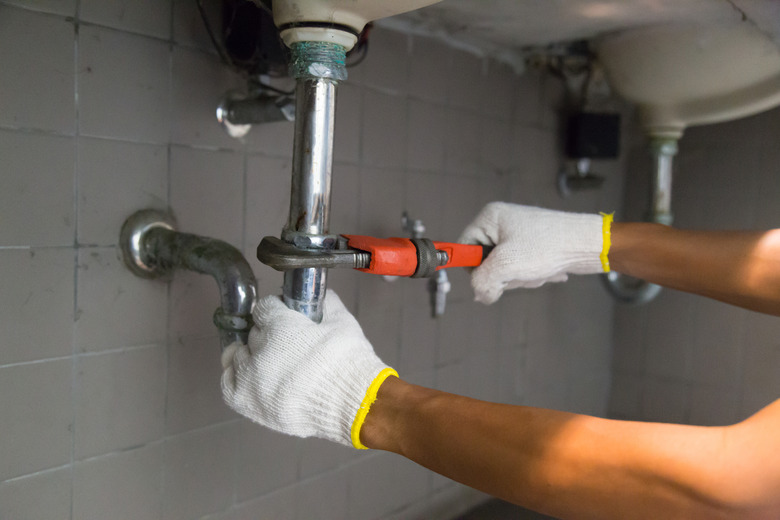
2. Disconnect the Drain
 A stockphoto/iStock/GettyImages
- Place a bucket under the P-trap to catch water.
- Use a pair of tongue-and-groove pliers to loosen the slip nut that holds the P-trap to the sink tailpiece—the pipe that extends vertically down from the sink drain. If the sink has a garbage disposal, the P-trap is connected to a pipe that extends horizontally from the side of the disposal canister, and the nut you have to loosen is at the end of this pipe.
- Slide the slip nut along the tailpiece, then push down slightly on the P-trap to disengage it and swing the trap away. Double sinks usually have two horizontal tailpieces leading to a common P-trap. After disconnecting the P-trap, you'll probably want to disconnect and remove these tailpieces.
- Loosen the slip nut connecting the P-trap to the trap arm and carefully pull off the trap to avoid spilling water. Invert the trap into the bucket or take it outside to empty it.
- Stuff a rag into the opening of the drain pipe in the wall to prevent sewer gasses from flowing into the room.
- Disconnect the dishwasher drain hose, if there is one. It's usually attached with a clamp that you remove either by squeezing with a pair of pliers or loosening with a screwdriver.
- Unscrew and remove the sink tailpieces. This allows you to set the sink flat after you lift it out it so you can remove the faucet.
3. Remove the Garbage Disposal (Kitchen Sinks Only)
Unplug the garbage disposer from the outlet inside the sink cabinet. If the disposer is hard-wired, turn off its circuit breaker in your home's electrical service panel (breaker box). Test the disposer to be sure it is off.
Most garbage disposals are secured to the drain opening by a metal ring clamp. You loosen this clamp by inserting a screwdriver into one of the ears or loops on the ring and using it as a lever to rotate the ring. Other disposals may be secured by a ring that is tightened with one or more screws. It's best to have a helper support the disposal while you loosen the ring. Once the disposer is free, lower it from the sink and set it aside in the cabinet.
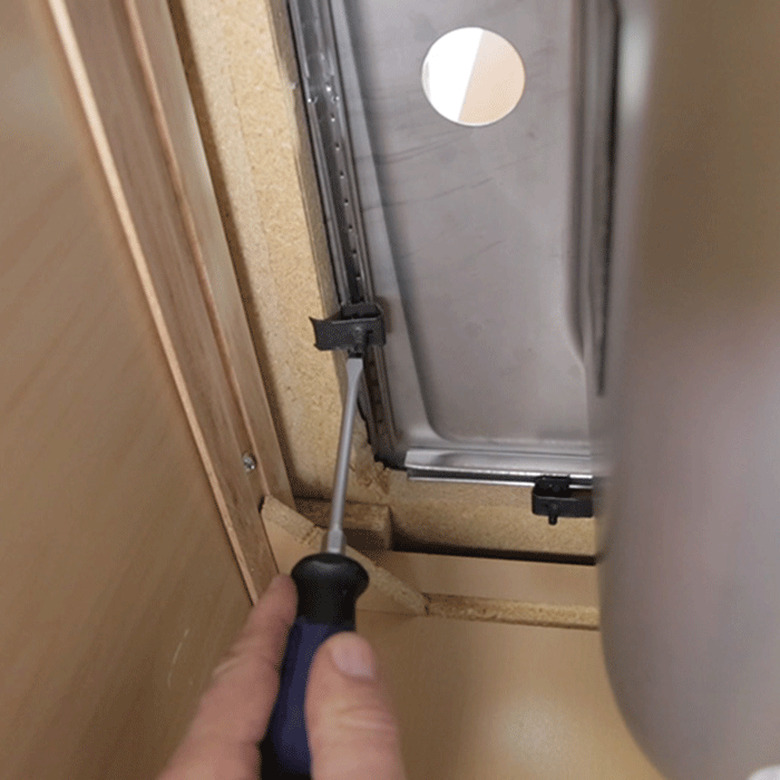
4. Loosen the Sink Clips
 Lowes
Lowes
If your sink has mounting clips (sinks of lighter weight, such as stainless steel sinks, usually have them; heavy cast-iron sinks may not) locate the clips on the underside of the countertop. You should see several, evenly spaced around the perimeter of the sink opening. Loosen each of the screws enough to allow you to swing the clip away from the sink or completely remove it.
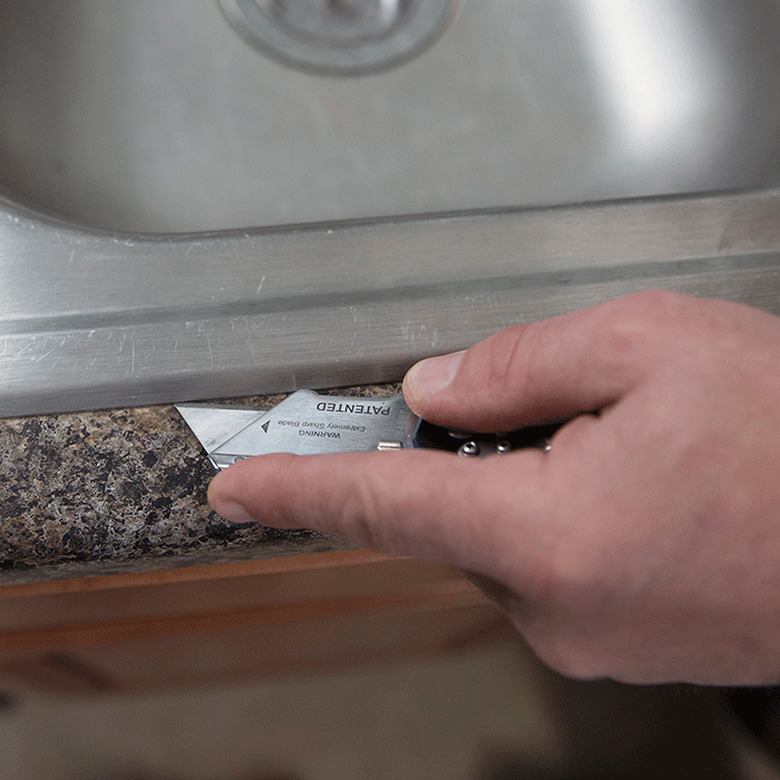
5. Cut Through the Caulk
 Lowes
Lowes
Use a sharp utility knife to cut through the bead of silicone caulk sealing the rim of the sink to the countertop. Once you've cut this bead, slip the knife underneath the rim of the sink and slide it around the rim to cut through the caulk underneath the rim. If you can get a thin pry bar under the rim, you may be able to break the caulk by prying up the rim of the sink. This is often easier than cutting it, but don't use excessive force, or you could end up breaking the rim of the sink or damaging the countertop.
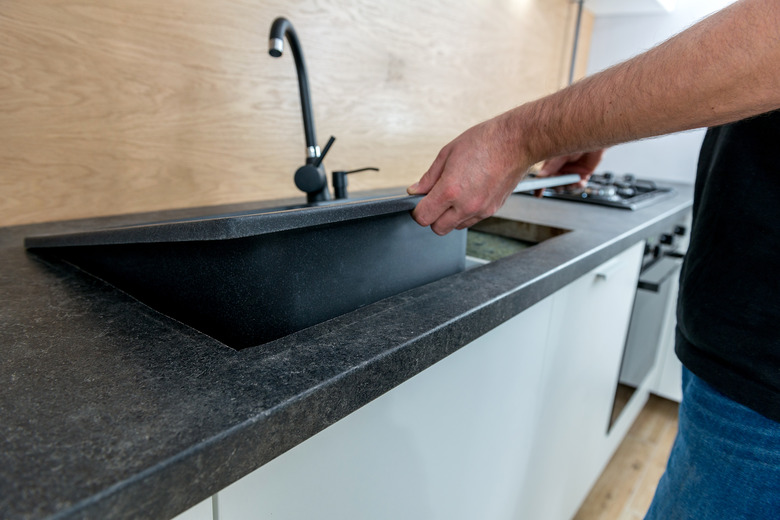
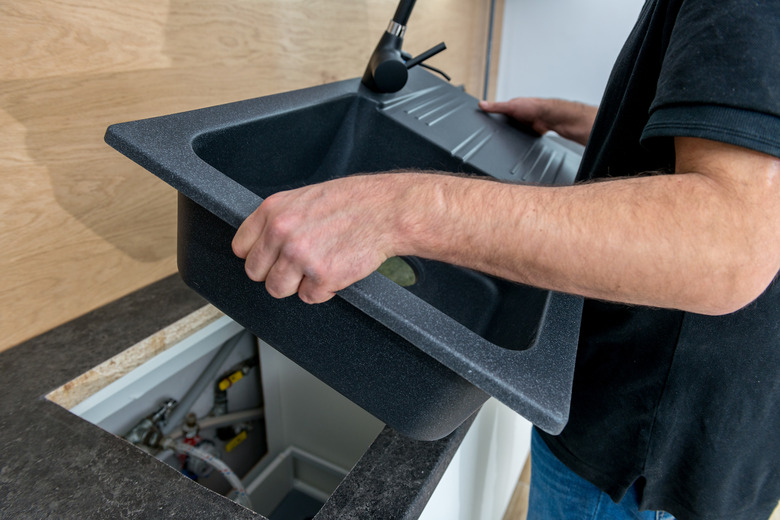
6. Remove the Sink
 Pawel_B/iStock/GettyImages
Push up on the sink from underneath to break the bond created by any remaining caulk. Once the sink is loose, grasp both sides from above and lift it out of the hole. Keep lifting straight up until the faucet tubes have cleared the cutout, then take the sink away. Set it upright on a flat surface with the faucet tubes hanging over the edge so you can remove the faucet, if you plan to reuse it.
Tip
Composite, porcelain and cast- iron kitchen sinks are heavy. If you have one of these, you may need someone to help you lift it.
Don't Forget to Clean Up
Don't Forget to Clean Up
After the sink is out, scrape off all the old caulk from around the sink cutout opening. It's especially important to do this if you're planning on installing another drop-in sink, because old caulk prevents new caulk from adhering, and it may also prevent the new sink from sitting flat.
There's a good chance you spilled some water on the bottom of the cabinet during this procedure. Don't let it stay there. Even a little water can cause damage or lead to mold growth, especially if the air is warm and humid. Wipe it up with a rag or a sponge.