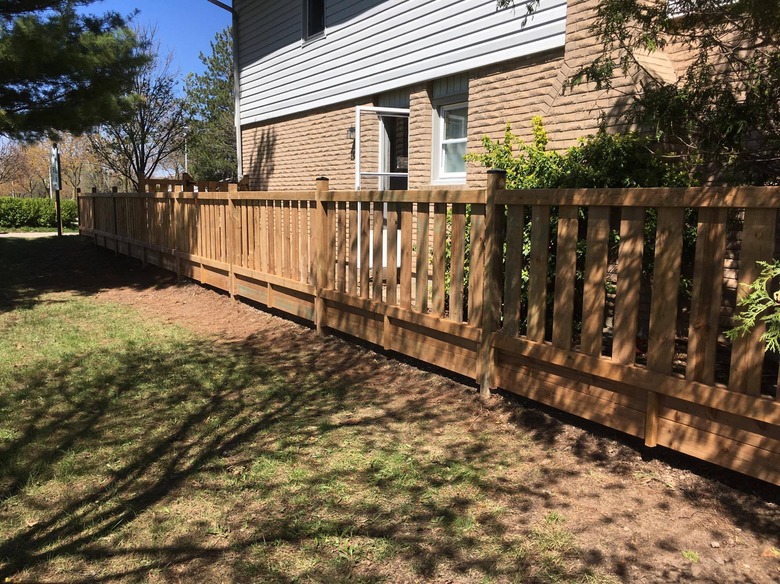
How To Replace A Wooden Fence Post
Among the components of a wooden fence, one of the most important are the posts. A rotted fence post makes a fence sag, and a sagging fence is unsightly and easily blown over by the wind. Posts usually rot at ground level, where rain water tends to collect around the base of the post, but they can also rot below ground level around the top of the concrete anchor. Rotting typically occurs because the post is not made from pressure-treated wood, or because it wasn't properly treated with a preservative when installed. Soil composition can also affect how quickly a post decays; sandy soil will drain water away quickly, while heavy clay soil may cause posts to rot within a year or two.
 Level Post Digging
As long as the rest of the fence is in good condition, you can restore its stability by removing the rotted post and replacing it. This isn't a fun job, but it isn't as difficult as it sounds, either. If the post hasn't already separated from the ground, it probably will when you try to pull it out of the ground, and the most challenging part of the job will be extracting the part that's still in the ground. Some digging will be required.
Start by Unfastening the Fence from the Post
Start by Unfastening the Fence from the Post
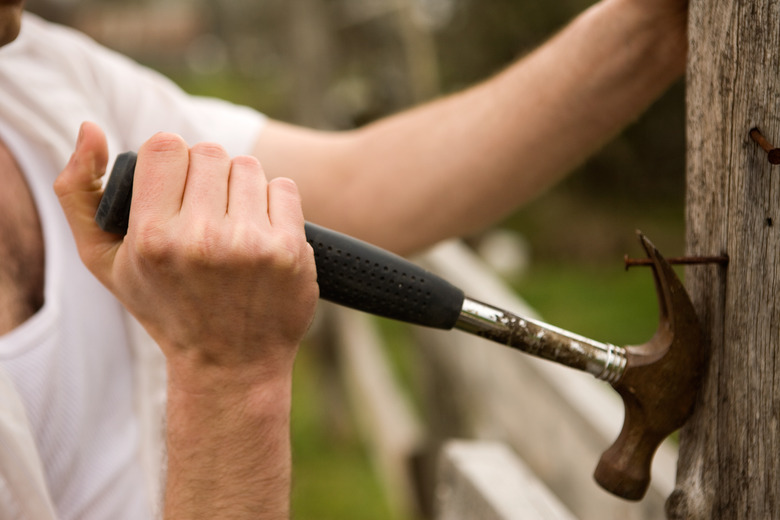
In most cases, freeing the post from the rest of the fence is just a matter of removing some screws or nails. The fence rails are often fastened directly to the post. Pull nails with a hammer or pry bar and back the screws out with a drill and a screw bit. Before you do this, you'll want to use some spare 2 x 4s to prop up the fence so it doesn't fall over.
- Cut back any vegetation preventing you from accessing the rotted post.
- Wedge one end of a 2 x 4 under the top rail of the fence on either side of the post and push the other end into the ground. Install similar braces on the other side of the fence, using 3-inch screws to fasten them to the fence boards.
- Remove all fasteners holding the rails and fence boards to the post. If the post is covered by a vertical fence board (picket), remove that board as well.
- Cut through fasteners you can't access, using a reciprocating saw and a metal-cutting blade. Work the blade between the fence rail and the post, start the saw, and keep a steady forward pressure on the saw until it passes through the fastener.
Fences built with prefabricated panels are often assembled by simply screwing the entire panel to the face of the post. With this type of fence, it may be easiest to simply unscrew and remove both panels on either side of the damaged post to give you good access to the post for removal.
Tip
You might find that one or more of the rails have also rotted at the point at which it contacts the post. Make a note to replace the rotted rails after you've reset the new post.
Pull the Post out of the Ground
Pull the Post out of the Ground
Once the post is free, you may find that it's loose enough to pull out by hand. Try rocking it back and forth to loosen it while you pull upward. You may get lucky and extract the whole post at once. If you can't get the post to budge, here's a simple way to lever it out of the ground:
- Drive a 4- to 6-inch lag screw into one face of the post about 8 inches from the ground. Choose the face with the least rot.
- Place a cinder block flat on the ground next to the lag screw.
- Wedge an 8-foot 2 x 4 over the cinder block and under the lag screw to use as a lever. Lift the other end of the 2 x 4 to put upward pressure on the lag screw. You should be able to develop enough force to lift the post, or at least loosen it.
Tip
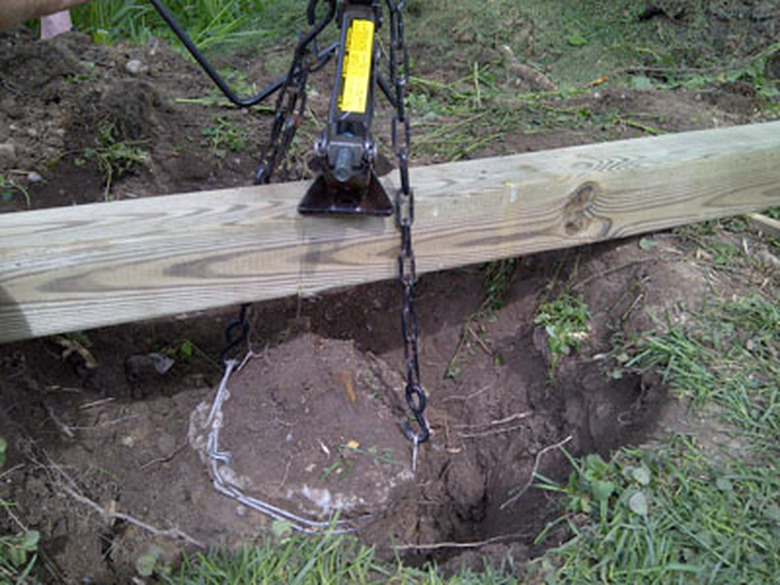
If you can't get the post to budge using a lever, set an automobile jack under the screw. Pump the jack until it contacts the lag screw, then keep pumping to raise the post up from the ground.
Extracting the Concrete Footing From the Ground
Extracting the Concrete Footing From the Ground
If the post is set in concrete, you have to remove the concrete from the ground before you can set a new post. If the post has rotted, it may break apart, leaving part of it inside the footing. It's also possible that the post will come completely out of the concrete when you lift it.
 Future Outdoors
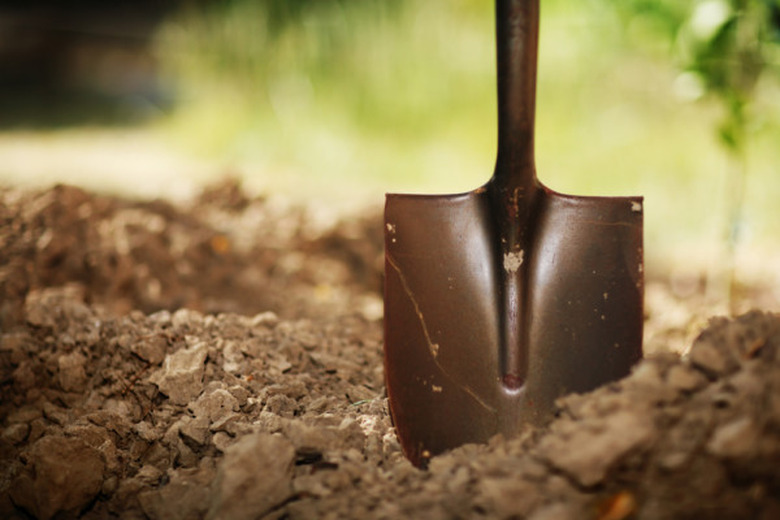
A third possibility, and the preferred one, is that the entire footing will come out of the ground when you lift the post. You can't count on that, though, so you should be ready to dig out the footing with a shovel and a digging bar.
- Dig around the footing until you've exposed two sides and there's a space of 3 or more inches between the footing and the sides of the hole.
- Wedge a digging bar against the footing on one of the sides you haven't dug out, and pry the footing toward the open space in the hole. You should be able to loosen it enough to allow you to reach in and pull it out. This footing will be quite heavy, though, so be prepared to ask a helper for assistance.
- Work the digging bar under the footing and pry upward if the footing is stuck or too heavy to lift. Use the bar to lift the footing high enough to get a grip on it.
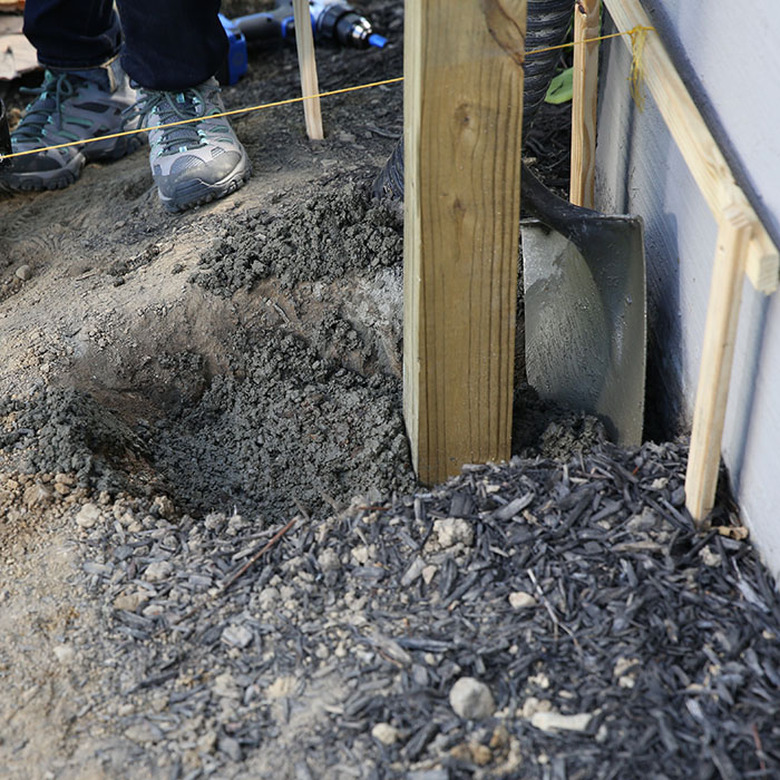
Setting a New Post
Setting a New Post
To avoid repeating the whole troublesome procedure in a few short years, use pressure-treated wood for your new fence post. If you can't do that for some reason, coat the bottom three feet of the replacement post with a wood preservative rated for underground use. Be aware, though, that no type of wood will last as long as pressure-treated wood, even if it's coated with preservative. However, where the fence uses rails or panels that are attractive redwood or cedar, you may want to use a similar wood for the posts.
 Lowes
Lowes
- Hollow out the hole left after extracting the old post and dig it deeper, if necessary. As a rule of thumb, the hole should be deep enough to accommodate 1/3 of the length of the new post. For example, the hole for a post that extends 8 feet above ground should be 4 feet deep (meaning that you'll need a 12-foot long post). Dig down an extra 4 inches to accommodate a layer of drainage rock in the bottom of the hole.
- Pour enough crushed gravel into the bottom of the hole to fill it to a depth of 4 inches.
- Set the post in the hole, center it and level it with a spirit level. Hold it level or secure it in position with 2 x 4 braces.
- Backfill with poured concrete or gravel. Lightweight fences can sometimes be adequately supported simply by back-filling the posts with packed gravel, but for best durability, always anchor fence posts with concrete. A quick way to set fence posts with concrete, often used by hobby farmers and homesteaders, is to pour dry concete mix around the post, adding a small amount of water as you pour in the dry mixture.
- Shape the base of the concrete into a slightly coned surface angled away from the faces of the post. This will help direct rainwater away from the wood. Let the concrete footing dry completely.
- Allow the concrete to dry for at least 24 hours.
- Refasten the fence rails to the new post. Now is the time to replace rotting rails, if there are any. If your fence has prefabricated panels attached directly to the posts, simply screw the panels back to the new post.
Tip
If you opt to backfill with gravel, use angular 1/2-inch drain rock. It will wedge itself against the post and hold in in place better than a smooth variety, such as pea gravel.