Worm Composting: How To Get Started

We may receive a commission on purchases made from links.
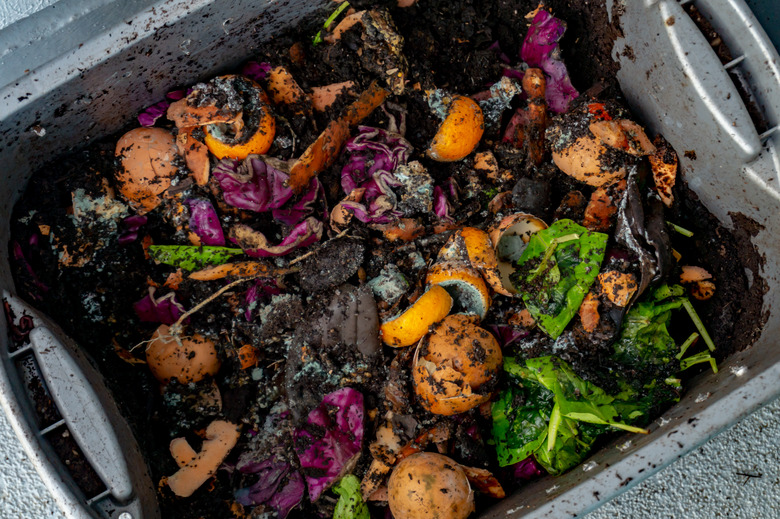
Compost happens, but worm composting happens even faster. Instead of throwing apple peels, coffee grounds and old spinach into the trash, recycle them naturally by tossing them into a worm-composting bin. The worms transform those scraps, as well as yard waste, into a nutrient-rich material that's great for the soil and the garden. A worm bin can even be kept indoors, as it's not messy or stinky, and takes up little space. To compost with worms, you'll need the right type of worm, a lidded bin to keep them in, a suitable worm bedding and a cool, dry place to store the bin out of direct sunlight.
Worm Composting Basics
Worm Composting Basics
Worm composting, also known as vermiculture or vermicomposting, uses a special type of worms to break organic matter down into compost that's helpful to gardens, flowerbeds and soil in general. Traditional composting without worms breaks down organic matter through chemical reactions that create heat as the matter decomposes, resulting in a compost that's full of beneficial nutrients. With worm composting, the worms do most of the hard work, eating the food scraps and plant matter in the compost pile and turning them into worm castings, which contain loads of nutrients beneficial to the soil. Worm composting also takes about 1/3 the time of traditional hot composting to break down the same amount of matter.
The Right Worms for the Job
The Right Worms for the Job
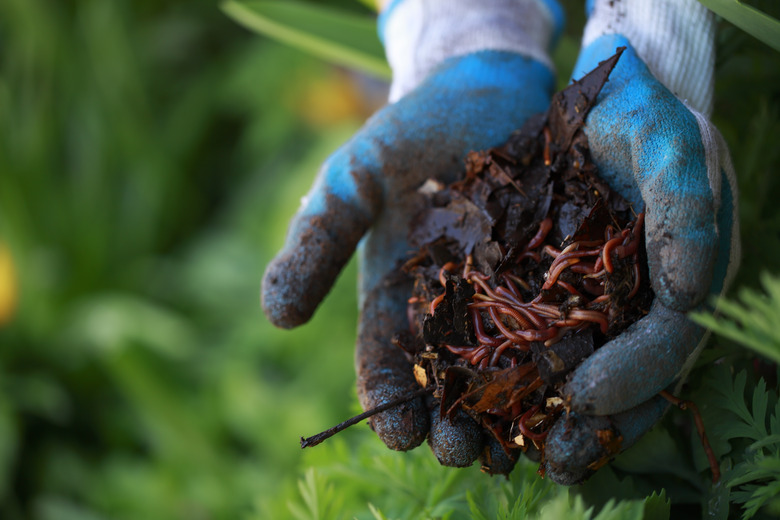
Worm composting uses red wiggler worms, Eisenia foetida, to break organic matter such as produce scraps down into soil nutrients. In nature, these worms stay within the top 6 inches of soil, so they're great for worm bins, which tend to be shallow. Out of the thousands of earthworm species that exist, this is one of just a few that are ideal for worm bins. Red wigglers and a few other suitable breeds are available from worm farms that sell vermiculture products. For a basic worm bin that has at least one square foot of surface area when filled with materials, order one pound of red wigglers, which amounts to approximately 1,000 worms.
The typical earthworm or nightcrawler found in yards in the United States isn't a good composting worm, as this type of worm likes to burrow several feet deep, which mixes top layers of soil down with more compact layers beneath it. These large worms are better for aerating compacted soil, since they'll create deep holes as they burrow.
Making Your First Worm Bin
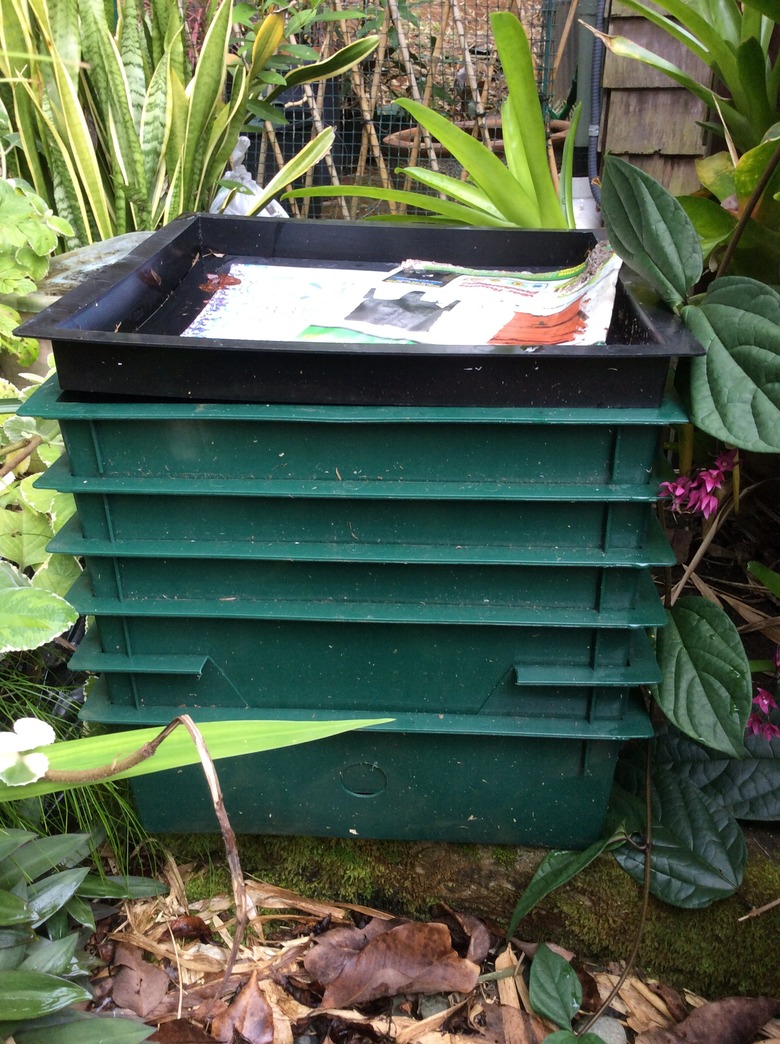
Making Your First Worm Bin
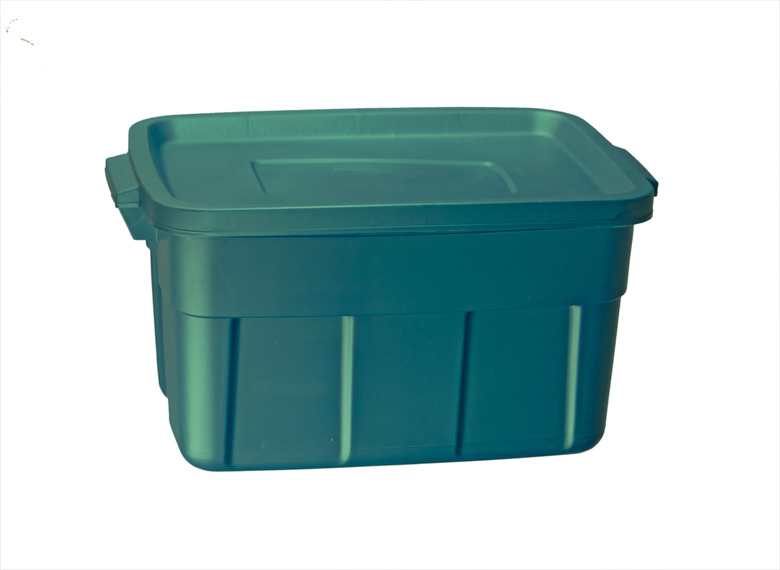
A worm bin serves as both the house for the worms and the place where the composting magic happens. Numerous pre-made worm bins are commercially available to get your vermiculture setup up and running in a hurry, but you could just as easily make your own. An opaque, dark-colored flexible plastic storage tub or bin with a lid makes a great worm bin once holes are drilled for drainage and aeration. Look for a container that holds 10 to 18 gallons. A depth of 10 to 20 inches is ideal for a bin that's 12 inches wide, 24 inches long. Exact dimensions don't matter, but the goal is a manageable size that's not too heavy, unwieldy or too deep.
Keep the storage location in mind as well; a good place for the bin is in a garage, under a deck, under the kitchen sink, in the basement or in a shaded area outdoors. A bin with built-in handles is also a great idea, should you ever choose to move the worm bin. While you could make the bin out an old dresser drawer or from wood scraps, a plastic bin is best for a first bin, as you learn about caring for the worms and creating the perfect worm environment.
To turn a plastic storage tub into a worm-composting bin, drill a series of 1/8-inch holes near the top perimeter of the bin or tub, below the line where the lid locks in place. One hole every 3 to 4 inches all the way around will suffice. Note: Do not drill holes in the lid, as this could allow too much light in, which would be detrimental to the worms. Drill five or six 1/4-inch holes in the bottom of the tub, equally spaced, for drainage. You'll also need a second lid, perhaps one from a larger tub, or a separate larger, shallow bin to hold the first bin. This second bin catches liquid runoff, sometimes called worm tea or compost tea, which is full of nutrients that benefit soil.
Setting Up the Worm Bin
Setting Up the Worm Bin
Your new worm bin must be set up with everything the worms need to both survive and thrive, much like preparing a home for a new puppy. Wash the bin thoroughly to remove any manufacturing chemical residues. Place the bin in a location that protects the worms from excessive heat, cold and direct sunlight. The space should ideally be between 50 and 80 degrees Fahrenheit, and in a shaded area, as too much sunlight could overheat the bin and even kill these heat-sensitive worms.
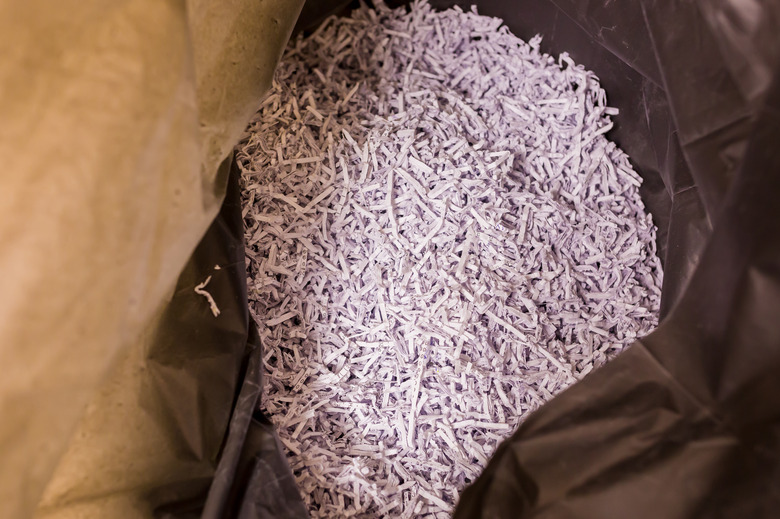
- Shred black-and-white newspaper, brown paper bags or regular office paper into 1/2-inch strips to serve as worm bedding. The goal with worm bedding is to allow airflow while maintaining a little moisture. Other potential non-toxic bedding materials include coconut coir, brown fallen leaves or brown corrugated cardboard; feel free to mix materials. Avoid glossy papers.
- Soak the bedding for five minutes or so in clean water, then wring it out so it feels like a damp sponge.
- Fluff the bedding up, then use it to fill the bottom half of the worm bin.
- Add a few handfuls of healthy garden soil, broken up into small bits and mixed into the bedding.
(Note: If using a pre-made worm bin, read the instructions that came with the product, as some use stacks of trays that require putting the worms, food scraps and bedding in particular layers in order to function properly.)
Acclimating the Worms
Acclimating the Worms
It takes worms a little time to get used to their new home. Gently place the worms atop the bedding; they'll wriggle down deeper on their own. Place the lid on the bin and wait a few days before adding produce scraps. After two or three days, add a shallow layer of food matter for the worms. Any kitchen scraps that do not contain citrus, dairy or meat will do. Items such as fruit bits, leafy greens, tea bags, coffee grounds and even eggshells serve as food for the worms. Break the items up into tiny pieces before placing them onto the surface of the bedding. Bury the foods completely with slightly damp shredded newspaper, or some of the existing bedding and dirt; this keeps fruit flies away and also helps prevent odor. Place the lid back atop the bin.
Maintaining the Worm Environment
Maintaining the Worm Environment
Check the bin after a few days, observing whether the food scraps have been eaten. If all the food scraps have been consumed, add more. Do not add more food scraps if some remain, as the leftovers could eventually rot. A pound of worms eats up to two pounds of food scraps per week, on average. You should only need to feed them every week or two. Every time you add more food, add more fresh, damp bedding as well.
Touch the surface of the existing worm environment every time you check on the worms. If it's bone dry, spritz the bedding with water. If too wet, mix in more dry bedding and leave the lid off for a few hours to dry it out slightly.
Harvesting Worm Compost
Harvesting Worm Compost
Every few months, or once the contents of the entire bin looks like compost or dirt instead of a mix of dirt and bedding, start feeding the worms only on one side of the bin for a couple weeks. After that, remove all the worm castings or vermicompost from the unfed side of the bin, replacing it with fresh bedding. Repeat the process with food scraps only on the freshly bedded side of the bin for a couple more weeks, harvesting the remaining compost on the opposite side. Look for worm eggs, which are brown, shiny and the size of a match head, as you harvest the vermicompost. Place those back in the fresh bedding.
The worm castings can be stored in a container or used immediately by mixing them into garden soil or the topsoil around trees and shrubs. If your worm bin eventually becomes overrun with worms, since worms reproduce regularly, feel free to use them to start a new bin, or give some of the spare worms to friends. These worms can also be released into a regular compost heap outdoors, or into the garden, adding nutrients to the soil on their own as they release worm castings.