We Suspect You're Really Going To Love The Makeover She Gave To Her Medicine Cabinet
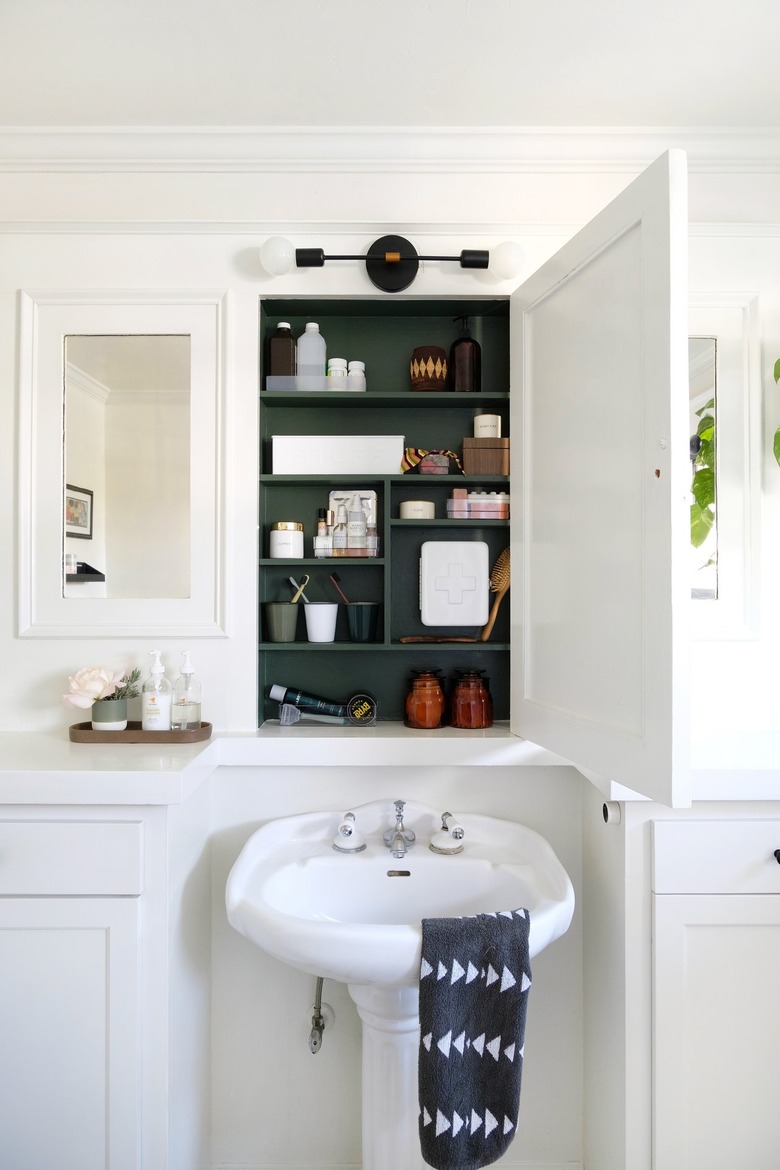
It's amazing what a mini makeover in your home can do. Especially when it's in an area that gets daily wear and tear — like your medicine cabinet. Creating order within this small but mighty space can have a bit impact. And luckily you don't need big bucks to make a change. A little paint, a few organizational items ... and boom! Instant upgrade. Below, check out how Jeran McConnel from Oleander + Palm did a quick and easy medicine cabinet makeover. Plus, scroll down to see where you can purchase the products she featured. (Some come from office supply stores and thrift stores!)
Before
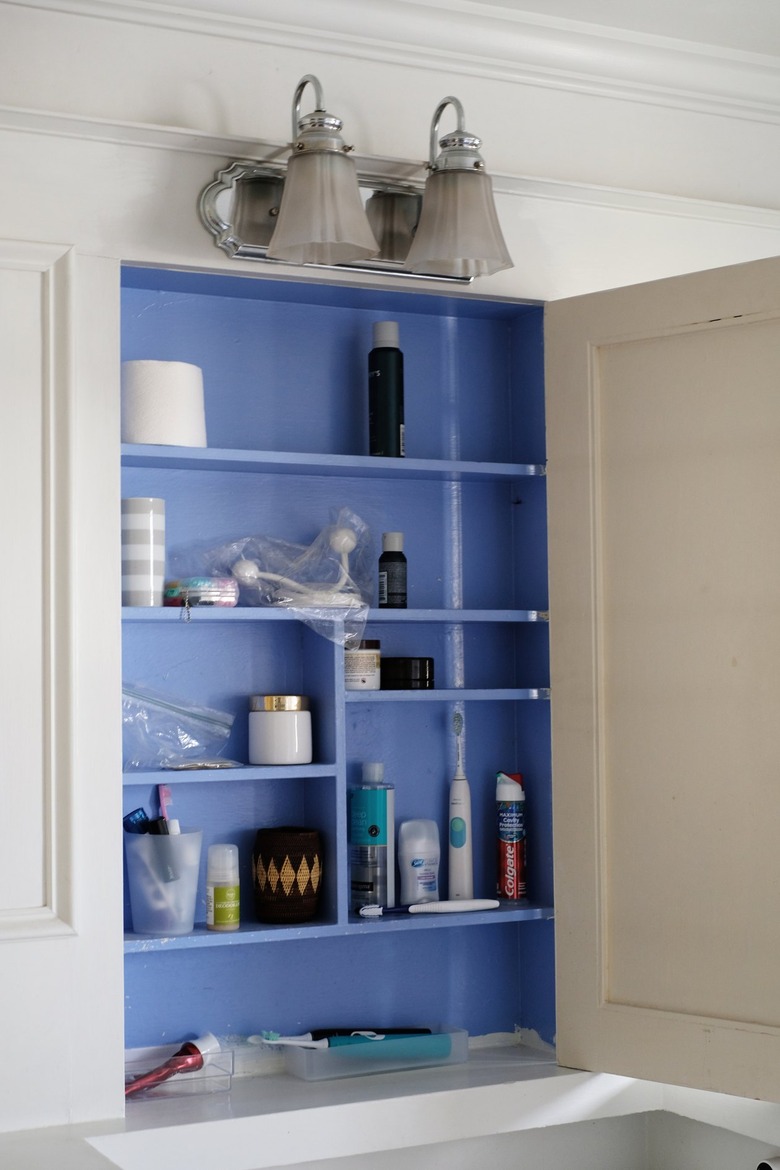
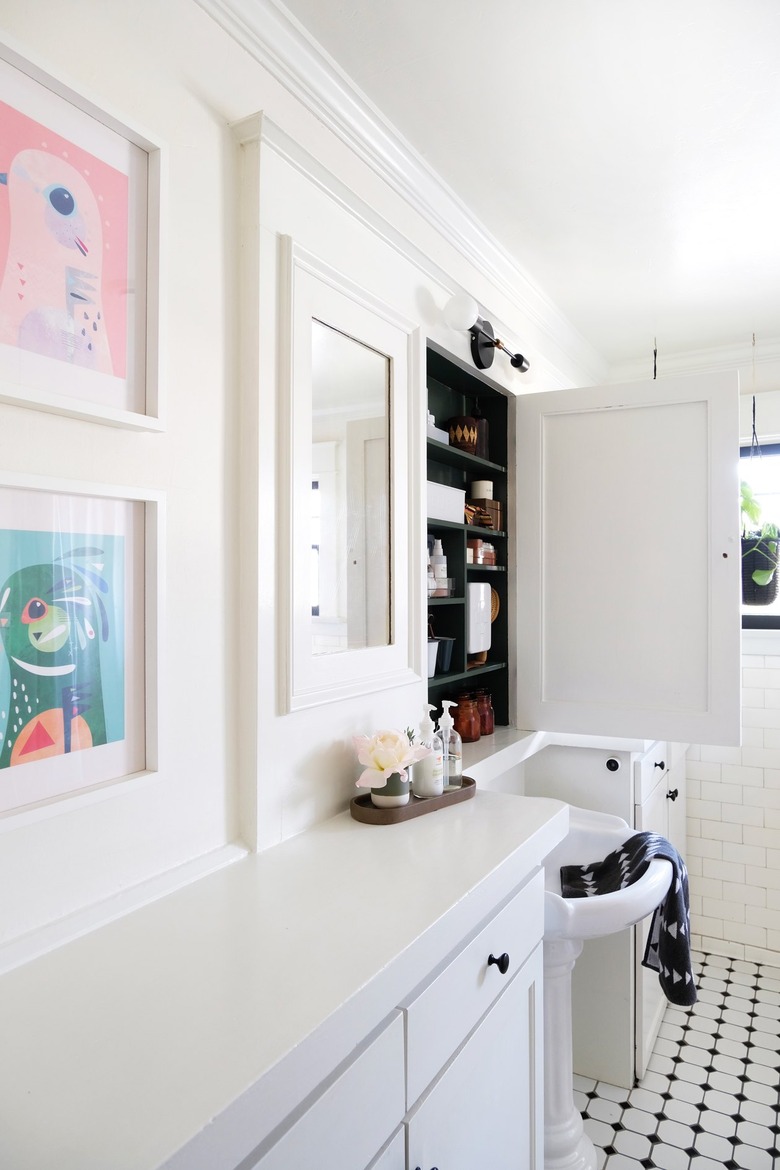
"We live in a 1918 craftsman. And while the closets are small and it lacks many of the modern conveniences of a new build, our home does have some unique characteristics, like a built-in medicine cabinet," says McConnel.
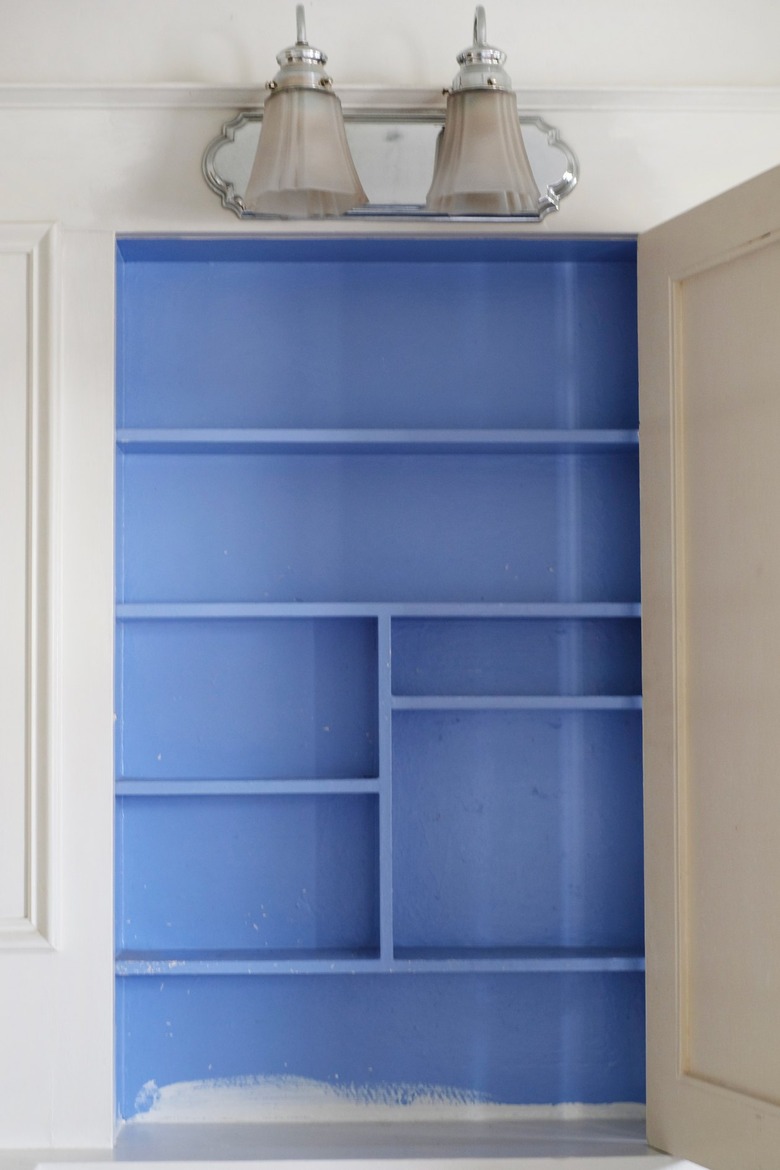
"Before we decided to give it a makeover, it housed a hodgepodge of random items and the color was kind of the worst. I'm sure that periwinkle blue had been painted on there many, many years earlier. The paint was chipped and worn and definitely needed a clean, fresh coat. What a mess. Without containers, everything just got thrown in and you hoped it wouldn't fall out when you opened the door."
The Prep
"I prepped the cabinet by giving it a really good sand and then wiped it down really well with tack cloth," she shares.
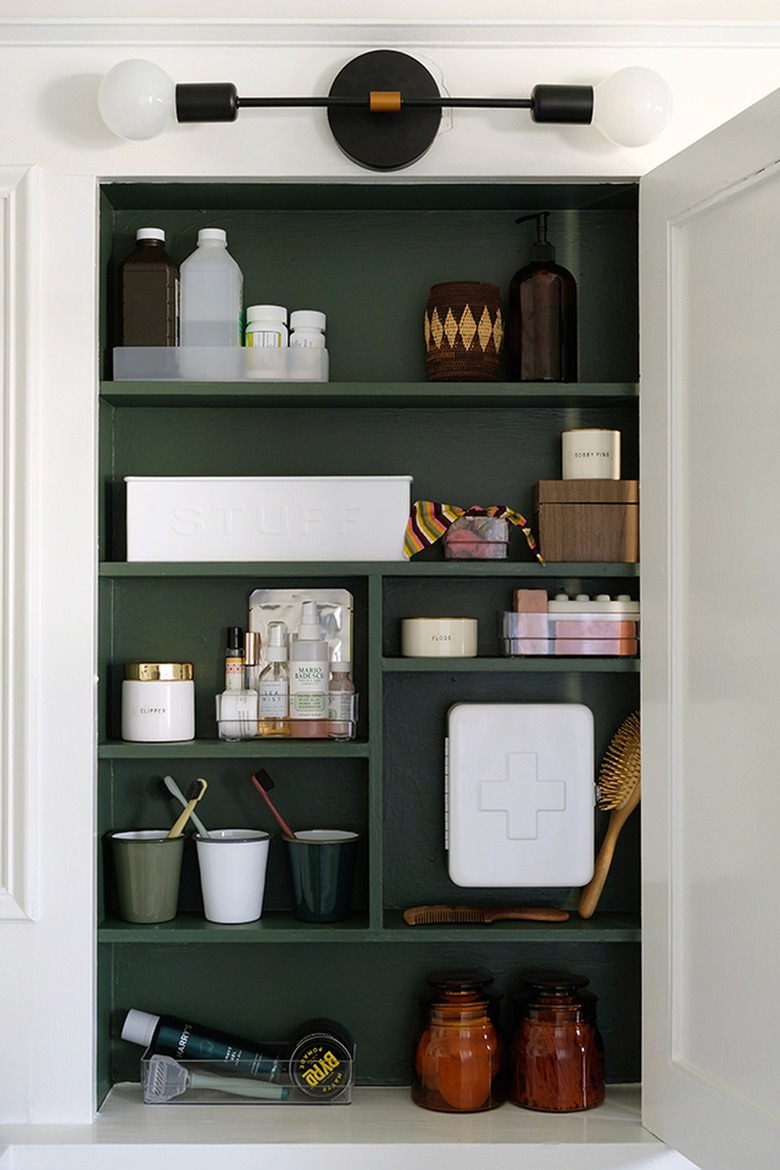
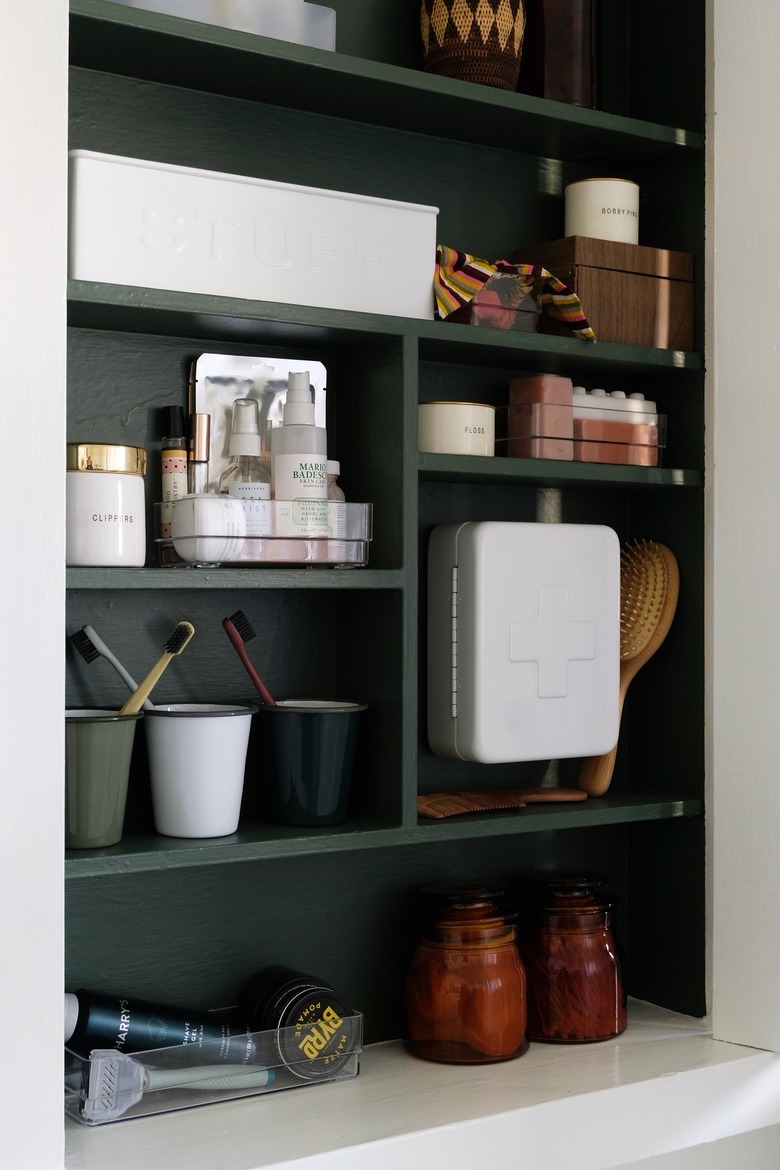
"To cover this very vibrant color, I applied two coats of Sherwin-Williams ProClassic Semi Gloss paint in the color Forestwood. I love this paint for furniture and trim. It dries fast and has a good, hard shell to it right away."
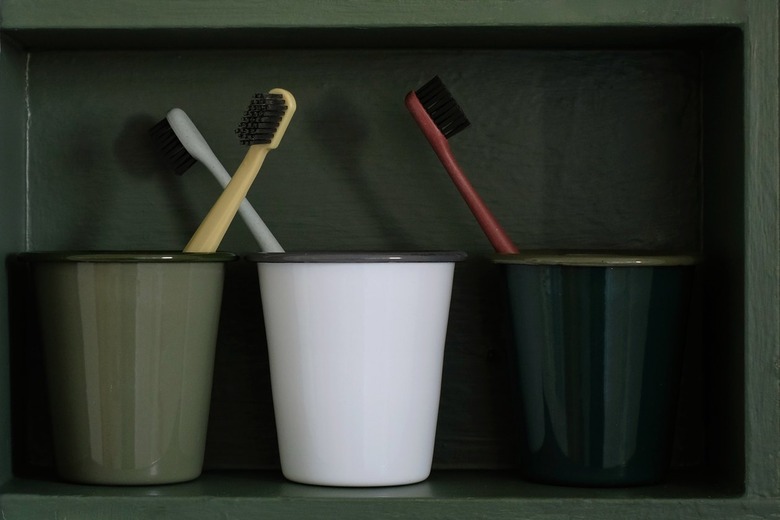
To maximize the storage all of these shelves, McConnel found some shallow containers. "I didn't want everything to be a clear container — I wanted to hide some of the clutter and make the space a little more visually calming. I also didn't want to spend a fortune, so I got creative with some of the pieces, like metal index card boxes (found at a thrift store) for hair bows and clips and a desktop organizer to hide ugly bottles and jars," she says.
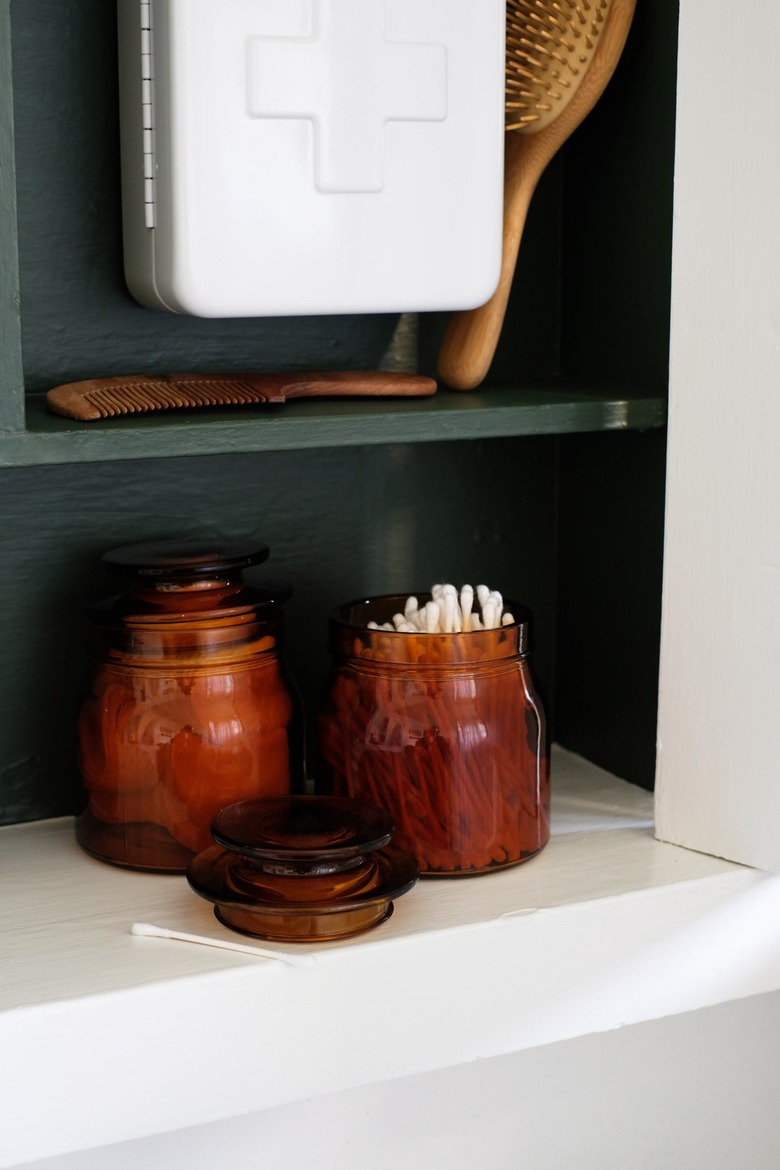
Taking items out of their original packaging and filling jars and containers instead helped make things a little more "pretty" and actually easier to access. "I used my trusty label maker to add clean, clear labels to some of the smaller containers. My favorite piece is the little mini metal medicine box that I mounted on the inside of one of the cubbies. With three kids, there will be cuts and scraped knees, so I filled this spot with band-aids, gauze, tape, and antibiotic ointment ... all the boo-boo stuff," explains McConnel.
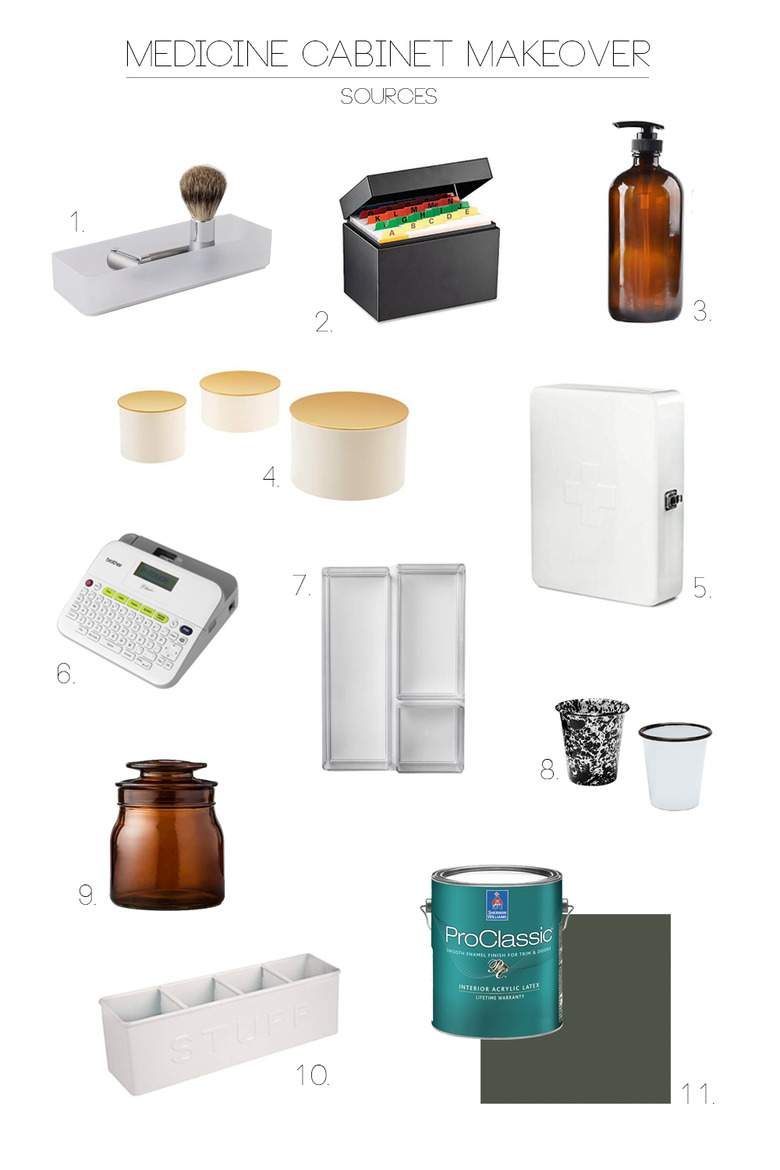
Below are links to all the sources for the items used in this makeover. You don't have to just shop the bathroom aisle at a big box store. McConnel used a few items from the office supply store and even thrift stores.
- Plastic Bathroom Tray
- Metal Index Card Box (McConnel found hers at a thrift store for 50 cents.)
- Refillable Soap Pump
- Metal Canister Set
- Metal Medicine Box
- Label Maker
- Clear Plastic Bathroom Trays
- Enamel Cups
- Amber Glass Canister
- "Stuff" Metal Desk Organizer
- Sherwin Williams ProClassic Paint in the color Forestwood
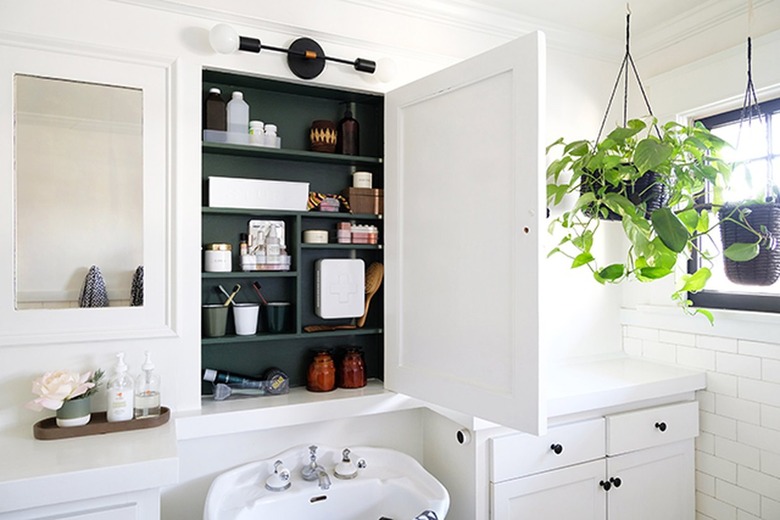
Finally, once McConnel stepped back and looked at this pretty cabinet, she "knew the light fixture above it needed to be replaced as well. I found this fun fixture on Amazon for just $50, and I feel like it instantly modernizes the space."
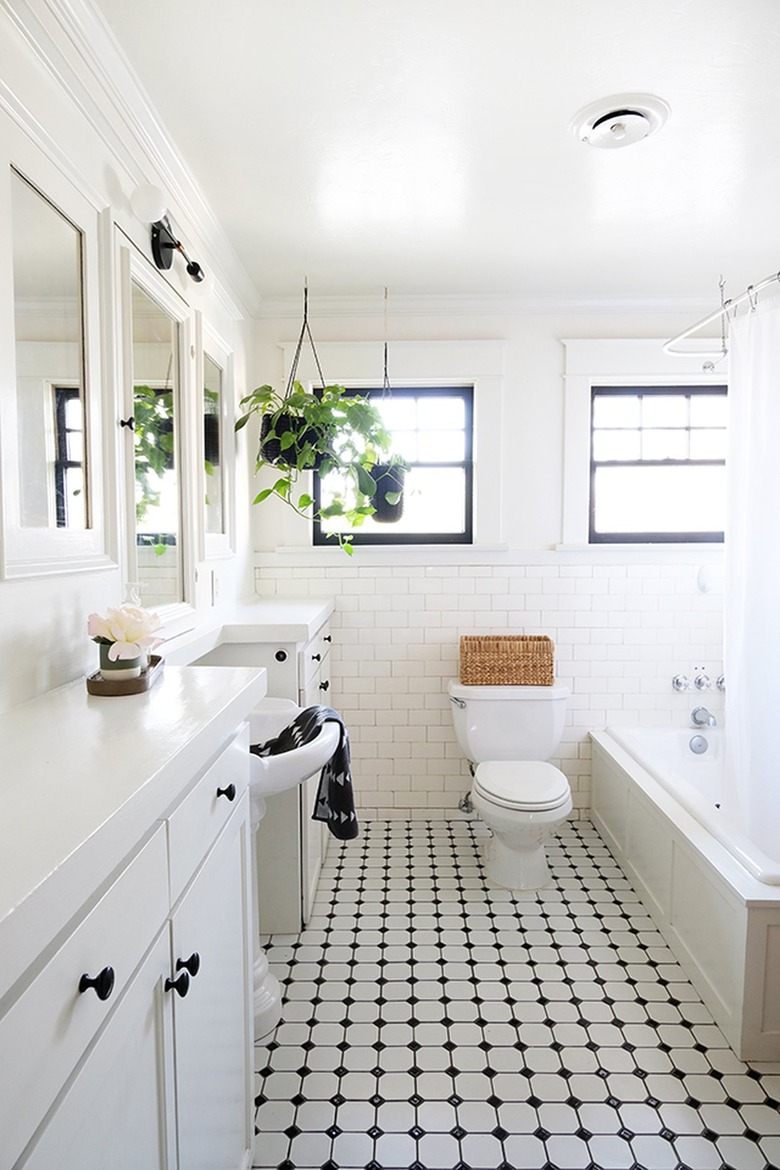
Check out her gorgeous bathroom: Bright, full of character, and we just adore that pop of green. (Also, that floor! ) Jeran has style and creativity for days. Have you seen any of her DIYs on Hunker, such as this kitty hammock? You're welcome in advance.
