How To Repot Orchids
The orchids are a very large family of flowers that include several genera and almost 28,000 identified species. Hundreds of these species are highly prized by indoor gardeners and other enthusiasts for the stunning display that you can enjoy for weeks or even months. Whether you have a single plant or a few grouped together in a large pot, sooner or later you'll need to repot your orchids in order to keep them healthy and encourage better growth. The best time to repot an orchid is when the plant is no longer blooming so you don't need to worry about preserving the flowers. A recommended repotting schedule is listed below; however, if you're not sure how long an orchid has been in its pot, examine the potting medium. If the bark chunks have turned from a light tan to a dark brown and the pieces are breaking down, the potting medium needs to be replaced. And anytime you notice that the roots are starting to grow outside of the pot, your orchid should be potted up into a larger container.
- Repot every year: Dendrobium ssp., Miltonia ssp, Paphiopedilum ssp., and Phalaenopsis ssp.
- Repot every other year: Cattleya ssp., Dendrobium ssp., Oncidium ssp., and Odontoglossum ssp.
- Repot every third year: Vanda ssp. and Cymbidium ssp.
 brizmaker/iStock/GettyImages
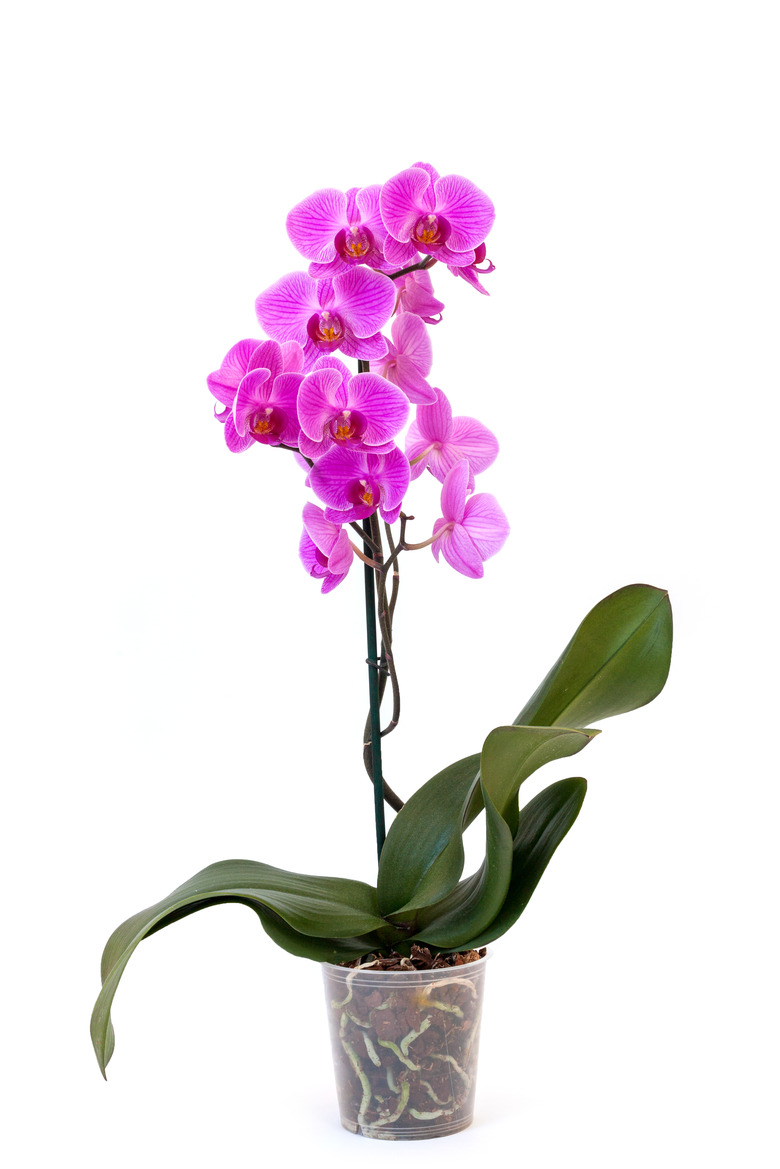
There are many types of orchids; however, for the purpose of repotting or mounting a plant, the most important distinction is whether the orchid is terrestrial or epiphyte. Terrestrial orchids, such as the slipper orchids, are considered woodland plants and grow in soil. Epiphyte orchids, such as the popular _Phalaenopsis _pictured above, absorb their nutrients from surrounding air and humidity, not the soil. In the wild, their roots cling to tropical tree branches or bark.
The orchids we grow indoors as houseplants are usually epiphytes, and they are potted in a firm medium that provides aeration and a foundation for roots to attach. Orchid potting mix is widely available in a premixed blend of fir bark or coconut husk, sphagnum moss, tree fern, and perlite.
Things Needed
-
Pruning shears
-
Pot that is 1/2 to 1 inch larger than the current pot
-
Orchid potting mix
-
Label and pen (optional)
-
Wire rhizome clip (optional)
Before you begin, sanitize your pruning shears. Sanitize them again after trimming each plant to prevent spreading bacteria from one plant to another. To disinfect, use one of the following methods:
- Wipe the shears with isopropyl alcohol.
- Soak the shears for 30 minutes in a bleach solution (1 part bleach + 9 parts water). Rinse with clean water before pruning
1. Remove Orchid from Pot
- Squeeze the sides of a plastic pot to loosen the roots and potting material.
- Standing over a trash bin, use one hand to hold the base of the plant and the other hand to slide off the pot. If you have a ceramic pot, holding the plant upside down and striking sharply on the bottom of the pot usually loosens it so it can slide free.
- Gently rub the root system to remove the old potting material.
- Use shears to remove dead leaves. Feel the roots and prune away any dead ones—they will feel mushy or hollow.
- Rinse the entire root system with clean water to thoroughly remove old potting material.
 Amazon
2. Place Orchid in New Pot
- Hold the orchid by the base of the plant, taking care not to break off any new root shoots. Center the plant in the pot and add potting material with the other hand.
- Tap the side of the pot to help settle the material into the pot. Stabilize the plant by gently pressing down the potting medium. You might need to use a wire rhizome clip to stabilize a plant.
- Note the date on a plant label and slide it into the side of the pot.
 Tracie Henkel
3. Water Frequently
Water your repotted orchid immediately and thoroughly, until water runs out the base of the pot. New bark doesn't retain as much water as old bark, so water your orchid more frequently for two months after repotting.
Mounting Orchids
Mounting Orchids
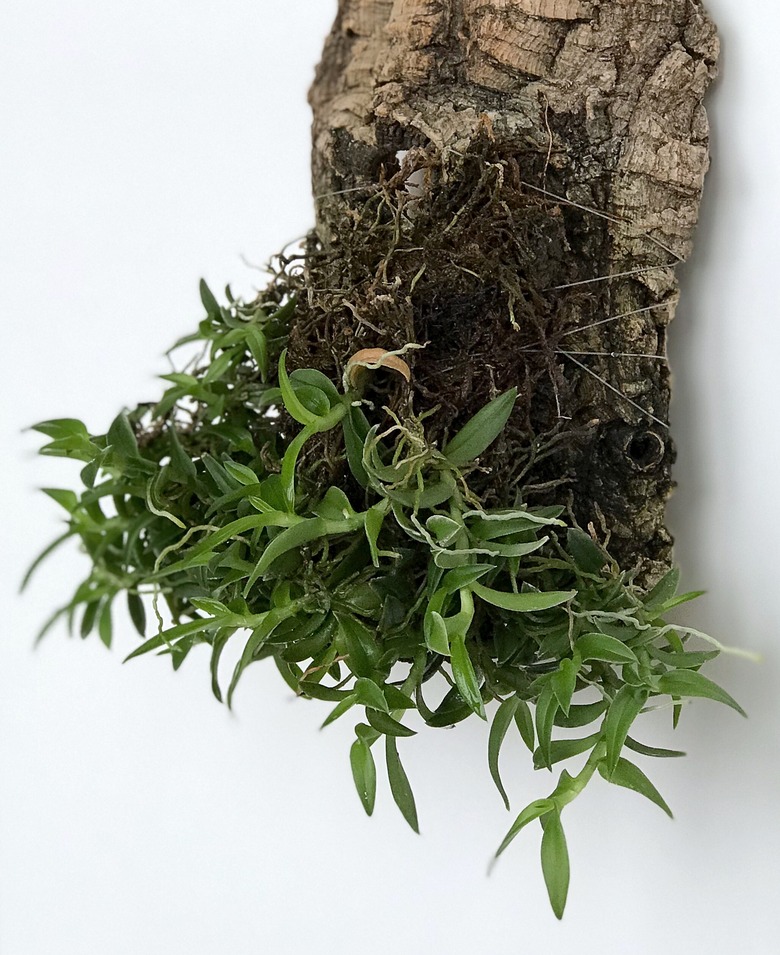
Epiphytes are usually grown in pots; however, they can also grow on cork mounts—a small slab of bark from a cork tree. Be aware that an orchid growing on a cork mount requires the kind of humid environment found in a terrarium, orchidarium, or greenhouse. An exception is the hearty Brassavola nodosa, which can thrive in your home as long as you mist it daily.
 Tracie Henkel
Things Needed
-
Cork mount
-
15-pound fishing line
-
Sphagnum moss (optional)
- To mount an orchid, wrap fishing line around the slab and tie with a double knot to secure the line before mounting the orchid.
- Place the orchid on the slab and wrap the fishing line around the slab and orchid roots about four or five times to secure plant. The plant should be snug against the cork, which will encourage the roots to attach.
- Tie the ends of the fishing line with a double or triple knot on the back side of the slab.
- If your home tends to have low humidity, as is often the case in winter, you can add a small amount of sphagnum moss behind the root ball to retain more moisture.
- Mist the orchid daily.
Whether you grow orchids in a pot or mounted on cork, your home will be transformed by their natural beauty. And they will keep performing beautifully if you periodically move them to larger growing conditions.