How To Make Compost Tea
Compost tea is a nutrient- and bacteria-rich liquid plant booster made from ordinary compost, water and a few other ingredients. Freshly "brewed" tea can be added directly to soil or sprayed onto your plants' foliage. Among other benefits, it helps plants absorb nutrients from the soil, improves soil structure, promotes root growth and helps to prevent disease. Compost tea is organic and is safe for fruit and vegetable crops. It's also gentle enough for seedlings. Best of all, it's easy to make your own compost tea, and it requires just a few inexpensive supplies. Each batch takes one to three days to brew and yields about 2 1/2 gallons of liquid tea, which you apply to your plants immediately.
 Queens Botanical Garden
What Goes Into Compost Tea?
What Goes Into Compost Tea?
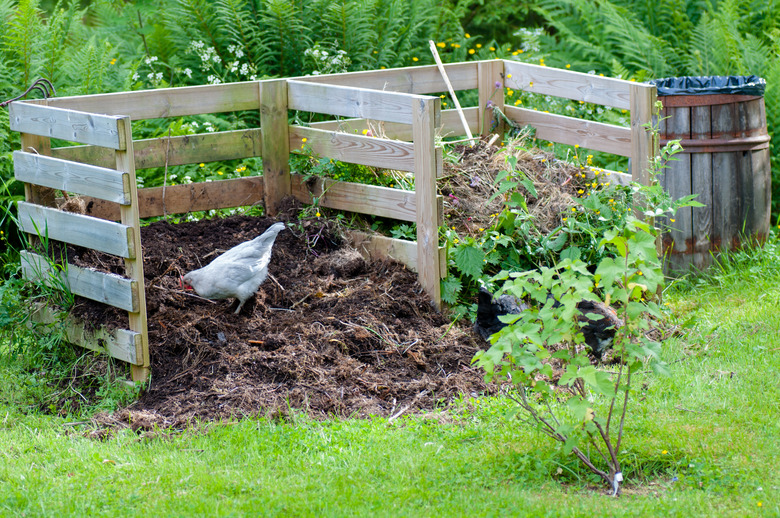
Compost tea is loaded with aerobic bacteria, fungi, nematodes and protozoa—all good mojo for plants. And just as there are untold ways to make compost, almost no two compost tea recipes are exactly alike. Some are more bacteria-rich, some have more fungi; some are brewed for 24 hours, some for 72; some even start with worm castings instead of regular compost. As with most gardening creations, hands-on experimentation is the name of the game.
 Jonas Rönnbro/iStock/GettyImages
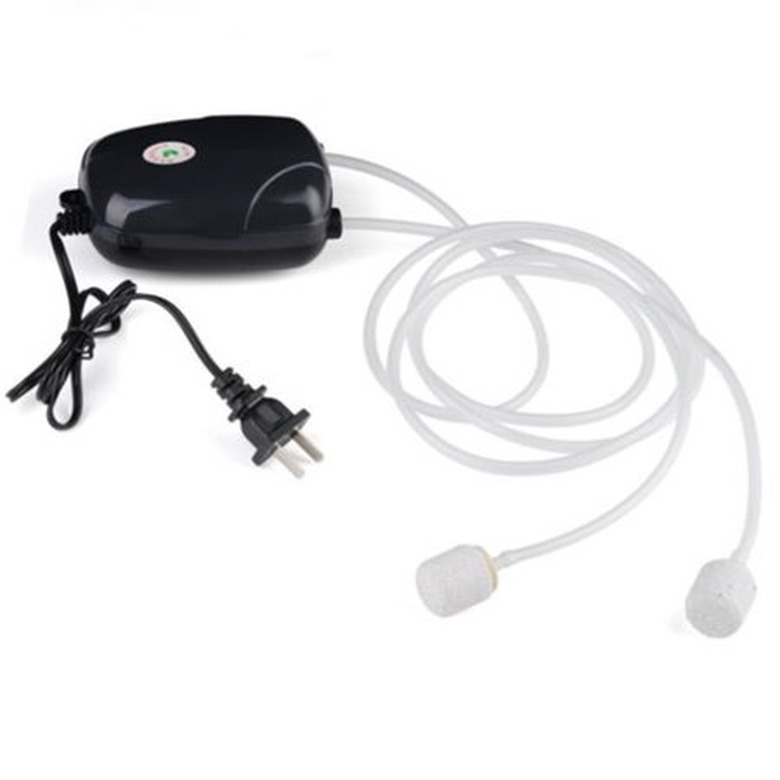
To get started with a basic tea recipe and brew method, you'll need a 5-gallon bucket, an aquarium aerator (air pump) and some tubing and bubblers. The aerator and bubblers are used to provide two essential ingredients: oxygen and agitation. Together, these elements unlock the beneficial microbes from the compost and give life to the bacteria. Another key ingredient is some type of bacteria food—many gardeners like to use molasses. In addition, you have the option of adding micronutrients, such as fish hydrolysate, kelp (seaweed extract) or rock dust, all of which are commonly sold at garden centers. Some gardeners add extra ingredients to the finished tea; others add them to the bubbling brew.
Once you have the basic equipment and have tried a few batches, you can experiment with different compost materials, additives for microbe food, brewing times and other factors to come up with a custom blend of tea tailored to your plants' taste.
Things Needed
-
Two 5-gallon buckets (or one 5-gallon and one 3-gallon)
-
Aquarium aerator
-
Flexible plastic tubing (sold with aerators)
-
T-fitting and/or gang valve (as needed; sold with aerators)
-
Air stones or other bubblers
-
Compost (mature)
-
Unsulfered molasses
-
Stick for stirring
-
Strainer
 Walmart
How to Make Aerated Compost Tea
1. Set Up the Aerator and Bubblers
Use lengths of flexible plastic tubing to attach two or more air stones (or other type of aquarium bubbler) to the aquarium aerator. Keep in mind that the air pump must plug into an electrical outlet. The air stones much reach into the bottom of a 5-gallon bucket.
Tip
Choose an aerator and bubbler combination that is forceful enough to create a rolling boil when the bucket is full of water and compost. The compost tea brews best with fairly vigorous agitation, as opposed to fine bubbles. A small- to medium-size pump with two or three air stones usually works well.
2. Dechlorinate the Water
Most city water supplies contain chorine for public health, but this is bad for compost tea. If you have city water, you should dechlorinate it first. Fill a 3- or 5-gallon bucket with water, place the air stones in the bucket, and bubble the water for about one hour. The chlorine will evaporate out of the water over this period. Alternatively, you can let the water sit for 24 hours without agitation. If you have well water, you can skip this step, since it has not been chlorinated.
3. Brew the Compost Tea
Brewing the tea can take anywhere from 24 to 72 hours, depending on the compost used and the rate of aeration. If the mixture begins to smell bad (not sweet and earthy), it means that anaerobic organisms have taken over, and the batch has gone bad. This can occur when you bubble the tea for too long. Discard a bad mixture (you can pour it on the ground but not near plants) and start over.
- Place the air stones in the bottom of a clean, empty 5-gallon bucket.
- Fill the bucket about halfway with mature compost.
- Add water up to a few inches from the top of the bucket. Ideally, the water should be 55 to 80 degrees F.
- Turn on the aerator to begin agitating and aerating the mixture.
- Add 2 tablespoons (1 ounce) of unsulfered molasses, then stir the entire mixture with a stick. If the air stones float up during stirring, push them back down to the bottom of the bucket.
- Add fish food, kelp or other ingredients, as desired.
- Bubble the tea continuously for 24 to 72 hours, stirring the mixture three or four times per day.
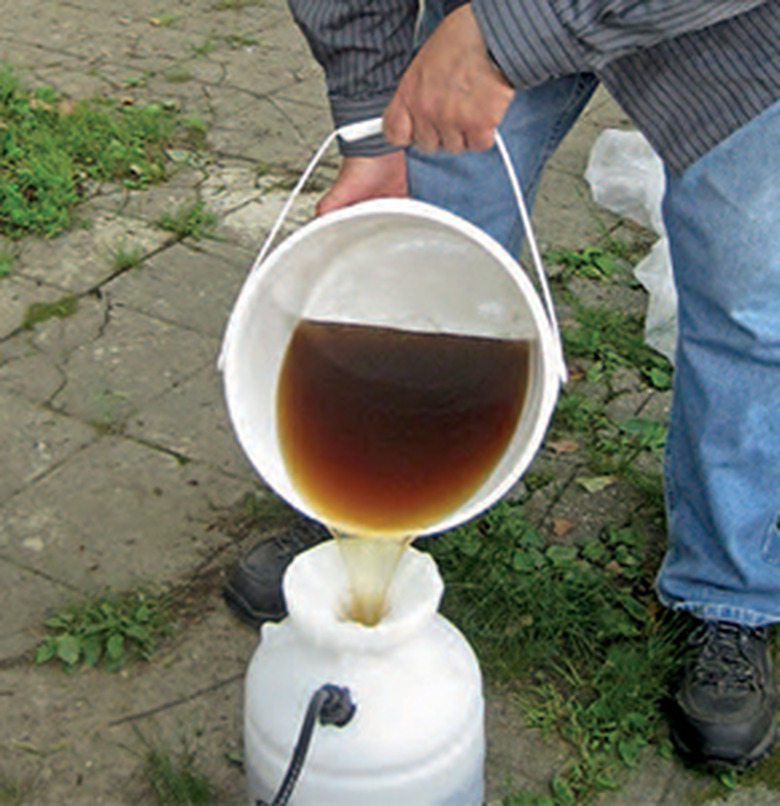
- Turn off the bubbles and let the compost settle in the bucket for 20 or 30 minutes.
- Pour the tea through a strainer or a nylon stocking to strain out the solids, transferring the liquid to the other bucket.
How to Use Compost Tea
How to Use Compost Tea
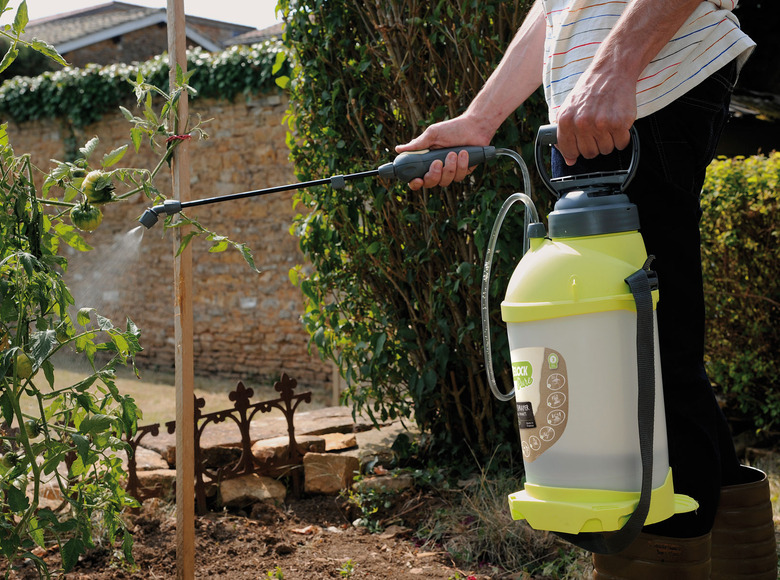
Use all of the compost tea as soon as possible after brewing it. The aerobic bacteria live for only about four hours after the aeration stops. Pour your completed tea into a plastic watering can or plastic pump sprayer. Plastic is best because bacteria can be affected by some metals. If you use a sprayer, make sure the tea is well strained so there is no debris to clog the sprayer nozzle.
 Hozelock
Apply the tea to the soil around your plants, or spray the leaves directly. It is best to apply tea when it is cloudy or in the evening because direct sun can be damaging to some of the bacteria in the tea. It also works well to apply it when the soil is moist after a rain.