How To Frame A Canvas Painting
You've finally finished your masterpiece, and now it's time to display it so people can appreciate your work. That usually calls for a frame. It takes almost as much artistic discernment and creativity to frame a painting as it does to produce one, and there is more than one way to do it.
 Uckfield Framing Company
Not every painting needs a frame. Some—especially abstract paintings—actually look better mounted onto a stretcher and displayed as is. If your painting calls for a border, you can mount the stretcher inside a frame, but some smaller paintings look better if you glue them to a rigid backing and surround them with mat board before framing them. This technique is especially effective with a thin, unobtrusive frame that doesn't add much to the border already created by the mat board.
Choosing the right frame for your painting is probably the most important part of the whole procedure. Among other factors, the choice depends on the subject matter of the painting, the interaction of colors, the medium and the setting in which the painting hangs.
Choosing a Frame for Your Canvas Painting
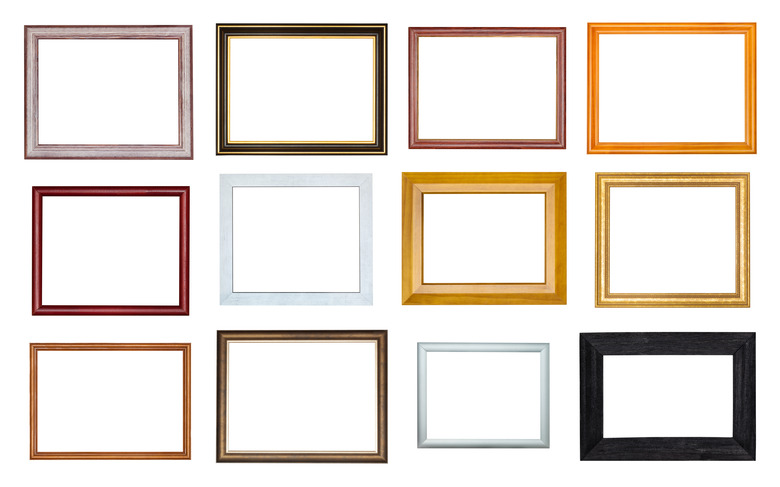
Choosing a Frame for Your Canvas Painting
The two most common media applied to canvas are acrylic and oil. Neither of these robust materials actually need to be covered with protective glass, but you may want to consider glass if the painting is valuable or the air in the room is extra humid or salty. If you can forgo the glass, the options of hanging the painting with or without a frame are both available. On the other hand, glass and a frame is recommended if you decide to mount the painting with a mat border. The glass protects the absorbent mat board from dust, humidity and inquisitive, oil-filled fingers.
Frames can be anywhere from 1/2 inch to several inches wide, they may be monochrome or multi-toned, and they may or may not feature embellishments. You generally choose the frame to blend with and highlight the subject matter of the painting, but you also want the frame to blend with the colors that surround the painting. The final decision may come down to trial and error.
Tip
Fortunately, we live in the age of mobile apps, and when it comes to choosing a frame, there is one for that. In fact, there are several. They all make it easy to preview the painting with a variety of frames before you make your selection.
Mounting a Canvas Painting on a Stretcher

Mounting a Canvas Painting on a Stretcher
If you want to mount a canvas painting on a stretcher, the painting needs to have a 1 1/2-inch border of blank canvas on all sides. This is the part of the canvas that gets wrapped around the stretcher boards and stapled to them.
Stretchers consist typically of 1 x 2-inch (or wider) pine or fir boards that you join at the corners to form a hidden frame. If your painting measures an even number of inches in width and length, you can buy pre-cut stretchers at any art supply store. They come with splined corners that fit together to form sturdy joints. If your painting has irregular dimensions, you can make your own stretcher by cutting the boards to length with a saw, mitering the ends, and joining them with screws, glue, nails or staples. Once you have assembled the stretcher, the procedure for mounting the painting is as follows.
 Canada on Canvas
Things Needed
-
Weights
-
Measuring tape
-
Stretcher
-
Craft paper
-
Stapler and staples
- Lay the painting on a flat surface face up and place weights on the corners to hold it down. Measure the length and width of the actual painted area, being sure to leave a 1 1/2-inch unpainted border for wrapping around the stretcher. You should also measure the diagonal distance between the corners of the painted area.
- Purchase a stretcher and assemble it, or make your own. Make sure the outside dimensions of the finished stretcher are exactly the same as the area you measured and that the diagonal dimensions match those of the painting.
- Lift the painting, place a sheet of craft paper on the flat surface, and replace the painting, this time face down. Place the stretcher on the back and center it over the canvas, ensuring there is an equal 1 1/2-inch border on all sides.
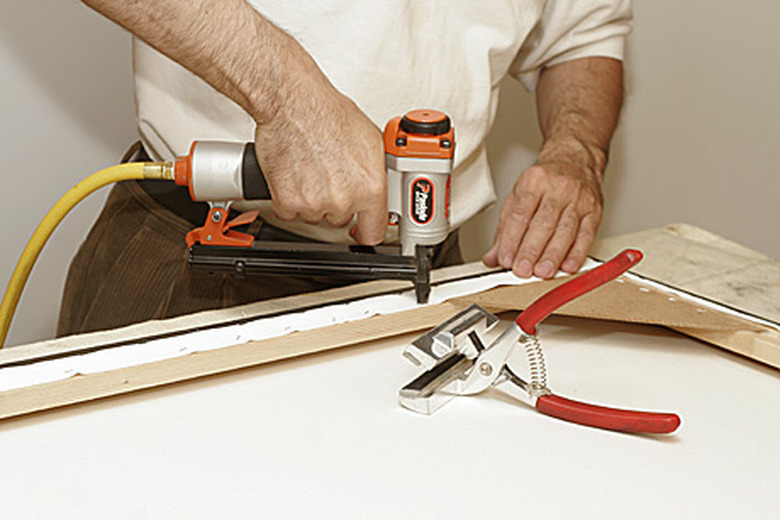
- Fold one edge of the canvas over the stretcher and secure it to the wood with a single staple placed approximately in the center.
- Pull the opposite side tight (but not too tight) and drive another staple in the center to hold it.
- Do the same with the perpendicular edges, then turn the canvas over to make sure the painting is centered. If not, remove staples and make adjustments as needed.
- Finish securing the canvas to the stretcher by driving staples at 1- or 2-inch intervals around the stretcher. Staple to within 3 inches of the corners and leave the corners for last.
- Fold over the excess canvas on each corner and secure it with one or two staples to complete the job.
Tip
The edges of the folded corners should be flush with the frame. You may want to cut diagonal incisions on the corners to make this easier, but keep in mind that this will be more difficult to remount the painting in the future.
Once the painting is mounted on a stretcher, it's easy to fit the stretcher into a frame, as long as the frame has been preselected to fit. The frame should be deep enough to accept the stretcher and a sheet of protective glass, if one is desired. Secure the painting with frame latches before you attach wire or hooks to hang the painting.
Framing a Canvas Painting with Mat Board
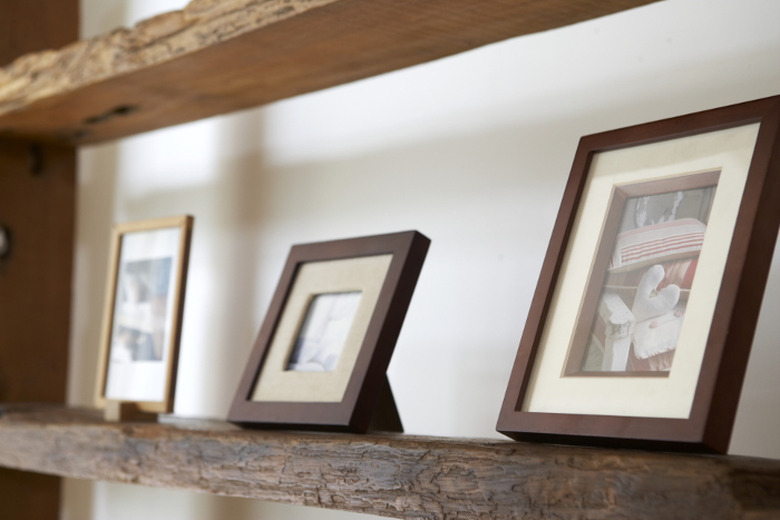
Framing a Canvas Painting with Mat Board
You may choose to mount your smaller canvas painting on backer board and surround it with a mat frame. This technique works well with portraits, landscapes and still studies that have a clear central focus, but it may not be the best strategy with abstract renderings or color studies. Because the backer board and glass are much thinner than a stretcher, you can use a smaller frame.
Things Needed
-
Ruler or tape measure
-
Backer board
-
Pencil
-
Mounting adhesive
-
Small paint brush
-
Craft paper
-
Mat board
-
Craft knife
-
Frame
-
Glass
-
Anti-static dust cloth
-
Picture wire or hooks
- Measure the dimensions of the canvas with a ruler or tape measure and draw the corresponding outline on a sheet of backer board. The backer board should be precut to fit inside the frame you selected. Be sure to center the outline in the center.
- Apply mounting adhesive inside the area you outlined and spread it evenly with a small paint brush. Lay the canvas on the adhesive, cover it with craft paper and place weights to hold it down until the adhesive sets.
- Measure the dimensions of the visible part of the painting and make a corresponding cutout from a sheet of mat board. When you're done, trim the mat board to the same dimensions as the backer board.
- Turn the frame face down and place a sheet of pre-fitted glass inside. Clean the inside of the glass with a static-free dust cloth.
- Set the mat board in next. Its main purpose is to border the painting, but because it separates the painting from the glass, it's also a guard against moisture damage.
- Place the painting in the frame and secure it with the clips that come with the frame.
- Attach picture wire or hooks to hang the frame; your painting is ready to display.