How To Paint Mason Jars
Why purchase pre-painted jars when you can paint them yourself on the cheap? Painting Mason jars yourself allows you to customize the color and the look to match any room's decor. The same techniques can be applied to other jars, as well as glass bottles, vases and other decorative glass objects.
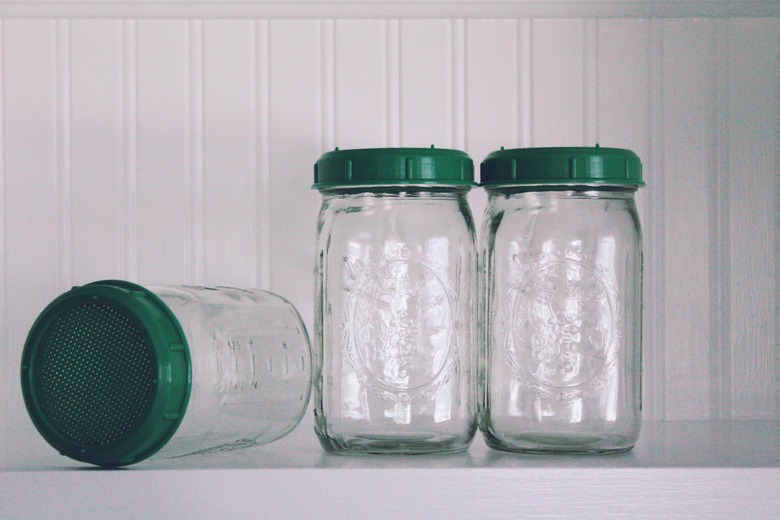
Picking the Ideal Jars
Picking the Ideal Jars
While just about any glass jar will suffice, canning jars offer that classic look that goes with farmhouse chic, shabby chic and eclectic decor made up of vintage pieces and found objects. Brand-new canning jars work well, or you can purchase vintage ones with embossed lettering from antique shops, thrift stores or flea markets. Those with embossed or raised letters add even more style and enhance the vintage look of your finished project pieces. Some vintage soda bottles also have embossed lettering that would look interesting with paint on them, or behind them, on the inside of the bottle.
Seek out clean glass pieces without cracks or chips. Wash out the inside of each item with warm, soapy water, allowing it to dry thoroughly before painting. If the item feels slick or not quite clean, wipe the outside down with white vinegar, as well—or swirl white vinegar inside the piece.
Painting the Outside

Painting the Outside
If you plan to use the Mason jar as a vase, the paint must go on the outside, otherwise, the paint may break down when wet, affecting the plants inside as well.
- Place the jar upside down on a sheet of wax paper; regular paper may stick to the glass once paint drips on it.
- Apply interior latex house paint, acrylic craft paint or chalk paint to the outside of the jar with an inexpensive paintbrush or foam brush. Painting the bottom of the jar is optional.
- Once the first coat dries, apply a second coat for more complete coverage.
- To create a distressed look, rub some of the paint off with fine-grit sandpaper once the paint is dry. Sand embossed areas and random spots along the jar. Wipe the dust off with a lint-free cloth.
Painting the Inside
Painting the Inside
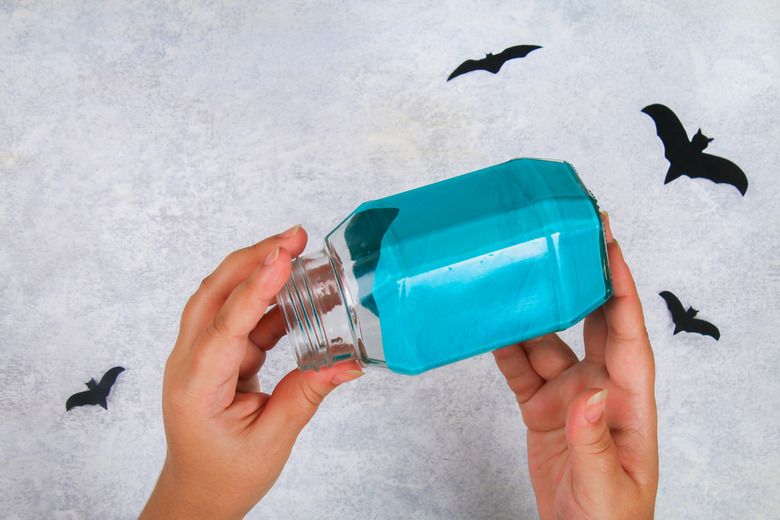
Painting the inside of the jar creates an interesting visual effect that also lasts a bit longer, since the outside of the jar can still be wiped clean, as needed.
- Pour a small amount of latex, acrylic or chalk paint inside the jar, starting with a tablespoon or two to avoid wasting paint.
- Swirl the jar around to coat the entire inside surface.
- Add more paint if necessary; otherwise, pour excess paint out into a plastic container with a lid to save it for touchups.
- Place the jar upside down or on its side atop waxed paper until the paint dries.
The Spray-Paint Method
The Spray-Paint Method
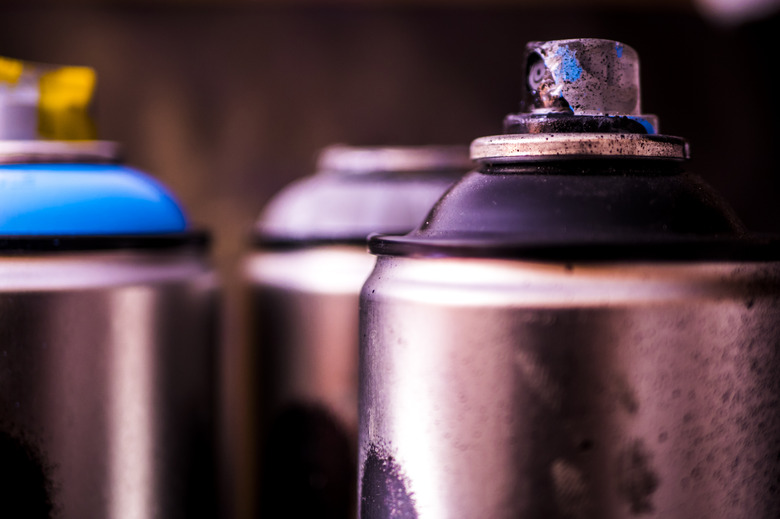
Spray paint offers another simple way to give that glass jar a completely new look. Besides solid colors, spray paints also come in specialty finishes, such as oil-rubbed bronze, hammered metal, glitter and even faux stone, allowing you to create a new and interesting look for your decor project.
- Take the jar outside on a calm, dry day and place it upside down atop newspaper cardboard.
- Shake the can according to manufacturer's recommendations.
- Spray the jar by holding the spray can 6 inches or so from the project, working in horizontal, overlapping lines and starting your spray burst before moving it across the jar.
- Keep your arm moving slowly while spraying to help prevent drips.
- Once the paint dries in 30 minutes or so, apply another coat.
Spray paint can also be used to coat the inside the jar, but it's a bit difficult to achieve an even coat unless you spray more than needed, swirling the paint around inside the vessel.
Funky Finishes with Tape
Funky Finishes with Tape
Create designs on the jar ahead of time with painter's tape to add even more style to your project. Apply strips of tape to create stripes, chevrons or random angles, then spray or brush paint onto the jar. Once the paint dries, peel the tape away to reveal your masterpiece.
Peel-and-stick vinyl decals, letters or stencils can also be used to create designs before painting. Smooth the stick-on vinyl piece onto the glass to remove air bubbles. If you are using a stencil that doesn't stick on its own, spray its back side with a temporary spray adhesive before pressing it in place. Brush or spray paint the glass over the decals, then peel them away once the paint is dry to the touch.
Painting with Glass Markers
Painting with Glass Markers
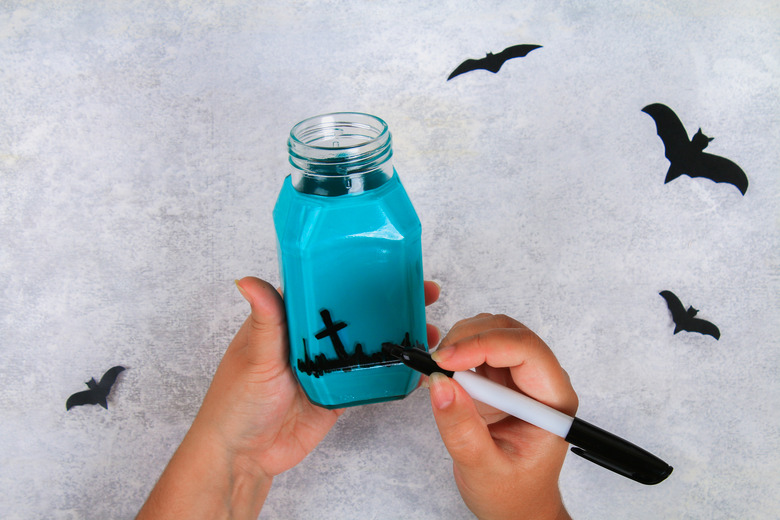
Create designs on a clear jar with special markers or pens specifically designed for glass. Paint markers, available at craft stores, come in a variety of paint shades, including metallics.
Shake the marker for 10 seconds or so, then press its tip down on scrap paper to activate the paint. Draw directly on the glass in the desired area. To make it easier to create a specific design, draw it first on paper, then tape the paper inside the clear jar in the desired location. Trace the design on the outside of the glass with the paint marker. Allow the designs to air dry for 8 hours.