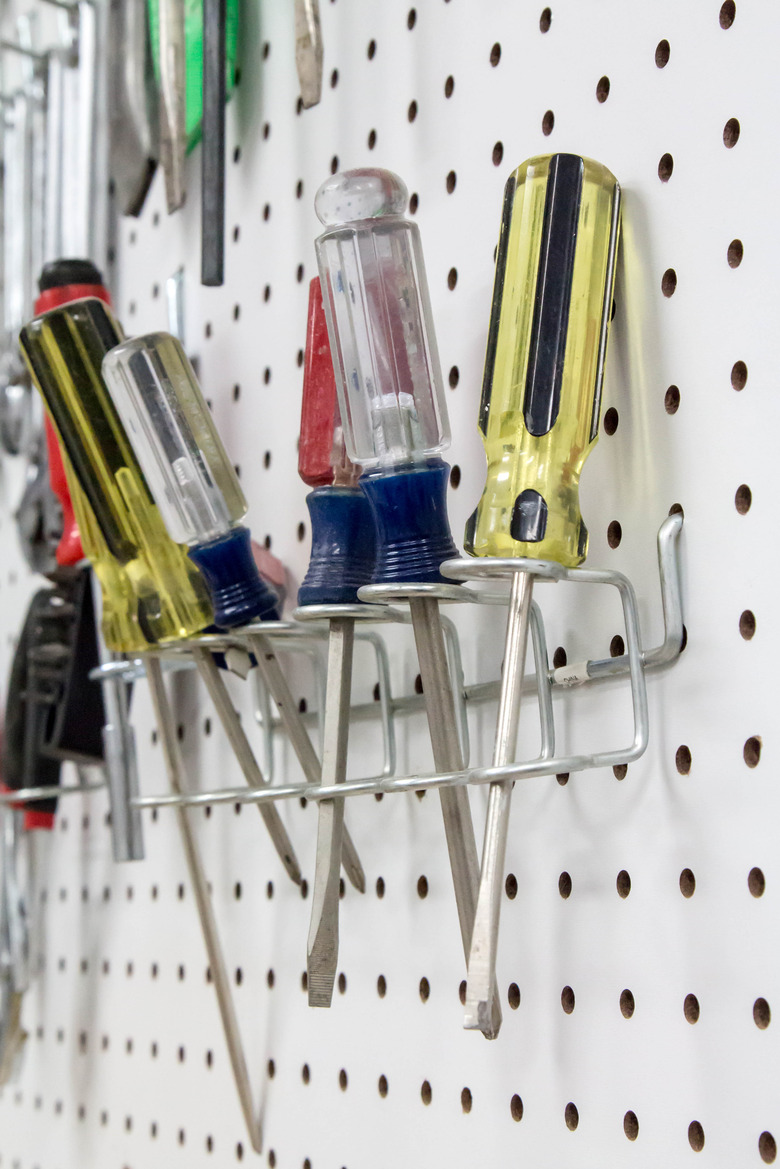
How To Hang Pegboard
Pegboard goes up pretty easily and can be installed over drywall or even bare studs (such as in an unfinished garage). The trick to installing it is to create a 1/2-inch or larger gap between the wall and the back of the pegboard. This gap allows you to insert all the hooks and other attachments for hanging items from the board. There are two methods for creating the gap. The traditional technique is to fasten 1 x 2 wood boards, or furring strips, to the wall studs, then mount the pegboard to the strips. The other method is a bit simpler: Mounting the pegboard directly to the wall with spacers to create the necessary gap.
 KaraGrubis/iStock/GettyImages
If you're installing pegboard over bare wall studs, you can mount it directly to the studs—the spaces between the studs will provide room for the hangers—or use the mounting technique that involves spacers, to create a gap in front of the studs.
Choosing Pegboard
Choosing Pegboard
Pegboard is a sheet good made with compressed paper or wood fibers. It has a grid of uniform, 3/16-inch holes spaced 1 inch apart. The sheets come in 2-by-2-foot, 2-by-4-foot, 4-by-4-foot and 4-by-8-foot sizes and in 1/8-, 3/16- and 1/4-inch thicknesses. The stiffest and most durable pegboard is 1/4-inch-thick tempered pegboard, which has a smooth, hardened face, much like hardboard.
Standard pegboard is brown and unfinished, but you can also find boards in white and some other colors. If you have unfinished pegboard that you will want to clean (for example, if it's going onto a kitchen backsplash), seal it on both sides with semi-gloss or gloss paint or polyurethane, including inside the holes. Without a sealer, pegboard is hard to clean, and when it gets wet, it tends to swell up and fall apart.
Things Needed
-
Stud finder
-
Pencil
-
Tape measure
-
Level
-
1 x 2 lumber
-
2 1/2-inch drywall or wood screws
-
Drill-driver with screwdriver bit
-
Jigsaw or circular saw
-
Painting or finishing supplies (as needed)
-
2-inch washer head wood screws
-
Drywall spacer kit or drywall anchors
-
Drill bit
-
Hammer
 Wallpeg Store
How to Hang Pegboard With Furring Strips
1. Mark the Wall Studs
Use a stud finder to locate and mark both side edges of the wall studs in the area you will cover with pegboard.
2. Mark the Pegboard Edges
Measure up from the floor and mark where the top and bottom edges of the pegboard will be. Measure horizontally, and mark the pegboard's side edges; the sides should be aligned with wall studs or no more than a few inches beyond the studs. Use a level to draw the outline of the pegboard, running the lines through the marks.
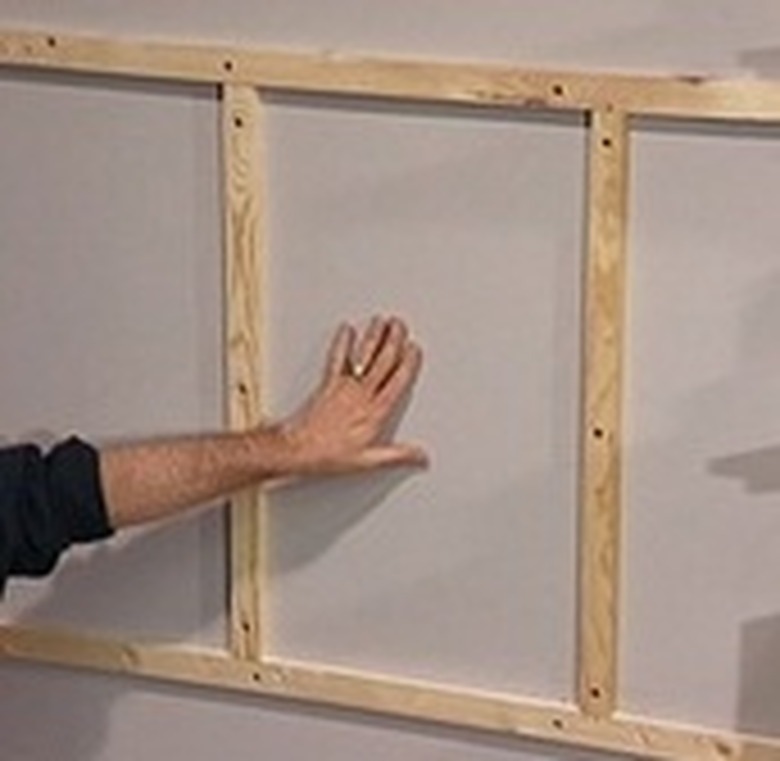
3. Install the Furring Strips
Cut pieces of 1 x 2 lumber to fit between the top and bottom lines of the pegboard outline, including one piece for each stud, using a jigsaw or circular saw. Position each strip over a wall stud so the strip's ends are on the top and bottom lines, and fasten the strip to the stud with 2 1/2-inch drywall screws or wood screws, using a drill-driver. If you find that the furring strips split when you drive the screws, drill pilot holes before driving the screws.
4. Cut the Pegboard
Cut the pegboard to match the dimensions of the outline on the wall. If you need more than one piece of pegboard, cut them so the seams between pieces will fall over the center of a furring strip. Paint or otherwise finish the pegboard, if desired.
5. Hang the Pegboard
Position the pegboard so it is aligned on all four sides with the wall outline. Secure it to the furring strips (and studs) with 2-inch washer-head screws spaced about 16 inches apart. It's okay to screw through the pegboard holes, if desired.
How to Hang Pegboard With Spacers
How to Hang Pegboard With Spacers
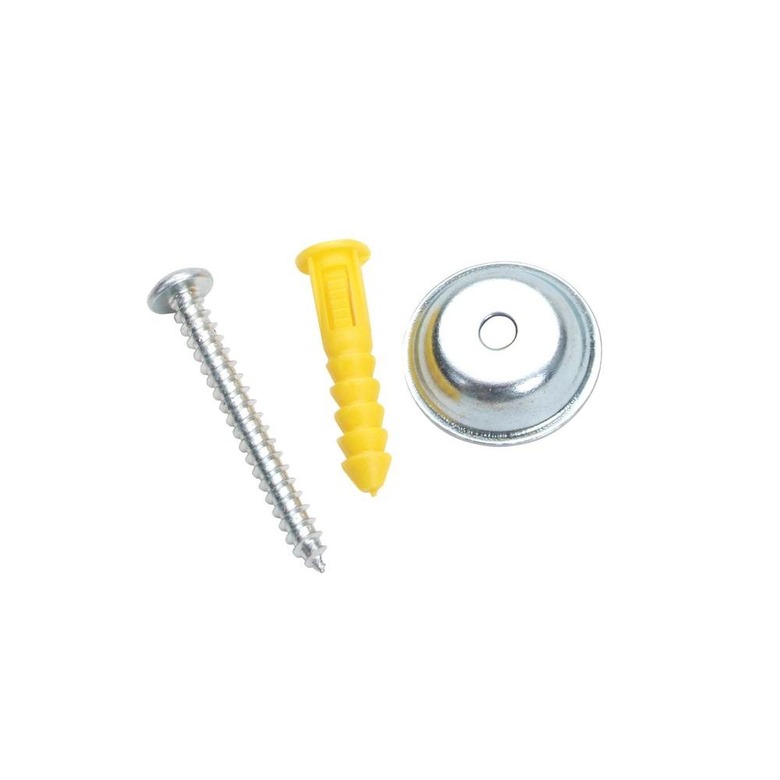
Pegboard spacers come in a few different types. Some are little metal domes; others are plastic cylinders. You can also make your own spacers with scrap lumber or plywood, or even stacks of metal washers.
 DuraHook/Home Depot
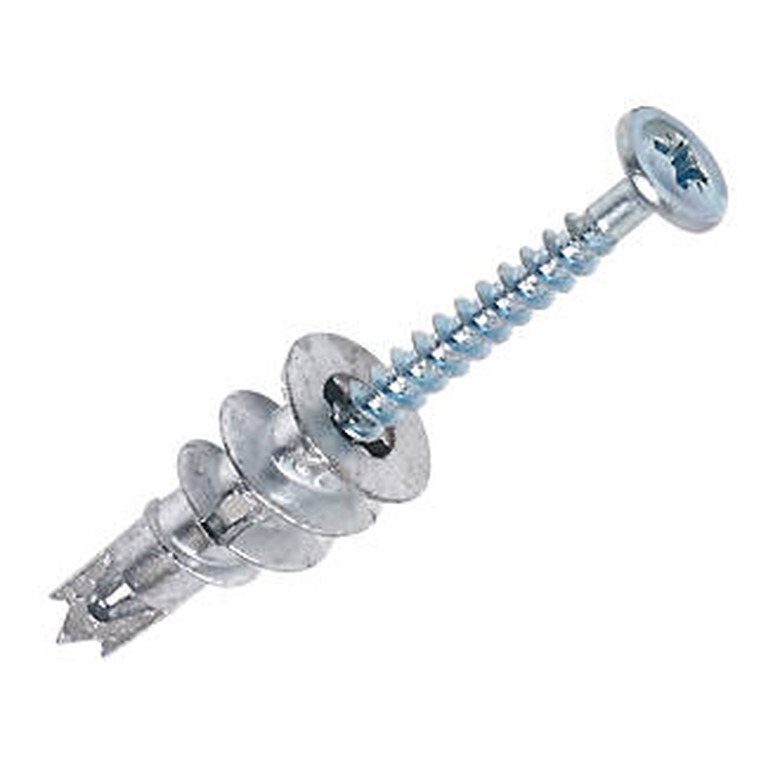
You install the spacers by running a long screw through the pegboard and spacer and into the wall. The screws must go into hollow-wall anchors or into wall studs. Store-bought spacers come as kits that include expansion anchors and screws with washers. For a better connection, use screw-in drywall anchors instead.
1. Mark the Anchor Points
Cut the pegboard to size, as needed, using a jigsaw or circular saw. Hold the pegboard against the wall in the desired location, using a level to make sure it is level. Mark through the pegboard holes every 16 inches along all four edges of the pegboard, tracing inside the holes with a pencil. Also make a small mark on the pegboard next to each hole that you traced. If the pegboard is more than about 24 inches wide, mark a center column of holes—or multiple columns, as needed—so the board is supported every 16 to 24 inches.
Alternatively, you can mark the studs in the installation area with a stud finder, or use a combination of screws going into studs and anchors.
 Fischer/ScrewFix
2. Install the Anchors
Drill a hole at each mark (where there is no stud) on the wall, using the manufacturer's recommended size of drill bit, then use a hammer to tap an anchor into each hole until it is flush with the wall. Alternatively, drive a screw-in drywall anchor at each mark, using a drill-driver and screwdriver bit (screw-in anchors do not need pilot holes).
3. Hang the Pegboard
It's helpful to have a second person for this step, but this is not essential. Insert a screw with a washer into each marked hole on the pegboard, then fit a spacer onto each screw, on the back side of the pegboard. Position the pegboard against the wall and drive each screw into its corresponding anchor or into a wall stud. If you're not using a spacer kit, use 2-inch washer head wood screws.
Tip
You can make your own spacers with 3/4-inch-thick scrap lumber or plywood. Draw a grid of 1-inch squares onto the wood, mark the center of each square, then drill a 3/16-inch hole at each center point. Cut out the squares with a jigsaw.
You can also make spacers with a little stack of metal washers placed behind each screw. Determine how large of a gap you need to get your pegboard hangers in and out, and make the stacks to this height or a bit taller.