How To Epoxy A Garage Floor
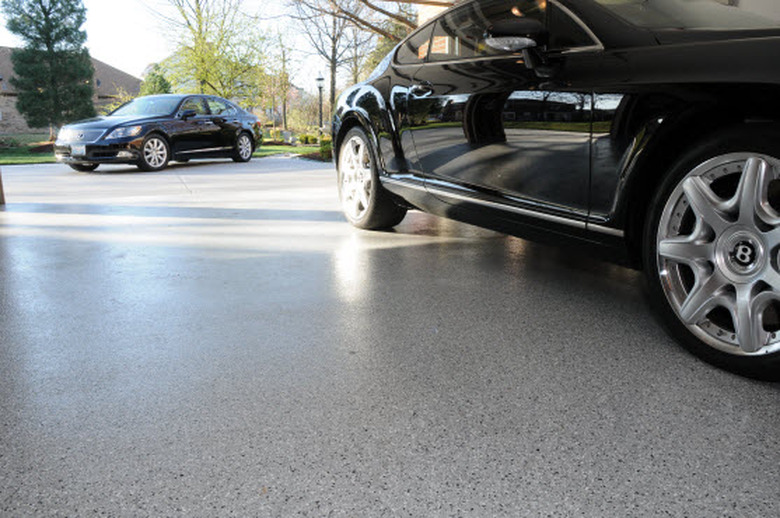
Concrete slabs are ideal for garage floors, being hard, flat, smooth and durable. However, they're anything but attractive, especially after they've been seasoned with years of oil stains, tire marks, dirt and other blemishes. Epoxy floor covering offers an easy way to make your concrete garage slab even more ideal, since it not only covers all those old stains and discoloration, but it also stops the future absorption of oils, grease, dirt, gas and chemicals, so the floor looks better longer.
 Armorpoxy
Epoxy floor covering is available in user-friendly formulas sold at home centers and paint suppliers. It goes on just like paint, with standard brushes and rollers. And, as with paint, the most important part of the job is the surface prep. The concrete must be clean and free of grease and oil spots. It also must be bare concrete: If the slab has ever been sealed, there's a good chance the epoxy coating won't stick to the conrete as it should.
Epoxy floor covering usually comes in kits that include the epoxy liquids, a bag of acid-etch crystals (for mixing with water), and color chips, which you can sprinkle onto the wet epoxy after it is applied, if desired (adding chips is optional).
Things Needed
-
Painting tools
-
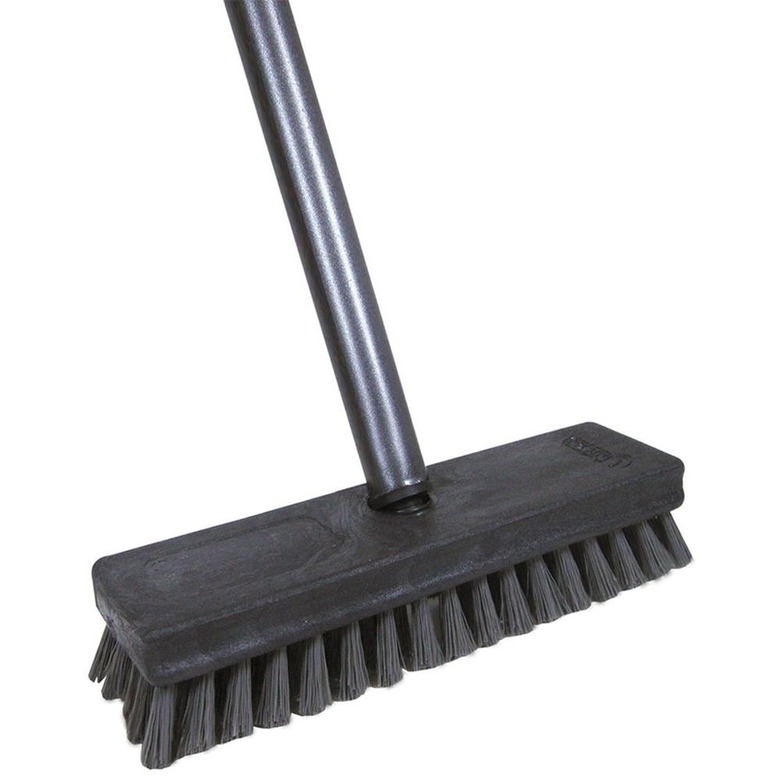
Stiff-bristle brush with all-plastic or wood construction
-
Concrete degreaser
-
Garden hose with spray nozzle
-
Foam squeegee
-
All-plastic watering can or bucket
-
Wet-dry shop vacuum (optional)
-
Protective clothing
-
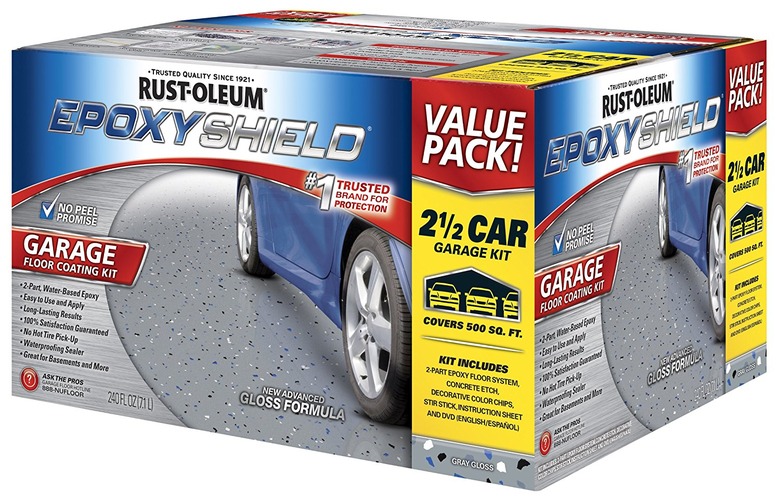
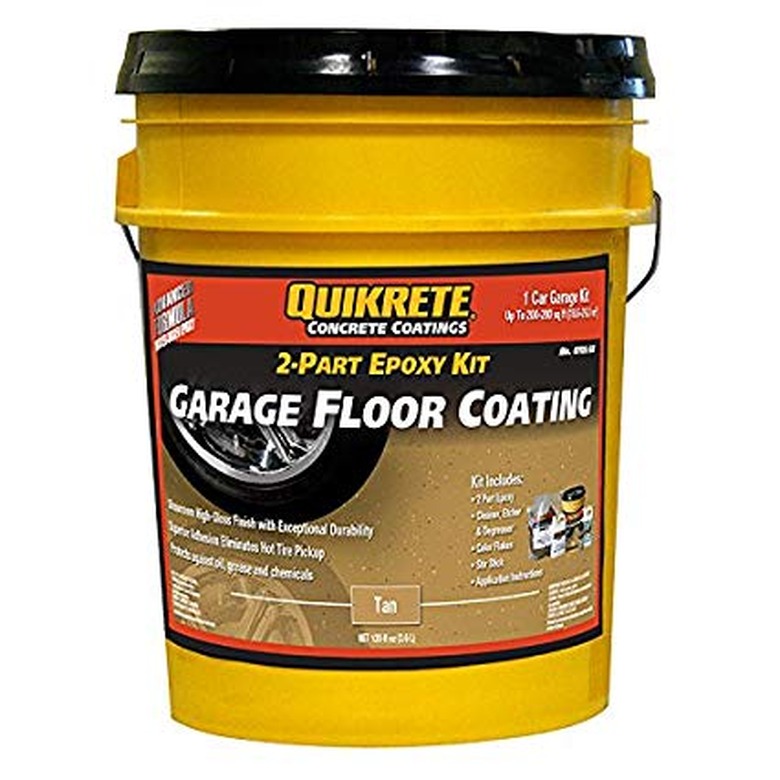
Expoxy coating kit
 Quickie/Home Depot
How Epoxy Floor Covering Differs from Paint
How Epoxy Floor Covering Differs from Paint
Epoxy floor covering looks and acts a lot like paint and might even be called paint, but it is not paint. Paint dries through evaporation of its solvent, which is usually water. You open the can, stir it up for color consistency, and apply it to your surface; they drying process occurs as the water (or other solvent) evaporates.
Epoxy coatings come in two parts that you must mix before application. One part is an epoxy resin; this is the base. The other part—the activator—is a polyamine hardener. When you mix them together, it initiates a chemical reaction of cross-linking that binds the chemicals into a hard membrane that resists oils, gasoline, salt and many chemicals. Once the two parts of epoxy are mixed, the hardening process begins, so you have to use all of the mixture. You can't save any extra for later use, as you can with paint.
 Rust-Oleum/Home Depot
1. Testing the Concrete for Sealer
The first step in applying an epoxy floor covering is making sure the concrete has not been sealed. Simply spray the garage floor with water from a hose, and watch what the water does. If it soaks into the concrete, you're good to go. But if the water beads up on the surface and does not readily soak into the concrete's pores, it most likely has been sealed, so you should not cover it with epoxy. Note that if there are oil stains on the floor, water may bead up in these areas, but this doesn't mean the concrete is sealed. You will, however, need to clean up oil stains before coating the floor.
2. Cleaning the Floor
The next step in the process is cleaning the concrete with a concrete degreaser.
- Spray the entire floor with water, and look for areas where
the water beads up or gets that rainbow effect, indicating oil or gas stains. - Pour
the degreaser onto these areas and scrub them vigorously with a stiff brush. Be sure to use a biodegradable cleaner that is safe for plants and storm-water drainage. - Rinse
the floor thoroughly, using a hose with a spray nozzle, and spraying from the
back toward the front of the garage. - Test the spots with water to
confirm the oil deposits are gone. - Repeat the cleaning process, if necessary.
 Quikrete/Amazon
3. Etching the Floor
Etching the floor with an acid-water solution gives the concrete "tooth" to improve the grip of the epoxy, much like sanding a smooth surface helps paint stick to it. Follow the directions that come with the acid-etch crystals or liquid. Acid crystals used in epoxy floor covering kits usually contain relatively safe citric acid, not caustic muriatic acid. You mix the crystals with water in an all-plastic watering can or bucket (don't use metal, which reacts with the acid). A watering can makes it easy to sprinkle the solution in small work areas.
- Protect yourself by donning rubber boots, long pant and sleeves,
rubber gloves, and goggles or safety glasses. - Mix the acid solution as directed
by the manufacturer. Warning: Always add water to the water can or bucket
first, then add the acid. Do not pour water into acid, as this creates a dangerous
chemical reaction. - Dampen the floor with clean water, and use a squeegee to
remove any puddles. - Apply the acid-water solution in a 10-by-10-foot area, then
scrub the floor vigorously with a stiff brush made from plastic or wooden parts (again, no metal, which can react wtih the acid). - Rinse the area
with clean water, and squeegee away puddles. Repeat the process to etch the
rest of the floor in small sections.
It is very important to rinse the entire floor thoroughly, using the squeegee to remove grit and excess water. It's also a good idea to vacuum the floor with a wet-dry shop vac to remove water and grit. Repeat rinsing and squeegeeing or vacuuming until the floor is clean and grit-free. Let the floor dry completely.
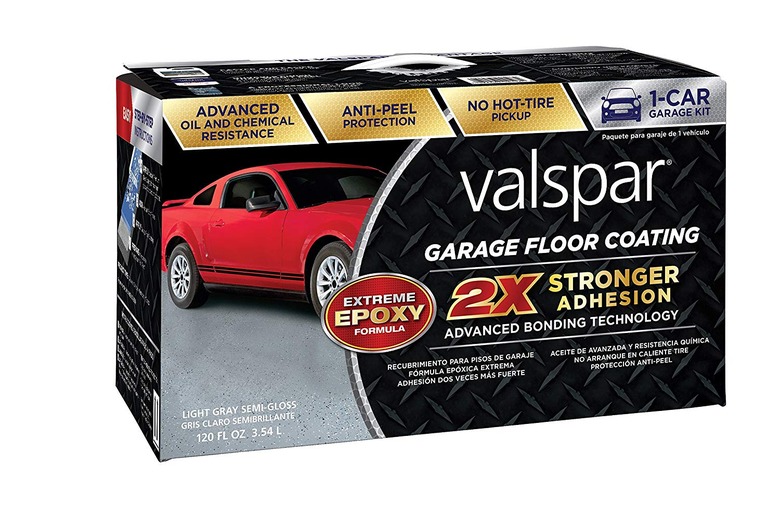 Valspar/Amazon
4. Apply Epoxy
With the conrete floor thoroughly clean and dry, it's time to apply the epoxy.
- Open the can of epoxy base (resin) and activator (hardener). Pour the entire contents of the activator into the can of base, and stir for three minutes. Place the mixed can out of the sun and let it sit for the recommended amount of time; this may be up to 30 minutes, depending on the outdoor temperature and humidity level.
- Coat the edges of the garage floor and any adjacent curb
surfaces with epoxy, using a nylon-bristle paintbrush, just as you would "cut in" along the edge of
a wall when painting. - Begin covering the floor with a paint roller, working in
4-by-4-foot sections. - After each section is rolled, sprinkle the color chips onto
the wet paint, if desired. - Immediately roll the next 4-foot section before the
first section dries (maintain a "wet edge" for smooth results), then add color
chips, as before. - Repeat the same process to complete the entire floor.
- Let the coating
cure for one day before walking on it, two days before resting heavy items on
it, and three days before driving on it.
The epoxy coatings in DIY kits usually are water-based and clean up with water. Just be sure to clean your tools before the epoxy cures. You can remove hardened pieces with lacquer thinner. If you spill or drip any coating in unwanted areas during painting, clean up the epoxy right away with water, as it is difficult to remove once the epoxy has cured.