Ceramic Tile Backer Board Installation
Ceramic tile backer board, also called cement board or tile backer, is a rigid panel material that installs over wood framing, much like drywall. But that's pretty much where the similarity ends. Backer board is everything that drywall is not. It's made primarily with cement and sand, and it has no paper that can deteriorate or promote mold growth if it gets wet. For this reason, tile backer board is recommended as a tile foundation, or substrate, on all floors and on walls in any areas where water is used, especially in showers and bath areas. Installing backer board is a lot like installing drywall but with a special type of screw, joint tape and "mud" (joint compound), and sometimes with a moisture barrier behind or on top of the backer board.
 James Hardie
What Backer Board Is and Is Not
What Backer Board Is and Is Not
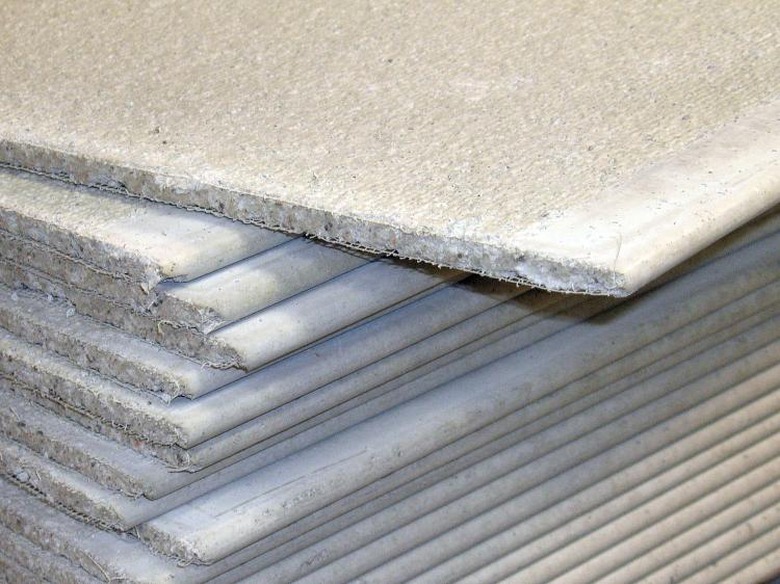
Tile backer comes in a couple of basic types. Classic cementboard is relatively heavy and roughly textured on one side. It is made with Portland cement and sand reinforced with a layer of fiberglass mesh set into the panel. When you cut it, the edges crumble somewhat. It comes in 3 x 5-foot panels in 1/2-inch and 5/8-inch thicknesses. A thinner, lighter-weight version, sometimes called fiber-cement board, comes in 1/4- and 1/2-inch panels (both 3 x 5-foot and 4 x 8-foot) and has a harder, smoother surface. Both types install with similar techniques.
 Capitol Building Supply
Cementboard is better than drywall as a tile substrate because cementboard won't break down if water gets through the tile and onto the board. Drywall, even water-resistant "greenboard" and newer versions of water-resistant drywall, are damaged by water, which can lead to mold growth, panel deterioration and potential failure of the tile installation.
But while cementitious backer board isn't damaged by water, don't believe claims that it is "waterproof," in the sense of being impervious to water. On the contrary, water seeps right through it, just as water passes slowly through concrete, mortar and other cement-based building materials. For this reason, backer board manufacturers often recommend installing a plastic or rubber moisture barrier behind backer board on shower walls, to protect the wood framing from any water or water vapor that gets through the tile and backer board.
However, there is plenty of debate over the use of moisture barriers. Some backer board manufacturers say nothing about barriers, while others recommend installing a barrier, such as 4-mil plastic sheeting, between the backer board and the wood framing. Opponents of this method maintain that the plastic barrier is problematic because it is penetrated with staples to secure it as well as the backer board screws, so it is not a complete barrier. As an alternative, many tile installers prefer the use of a waterproofing membrane over the top of the backer board and directly under the tile. This layer is not penetrated by fasteners and effectively keeps water from reaching the backer board.
 James Hardie
Backer Board Installation Materials
Backer Board Installation Materials
Installing backer board involves three main steps: cutting, fastening, and taping and mudding. Installations for floor tile (and other horizontal surfaces, like countertops) require an extra step of applying thin-set tile adhesive to the wood subfloor before laying down the cement board sheets. The same installation materials and techniques are used for most types of standard tile, including ceramic, porcelain and stone.
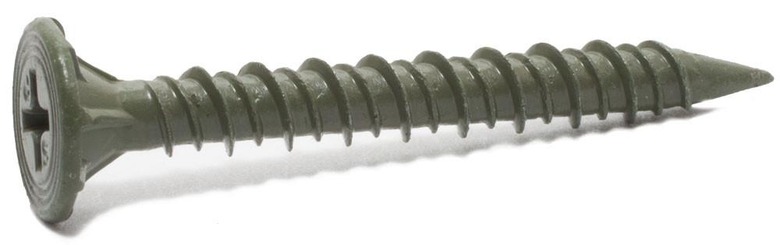
Cement board can be cut with a utility knife or a carbide-tipped cement board scoring tool. You simply score the panel with the knife and a straightedge, then snap it along the scored line. The panels must be fastened with cement board screws, which are corrosion-resistant and have special ridges under the screw heads that help the screws drive flush to the board without damaging the panel.
 James Hardie
Taping and mudding the joints between the cement board panels is much like the initial finishing process for drywall. You apply a layer of "mud" over the joint, then add tape and smooth out the mud. However, in this case, the tape must be alkali-resistant fiberglass cement board tape (do not use standard mesh drywall tape). The mud is thin-set tile adhesive, the same material used under cement board for floor installations.
Things Needed
-
Cement board panels
-
Thin-set adhesive
-
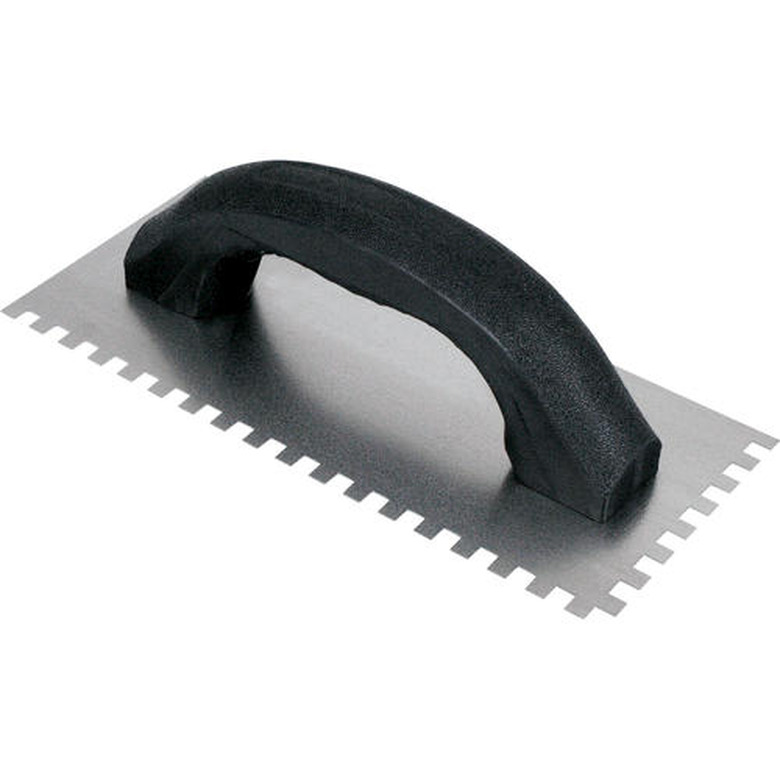
Square-notch trowel (1/4-inch notches)
-
Straightedge
-
Cement board scoring tool
-
Cement board screws
-
Screw gun
-
Cement board joint tape
-
6-inch drywall knife
-
Silicone caulk
-
Caulk gun
Installing Tile Backer Board on Floors
Installing Tile Backer Board on Floors
- Make sure the wood subfloor is properly fastened and has no soft spots or loose panels. Mix thin-set tile adhesive as directed.
- Starting in one corner, apply a layer of thin-set adhesive to the floor in a 3 x 5-foot section (based on the panel size), using a 1/4-inch square-notched trowel. Lay the first sheet of cement board onto the thin-set, using a slight sliding motion to ensure it lies flat. Position the panel 1/8 inch from all walls.
- Fasten the first panel to the subfloor with cement board screws, driving a screw every 8 inches over the entire panel. Keep the screws 3/8 to 3/4 inch from the panel edges and 2 inches from the corners to prevent breakage.
- Install the remaining panels in the first row, using the same techniques, and leaving a 1/8-inch gap between all panel edges.
- Begin the second row with a half-width panel so the panel joints are staggered between rows; from a bird's-eye view, the panels should have the 1-over-2 pattern of a brick wall.
- Begin the third row with a full-width panel, alternating the pattern with each successive row.
- When all of the panels are installed, apply a thin layer of thin-set over each joint, using a 6-inch drywall knife or smooth (not notched) trowel.
- Embed cement board joint tape into the wet mortar, then smooth over the tape with the knife. Let the thin-set cure as directed.
- Fill the gaps between the cementboard and the walls with silicone caulk, and let it dry.
 FMW Fasteners
Installing Tile Backer Board on Walls
Installing Tile Backer Board on Walls
You can install backer board on walls with the panels run vertically or horizontally. For convenience, choose the method that produces the fewest cuts and minimizes joints between panels.
- Start at the bottom of the wall, leaving a 1/4-inch gap along the floor. Fasten the panels to the wall framing with cement board screws driven every 8 inches.
- As with the floor installation, gap the panels by 1/8 inch, and keep the screws 3/8 to 3/4 inch from panel edges and 2 inches from the corners. Also stagger the panel joints between rows.
- Mud and tape the panel joints as with the floor installation.
- Fill the gap along the floor with silicone caulk.