How To Paint Ceramic Tile
If the tile on your kitchen backsplash is older than you, it may be time to revamp it. Instead of tearing out the tile and replacing it with something else, consider refreshing it with several coats of paint. Yes, ceramic tile can be painted, though there are limits to where this can be done. Painted ceramic tile rarely holds up well in moist areas, so tile surfaces in showers, bathroom floors or countertops aren't good candidates for paint. The paint can bubble and peel away prematurely in areas of excessive moisture, sometimes in a matter of weeks.
Prepping and Painting Tile Surfaces
Prepping and Painting Tile Surfaces
Painting tile surfaces requires a little more prep work than a typical wall-painting project. The tile needs to be cleaned to remove grease, film and general dirt. The glaze on some ceramic tiles also makes the tile less receptive to primer and paint, so it needs to be sanded in order for the primer to adhere.
Things Needed
-
Abrasive tile cleaner
-
Scrub sponge
-
Regular sponge
-
Water
-
200-grit sandpaper
-
Dust mask
-
Orbital sander (optional)
-
Dropcloth
-
Painter's tape
-
Bonding primer
-
Paint tray
-
Paintbrush or roller
-
Latex paint
 tacojim/E+/GettyImages
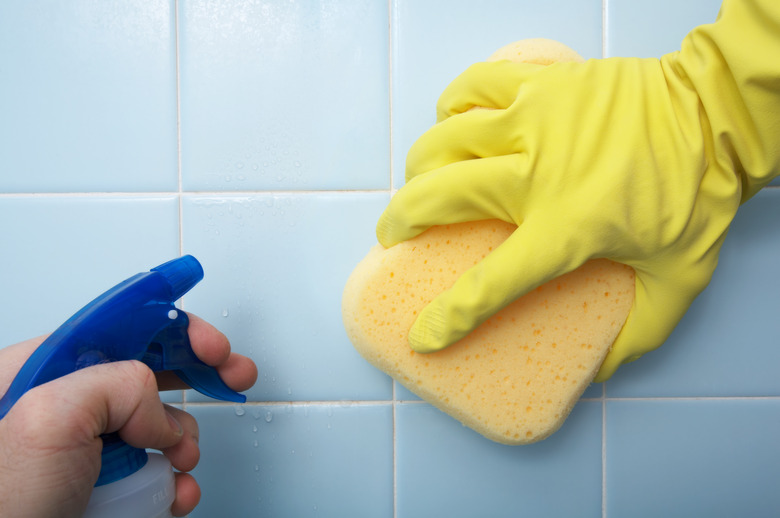
1. Clean and Sand
For paint to adhere to tile, it is critical that the surfaces be completely clean, and that they are roughened up.
- Open the windows to provide ventilation, then clean the tile thoroughly with an abrasive cleaner designed for tile. Use a scrub sponge to help remove the grime on the tiles and the grout.
- Wait 20 minutes or so, as recommended on the tile-cleaner instructions. Rinse the chemicals off with a damp sponge, rinsing the sponge regularly as well. Allow the tile and grout to dry for several hours.
- Sand the tile surface with 200-grit sandpaper while wearing a dust mask. If you have access to an orbital sander, it will make the job much easier. Scuff up the entire surface of each tile to make it more receptive to primer. There's no need to sand the grout.
- Wipe the tiles down with a damp sponge to remove fine dust particles. Wait at least 30 minutes or until tiles and grout seem completely dry.
2. Apply Primer
Priming is sometimes omitted when painting other surfaces, but it is essential when you are painting ceramic tile. Make sure to use a special bonding primer designed to adhere to hard surfaces.
- Set down a drop cloth to cover any areas you don't wish to paint.
- If working on walls, use painter's tape to protect window and door trim or to cover items such as towel bars or outlet covers if you don't want to remove them.
- Open the windows to improve ventilation.
- Pour a small amount of a bonding primer into a paint tray. Brush the primer onto an inconspicuous area, covering some tile and some grout. Allow it to dry before proceeding. This helps determine whether the tile is clean enough for the primer to adhere. If it doesn't adhere, clean the tile again before applying primer to the entire area.
- Continue priming the rest of the tile surface with a brush or roller.
- Allow the primer to dry as directed by the label.
3. Apply Paint
Paint for tile surfaces usually calls for a gloss or semi-gloss finish, since these surfaces usually need to be cleaned regularly.
- Stir, then pour the desired semi-gloss (or glossier) paint into a paint tray. Brush or roll a coat of paint over the tiles and grout. The goal is even coverage without using so much paint that it drips or pools.
- Allow the paint to dry completely, based on the recommended drying time on the can.
- Gently sand in between coats, if the paint manufacturer's instructions recommended it. Wipe away the residue with a slightly damp cloth if you've sanded the paint.
- Once the paint dries, apply a second coat and allow it to dry completely.
Painting and Stenciling a Floor
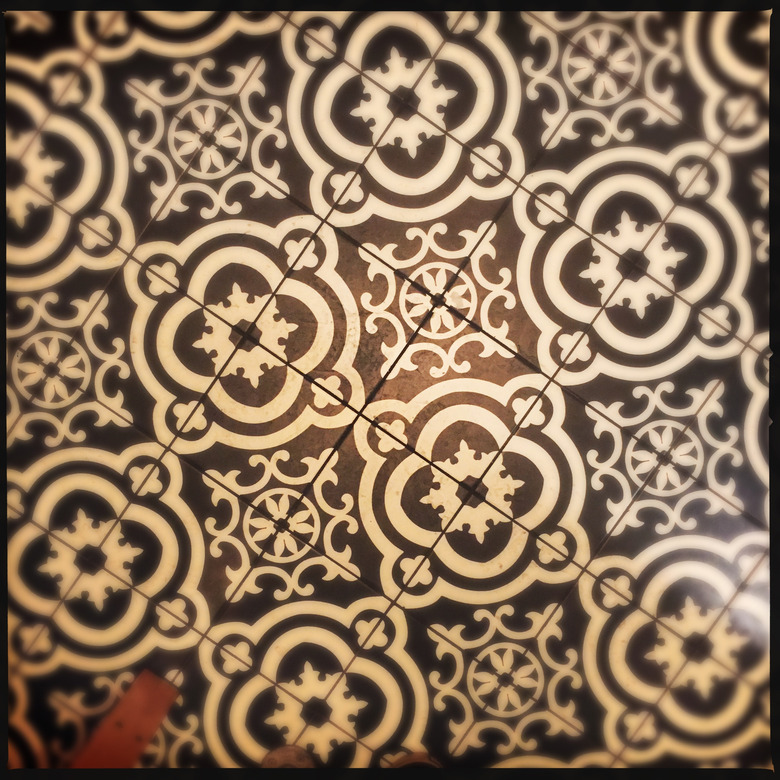
Painting and Stenciling a Floor
On its own, painted tile doesn't hold up well in damp areas or underfoot. But you may be able to get acceptable results if you cover the paint with several coats of clear polyurethane sealer, which will create a hard and water-impervious protective layer. And while you are at it, consider a stencil treatment on the ceramic floor tile.
- Clean, prime and paint the floor tile using the desired background color for your design.
- Purchase one or more tile stencils that match the size of the tile.
- Tape the stencil in place with painter's tape, then apply the chosen design color with either a stencil brush or a small roller, if the design isn't too detailed. The stencil brush is best for fine details.
- Continue stenciling until the entire surface is finished and dry.
- One the stenciled surface is completely dry, apply several coats of a clear polyurethane sealer, allowing the sealer to dry between applications, as recommended by label directions.