Live Your Best Oprah With This DIY Wood Bath Tray
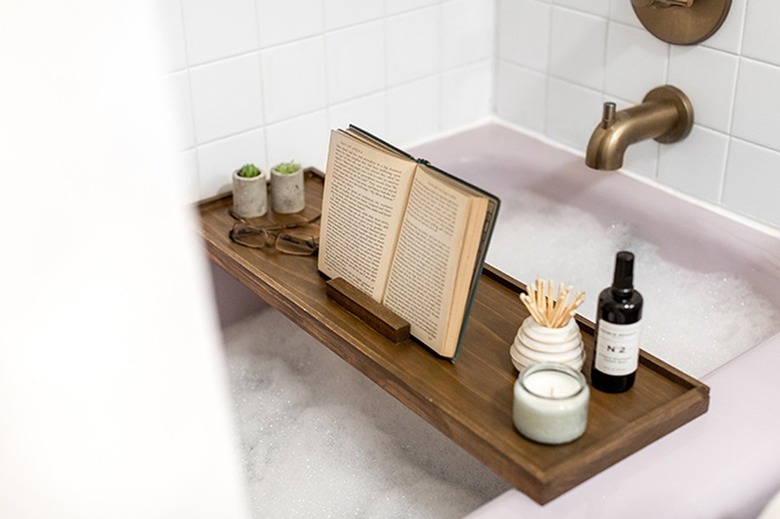
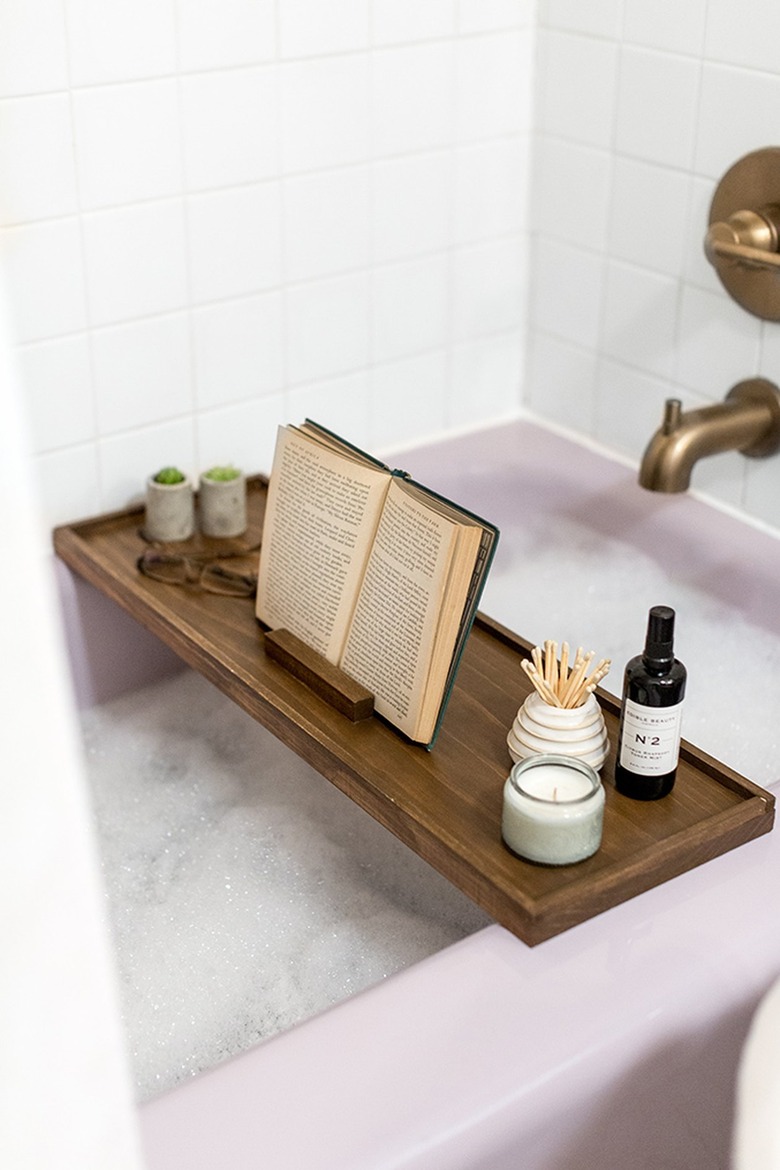
For many of us, our bathrooms are our private sanctuaries. And bath time is a ritual we can't do without. Just ask Oprah who has said, "bathing is my hobby." That's how serious some of us take it. So if you fall in the Oprah camp (because who doesn't want to be there?), this DIY is a perfect project: a handmade wooden tray that will hold everything from your favorite book to a glass of wine. Sure, you could always buy a bath tray, but for those of you who like to get involved with your home decor, time to break out the hand and power tools.
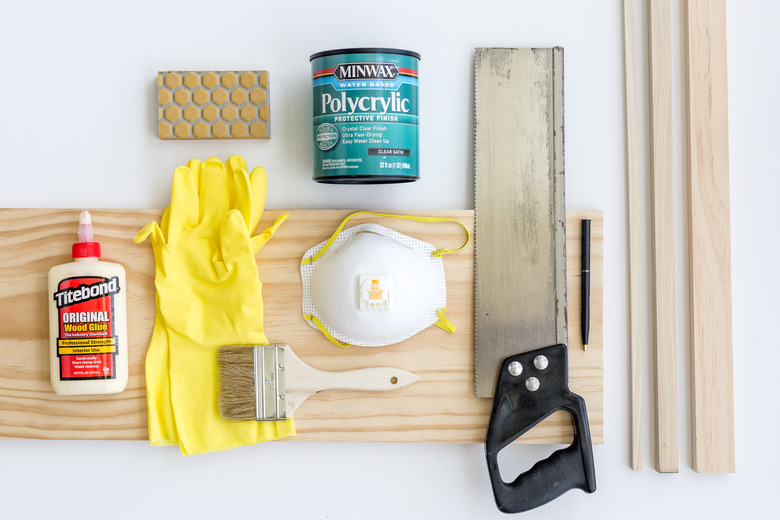
Things Needed
-
1-inch-by-10-inch wood slab cut to fit the width of your tub
-
1-inch-by-2-inch trim piece
-
1-inch-by-4-inch trim piece
-
3/4-inch-by-36-inch square dowel rods, ( 2 )
-
Hack saw
-
Mask
-
120-grit sanding block
-
220-grit sanding block
-
Wood glue
-
Painter's or masking tape
-
Electric drill
-
Drill bit
-
Driver
-
Waterproof wood screws
-
Rags
-
Gloves
-
3-inch paint brush
-
Wood stain in your shade of choice
-
Clear Polycrylic sealer
 Carrie Waller
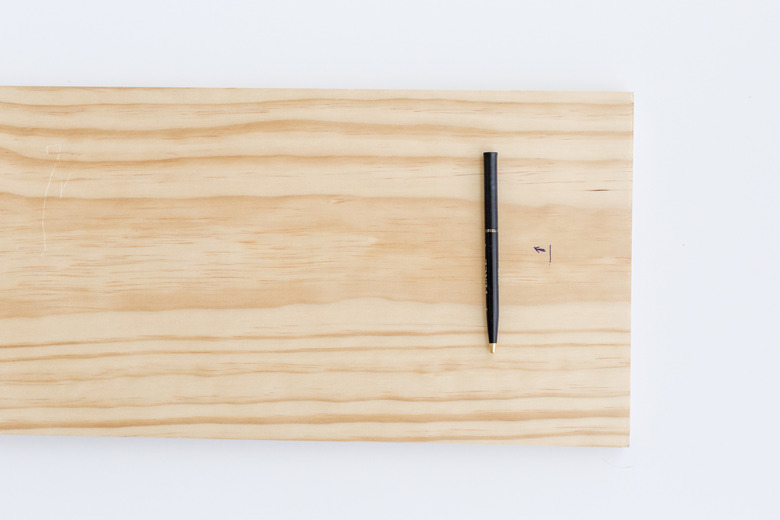
Step 1
Step 1
Lay your cut 1-inch-by-10-inch wood slab over the width of your tub, and use a pen from underneath to mark the inner edges of the tub onto the wood. This is where you will, later, glue down wooden stops so that the tray stays in place over the tub. You may want to draw a small arrow pointing to which side of the line the stop will need to be glued down later on.
 Carrie Waller
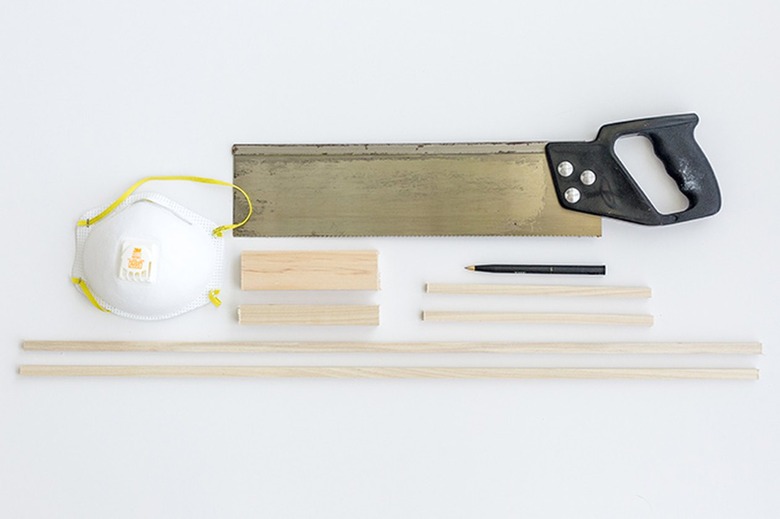
Step 2
Step 2
Measure, mark, and cut down each of your trim pieces using a hack saw. You'll need to cut the two 3/4-inch-by-36-inch square dowel rods to fit the area all around the outside of the tray (to prevent items from rolling off into the water).
You'll also need to cut the 1-inch-by-2-inch and 1-inch-by-4-inch trim pieces to four inches long. These will be used to create a book or tablet holder on top of your tray.
Finally, you'll need to use leftover sections from the 1-inch-by-4-inch trim piece to create the two wooden stops that go on the underside of the tray. These will also need to be four inches long. Don't forget to wear a mask while making your cuts!
 Carrie Waller for Hunker
Step 3
Step 3
Sand the ends and edges of all your cut wooden pieces smooth using a 120-grit sanding block.
 Carrie Waller for Hunker
Step 4
Step 4
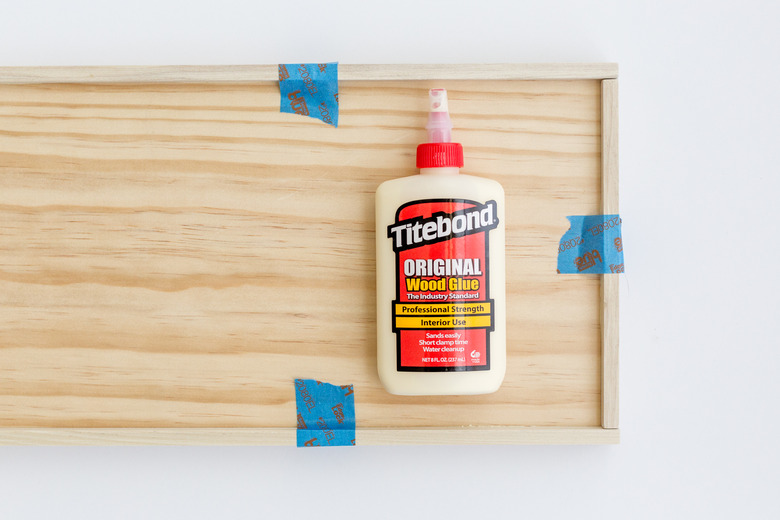
Use wood glue to attach the cut 3/4-inch trim pieces all around the edges of your tray. Use pieces of painter's or masking tape to hold the pieces in place while they dry for 30 minutes.
 Carrie Waller
Step 5
Step 5
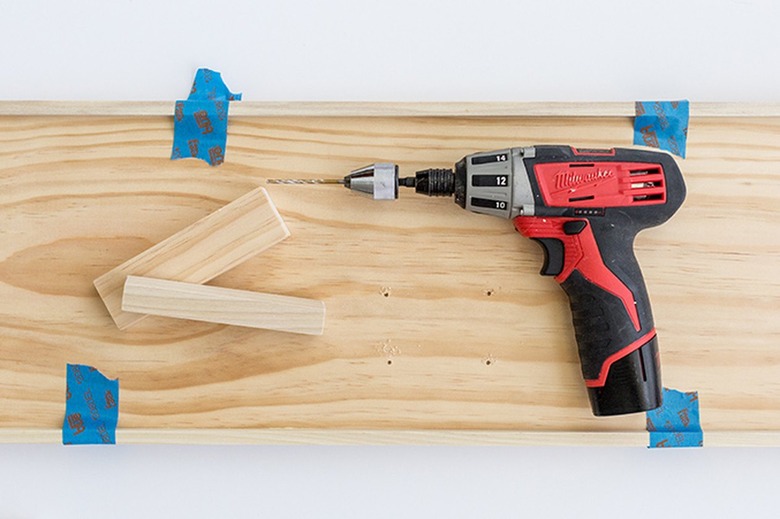
Decide where you'd like your book or tablet holder to go, and then use an electric drill and bit to pre-drill two holes all the way through the tray for each piece of wood.
 Carrie Waller for Hunker
Step 6
Step 6
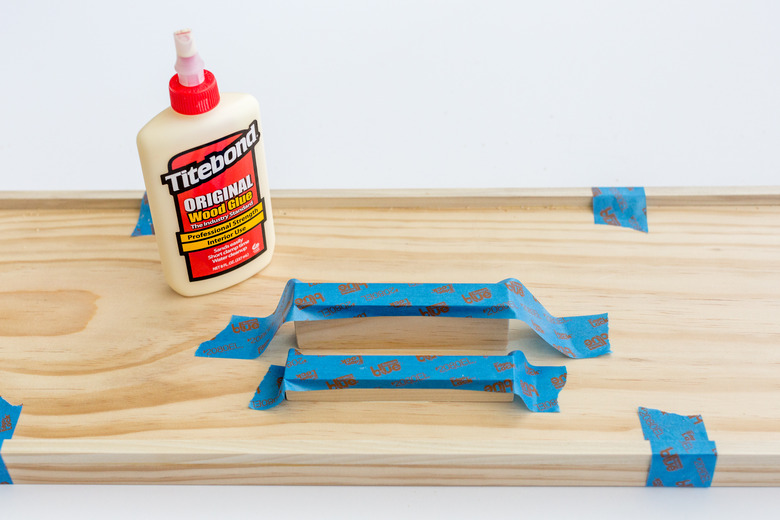
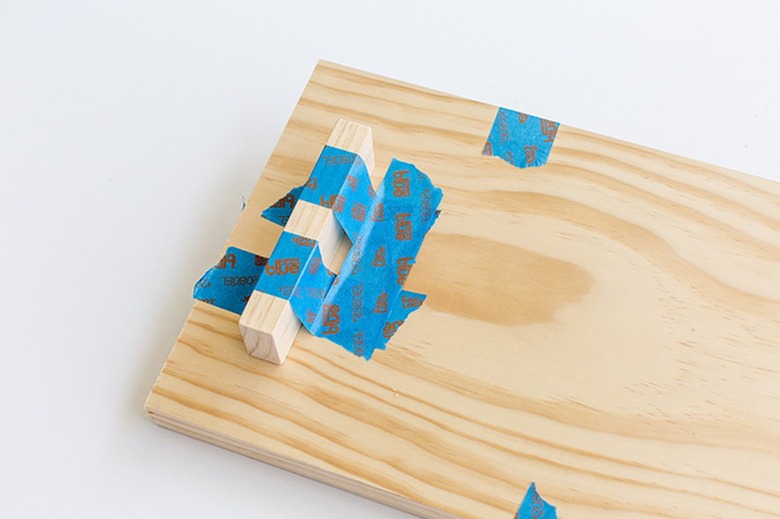
Glue down the book holder pieces right over the holes you pre-drilled on the top side of the tray. Lay tape over the wood to hold the pieces in place as they dry for 30 minutes.
 Carrie Waller
Step 7
Step 7
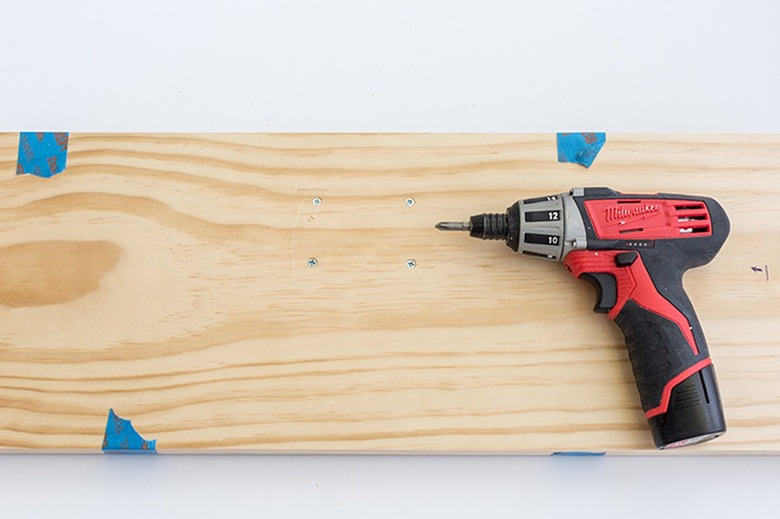
Flip the tray over and drive waterproof wood screws into the undersides of the book holder pieces using the electric drill and the pre-drilled holes you made earlier.
 Carrie Waller for Hunker
Step 8
Step 8
Using the arrow marks you made at the beginning of this project on the underside of the tray, glue down the cut wood stops. Lay tape over the wood to hold the two pieces in place on either side of the underside of the tray as they dry for 30 minutes.
 Carrie Waller for Hunker
Step 9
Step 9
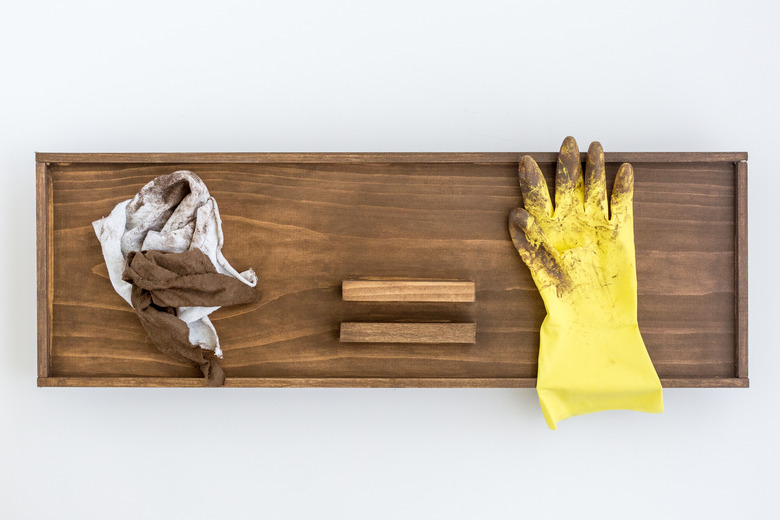
Once all of the wood glue has dried and the trim pieces are firmly attached, go ahead and remove all of the tape. Next, put on gloves, and use a 3-inch paint brush to stain the assembled wood tray. Keep rags on hand to wipe off any excess stain, and note that you can do multiple layers of stain to achieve a darker finish if that's what you prefer.
 Carrie Waller
Step 10
Step 10
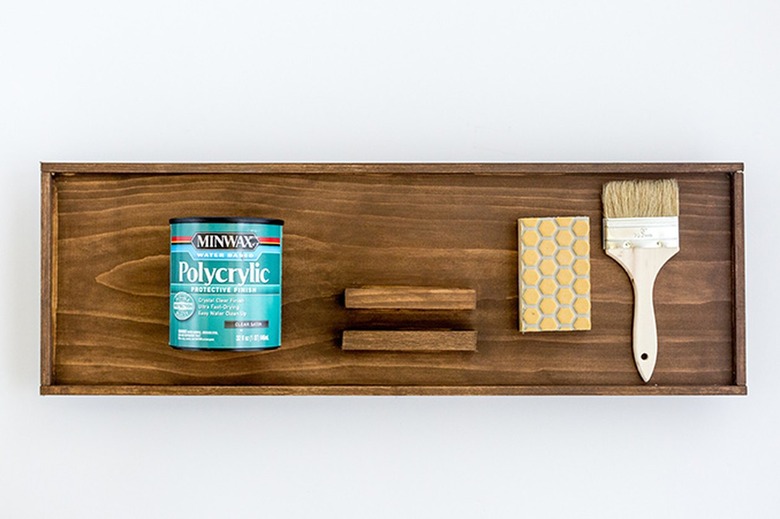
Allow the stained tray to dry overnight, and then use a clean paint brush to layer on three to four coats of clear Polycrylic. Let each layer dry for 30 minutes, then lightly sand the finish with a 220-grit sanding block. Brush on as many layers of the sealer as you need to achieve a glossy waterproof surface on both sides of your tray. Do not sand down the final coat.
 Carrie Waller for Hunker
Step 11
Step 11
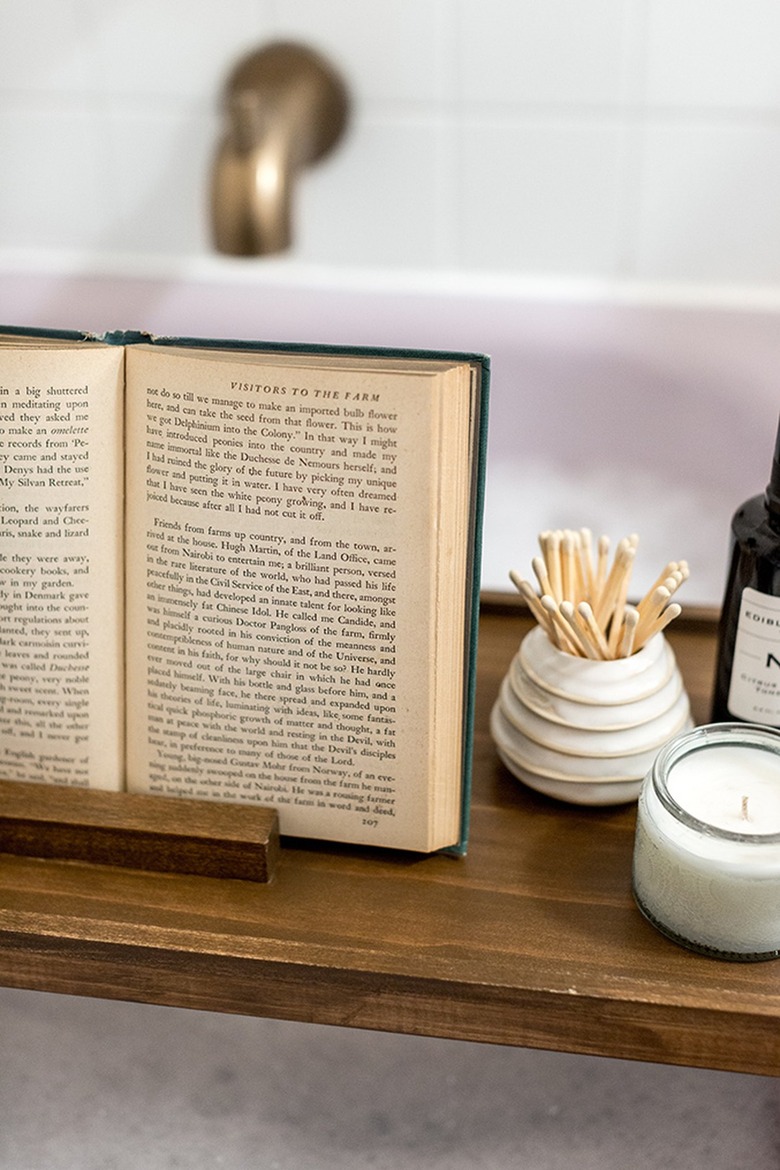
Let the last layer of sealant dry for 24 hours before handling. After that, your tray is ready for use! You can prop up anything from a regular paper book to a tablet or cell phone in the handy holder you made on the top of your tray.
 Carrie Waller for Hunker
 Carrie Waller for Hunker