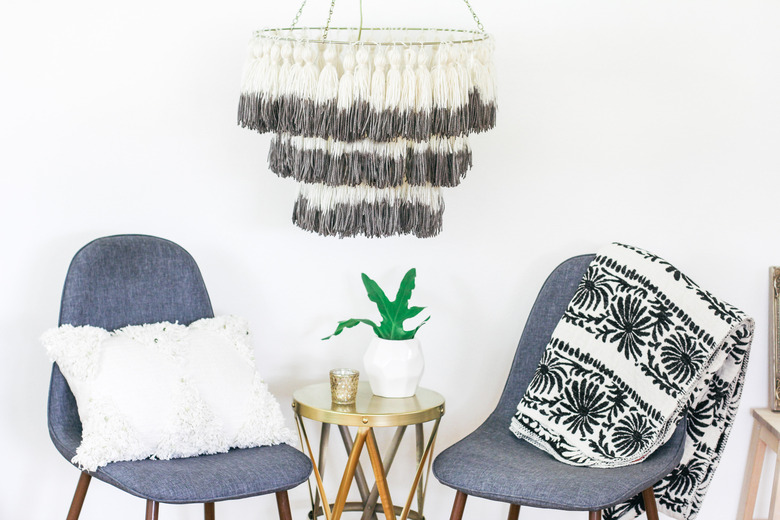
This DIY Boho Tassel Chandelier Will Light Up Your Home
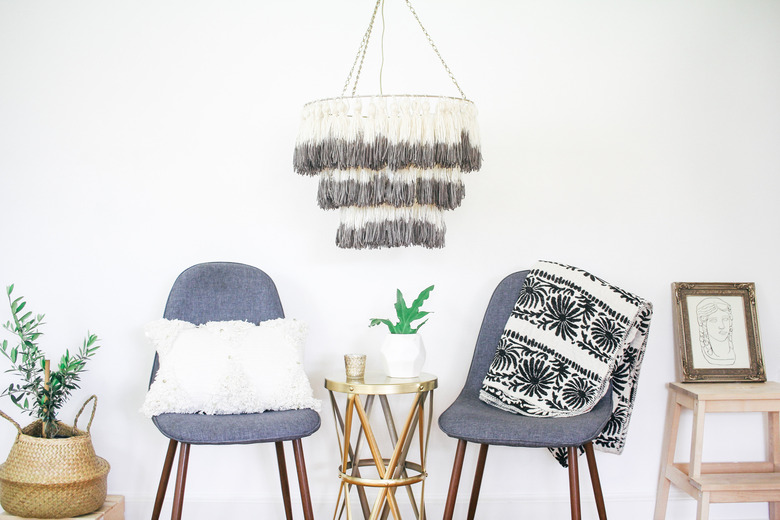
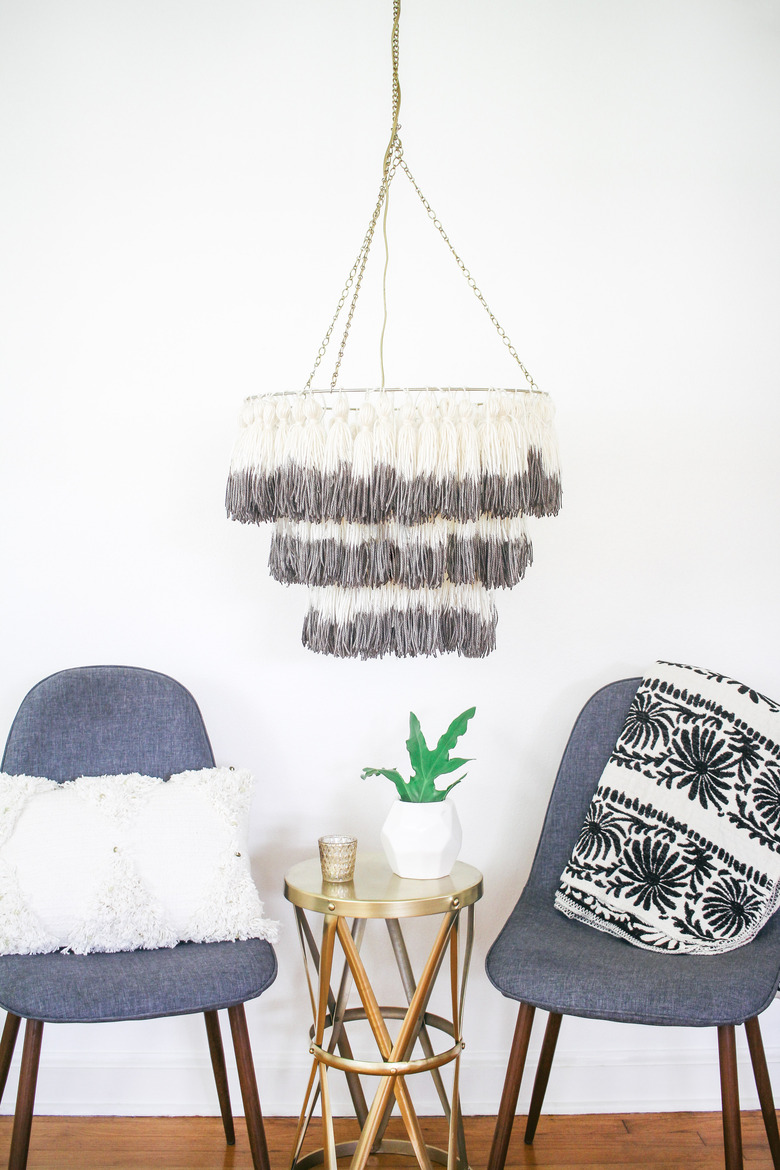
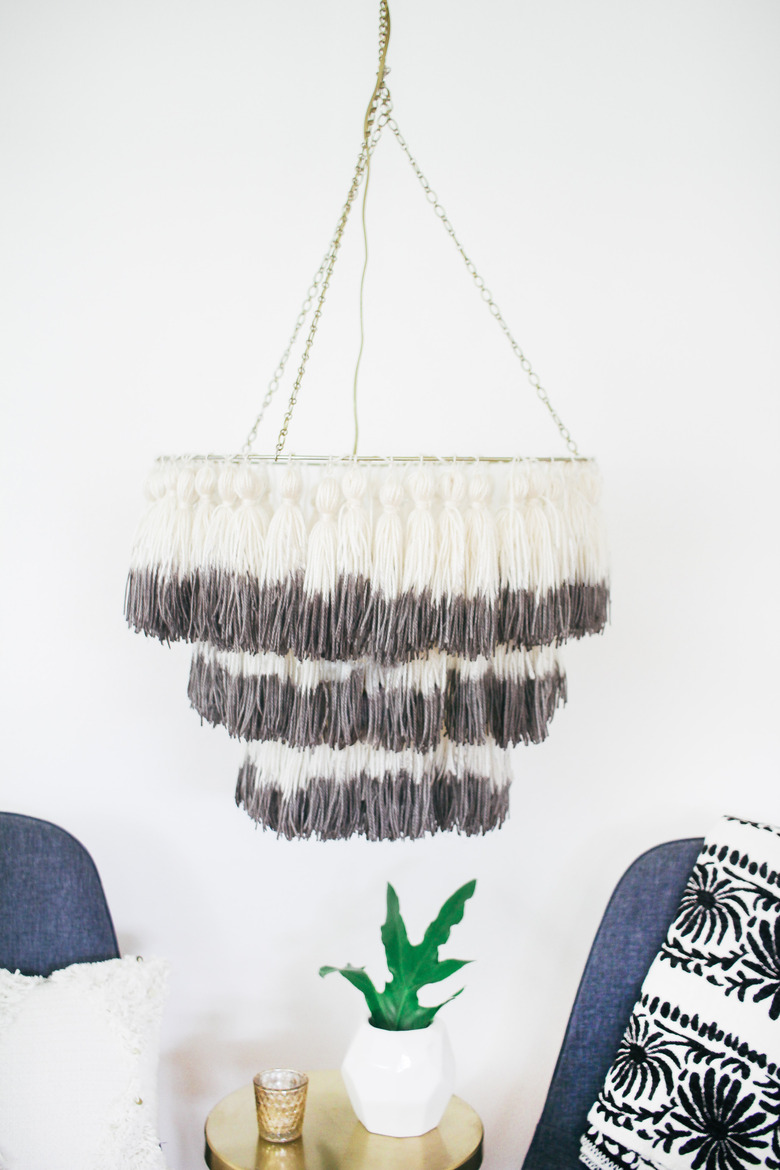
If you were to compare home decor to makeup, lighting fixtures would be like lipstick — the final touch that pulls the whole look together. This DIY chandelier made with dip-dyed tassels is a real showstopper, combining boho vibes with earthy glamour to create bold statement lighting that Pinterest dreams are made of. Yet its perfectly neutral color palette won't compete with other design elements in your home. We dare say it looks high-end AF, and we promise it'll light up your space without that hefty price tag.
Things Needed
-
Cream-colored yarn, 4 skeins
-
Empty 5x7 picture frame
-
Scissors
-
Black fabric dye
-
Large bowl or bucket
-
Rubber gloves
-
Plastic tarp
-
19-inch floral hoop
-
14-inch floral hoop
-
10-inch floral hoop
-
Brass spray paint
-
Metal oval link chain, 8 feet
-
Pliers, ( 2 )
-
Swag hook
Tip: We used a bulky weight of 4 for the yarn, but you could use a heavier or lighter weight if you prefer. Crochet or embroidery thread would also work.
 Trisha Sprouse
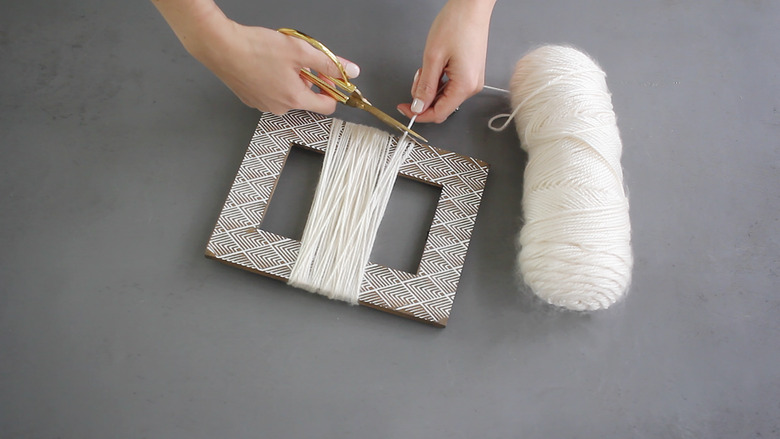
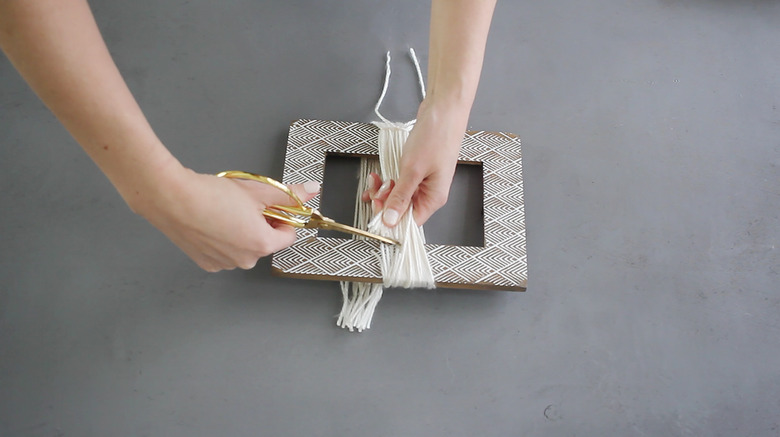
Step 1
Wrap the yarn around the empty picture frame 30 times ( 50 times if you're using a lighter weight yarn or thread ), and then cut the yarn off the skein.
 Trisha Sprouse
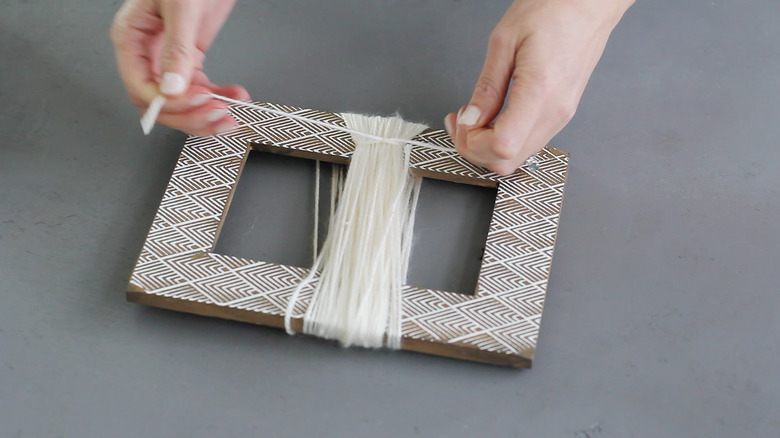
Step 2
Cut an 8-inch piece of yarn from the skein and slip it under the top layer of yarn on the frame. Tie the string into a tight double knot. Don't cut off the tails of the knot — you'll need these to tie the tassels onto the chandelier.
 Trisha Sprouse
Step 3
Cut through the layer of yarn on top of the frame (leaving the yarn on the underside uncut), and slide the yarn off the frame.
 Trisha Sprouse
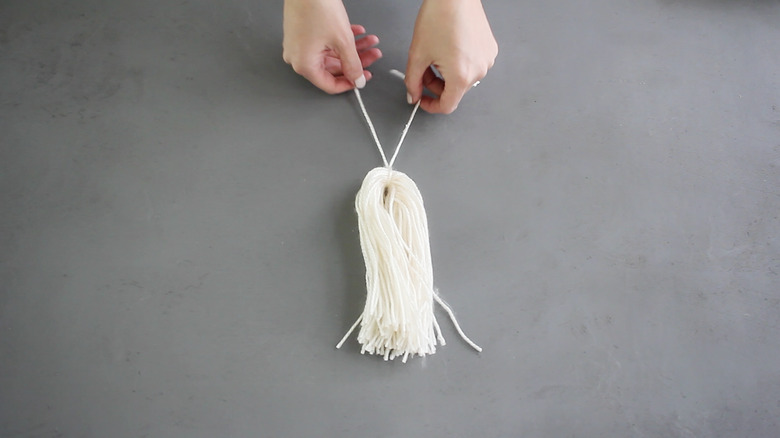
Step 4
Fold the yarn strings in half, moving the knot you tied into the middle.
 Trisha Sprouse
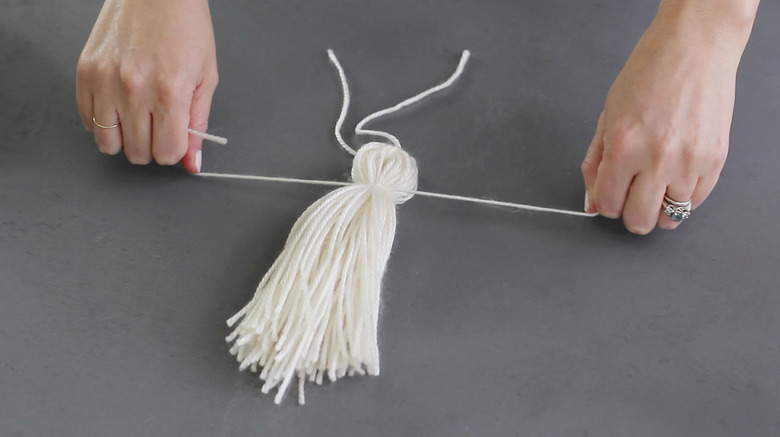
Step 5
Cut a 12-inch piece of yarn from the skein and tie it into a tight double knot around the tassel, about an inch down from the top.
 Trisha Sprouse
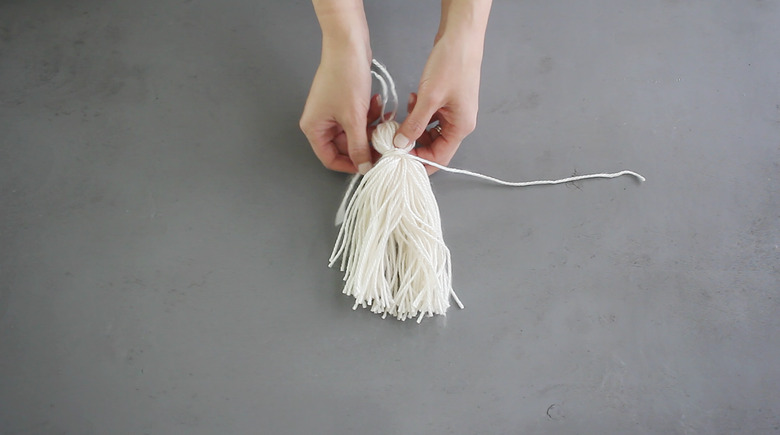
Step 6
Wrap one of the tails of the knot tightly around the tassel five to six times, and then tie the short tail to the long tail. Smooth the long tail into the rest of the strands of the tassel. Trim any rouge strands off the bottom.
 Trisha Sprouse
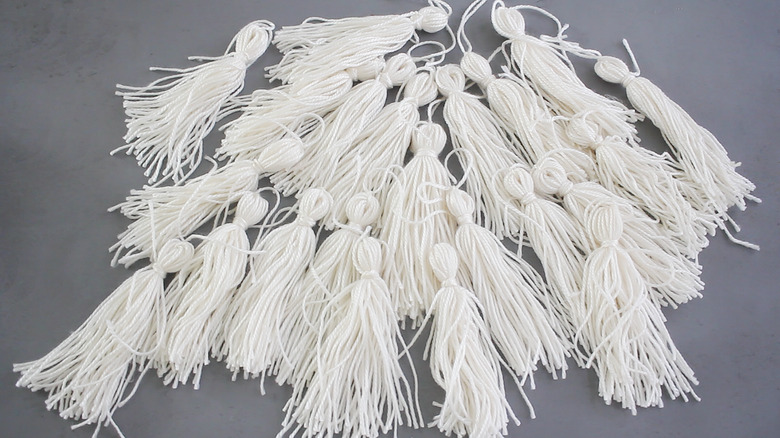
That's one tassel down and ... 99 left to go. That's right, you'll need to make 100 tassels.
(Our recommendation? Set up a tassel-making station in front of your TV.)
 Trisha Sprouse
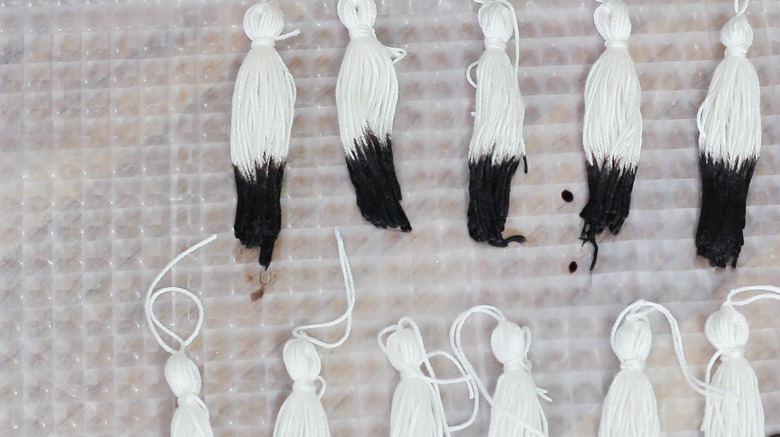
Step 7
Prepare a bath of black fabric dye according to the manufacturer's directions. Put on rubber gloves and dip just the bottom half of each tassel into the dye, submerging it about 10 to 12 times.
 Trisha Sprouse
Allow any excess dye to drip off the tassel and then lay each tassel flat on a plastic tarp. Let them dry overnight.
 Trisha Sprouse
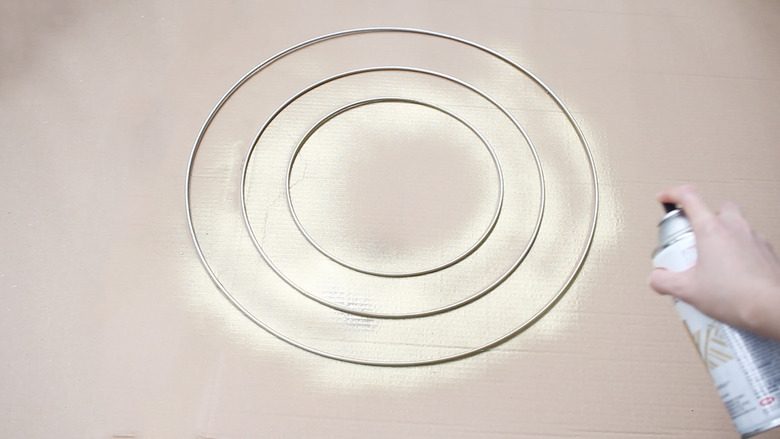
Step 8
While the tassels are drying, paint both sides of the floral hoops and metal link chains with the brass spray paint, and let them dry completely. We also spray painted the portion of the power cord on our lamp kit that will run along the chain of the chandelier. This will add a cohesive brass finish to your chandelier.
 Trisha Sprouse
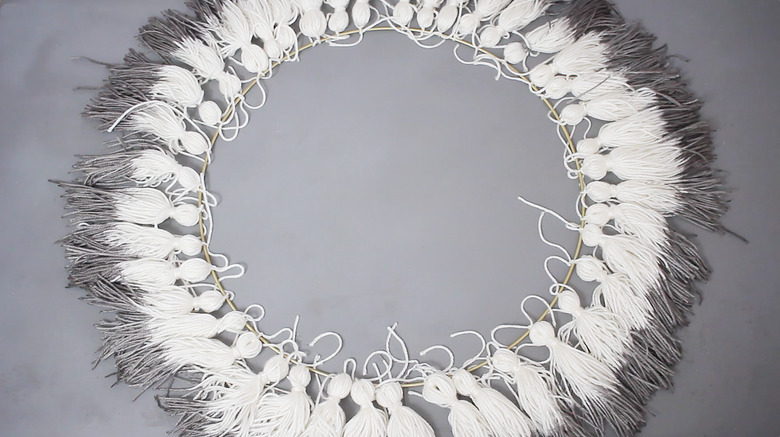
Step 9
Once all of the tassels and floral hoops have dried, tie the tassels around all three of the hoops until the circumference of each hoop is completely covered.
 Trisha Sprouse
Step 10
Cut eight pieces of yarn that are each 12 inches long.
 Trisha Sprouse
Step 11
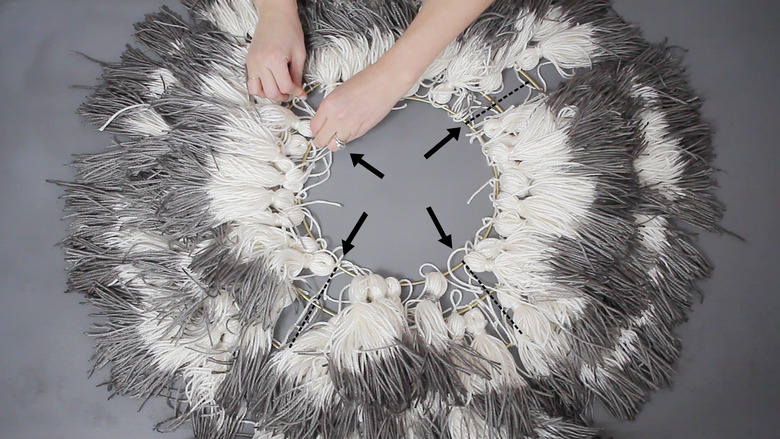
Lay the large hoop flat on your surface. Place the medium hoop inside the large hoop. Smooth out the tassels and then tie the large hoop to the medium hoop at four equidistant places using the yarn strings you cut in Step 10.
Likewise, place the small hoop inside the medium hoop and tie them together at four equidistant places — lined up with the points where you tied the medium and large hoops together.
 Trisha Sprouse
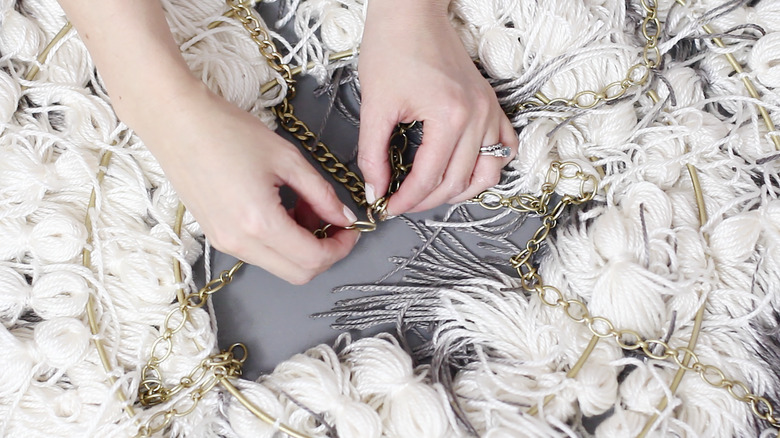
Step 12
Flip the chandelier over. Use pliers to link three separate 20-inch strands of metal chain to the large hoop at three equidistant points on the hoop. You'll likely find it easiest to use one set of pliers to hold the link while using a second set of pliers to open and close the link around the hoop.
Tip: We used these chains, which came in 20-inch strands. T__o make the longer 5-foot strand (needed below), we linked three chains together.
 Trisha Sprouse
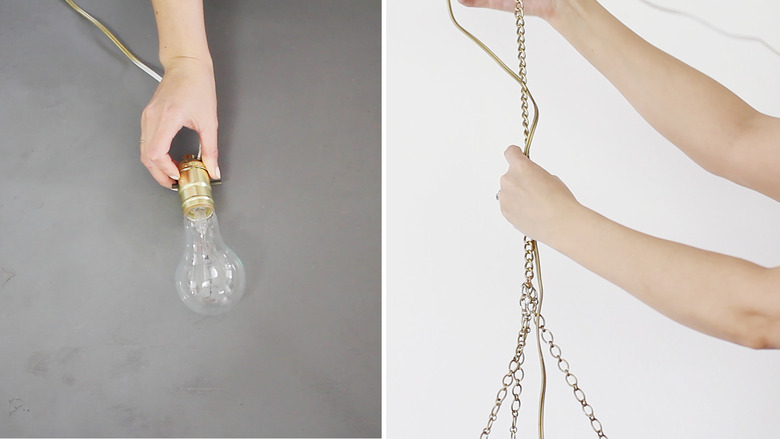
Step 13
Take a 5-foot length of metal chain and use pliers to open the link at one end. Link the open end of the chain to the three shorter chains that are attached to the chandelier and then close the link.
 Trisha Sprouse
Step 14
Hang the chandelier at the desired height, hooking one of the links of the chain to a sturdy swag hook installed in the ceiling. You can either assemble a basic lamp kit that plugs into the wall and suspend it inside the chandelier, securing the power cord to the chain, or you can use a pendant light kit to install the lighting inside the ceiling. If you opt for the wall plug-in method, we recommend hiding the power cord with one of these handy cord covers for a cleaner look.
 Trisha Sprouse
Turn on the light and prepare to be seriously wowed by your crafty prowess!
 Trisha Sprouse
 Trisha Sprouse